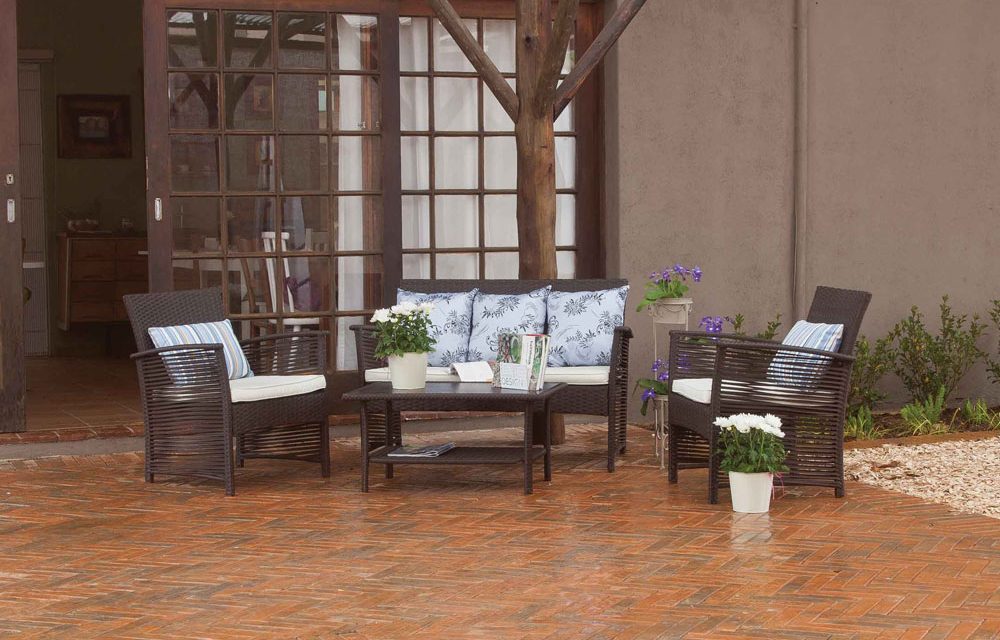
Recreate your patio with the right choice of paving. And you can do it yourself.
- River sand
- Paduan paver (sandstone in colour)
- Cement
- Pick
- spade
- rake
- stamper
- level
- rubber mallet
- builder’s crayon
- pegs and builder’s line
- straight edge
- angle grinder
- masonry cutting disc

Step 1
Plan your area and choose your pavers and the pattern you will pave. Plan your drainage to direct runoff away from the house. Choose the direction in which your chevrons will point for the herringbone pattern and then dry-lay a section of pavers in pattern so you can see what it will look like.
Note: We chose to lay a herringbone pattern with the chevrons pointing along the length of the paved area. This also works well for driveways, but make sure to lay the chevrons pointing in the direction of the most tra ffic.
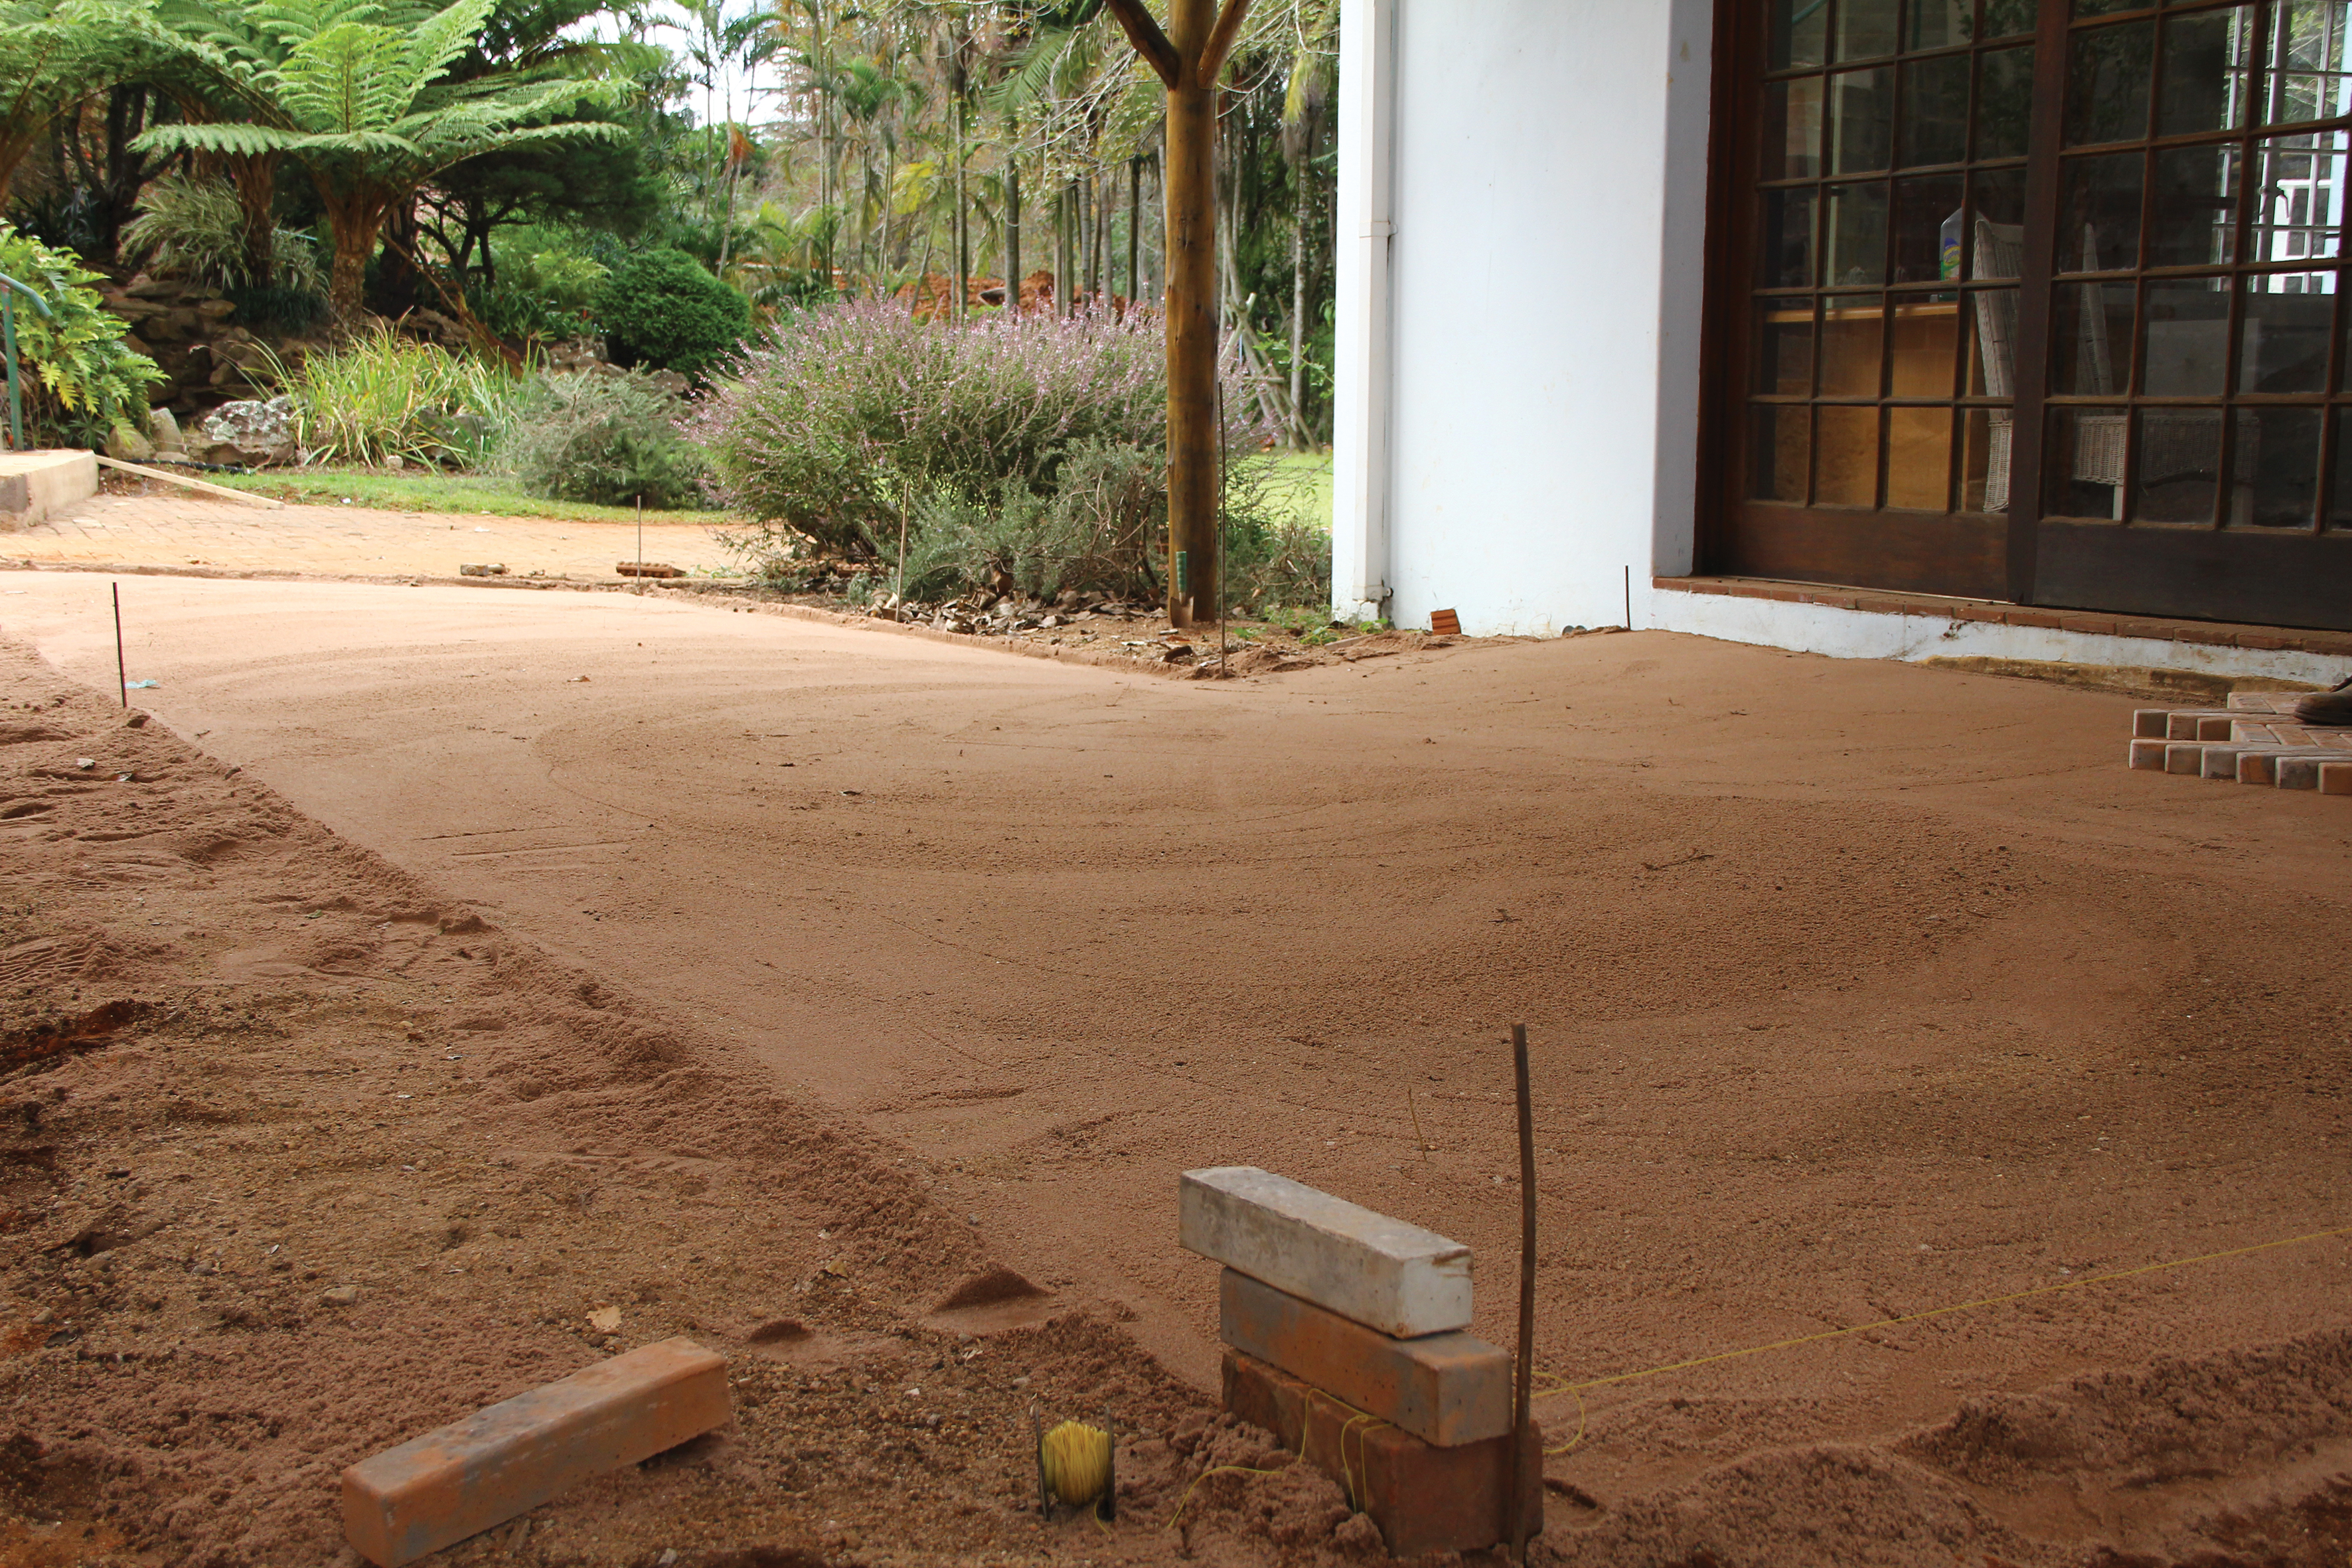
Step 2
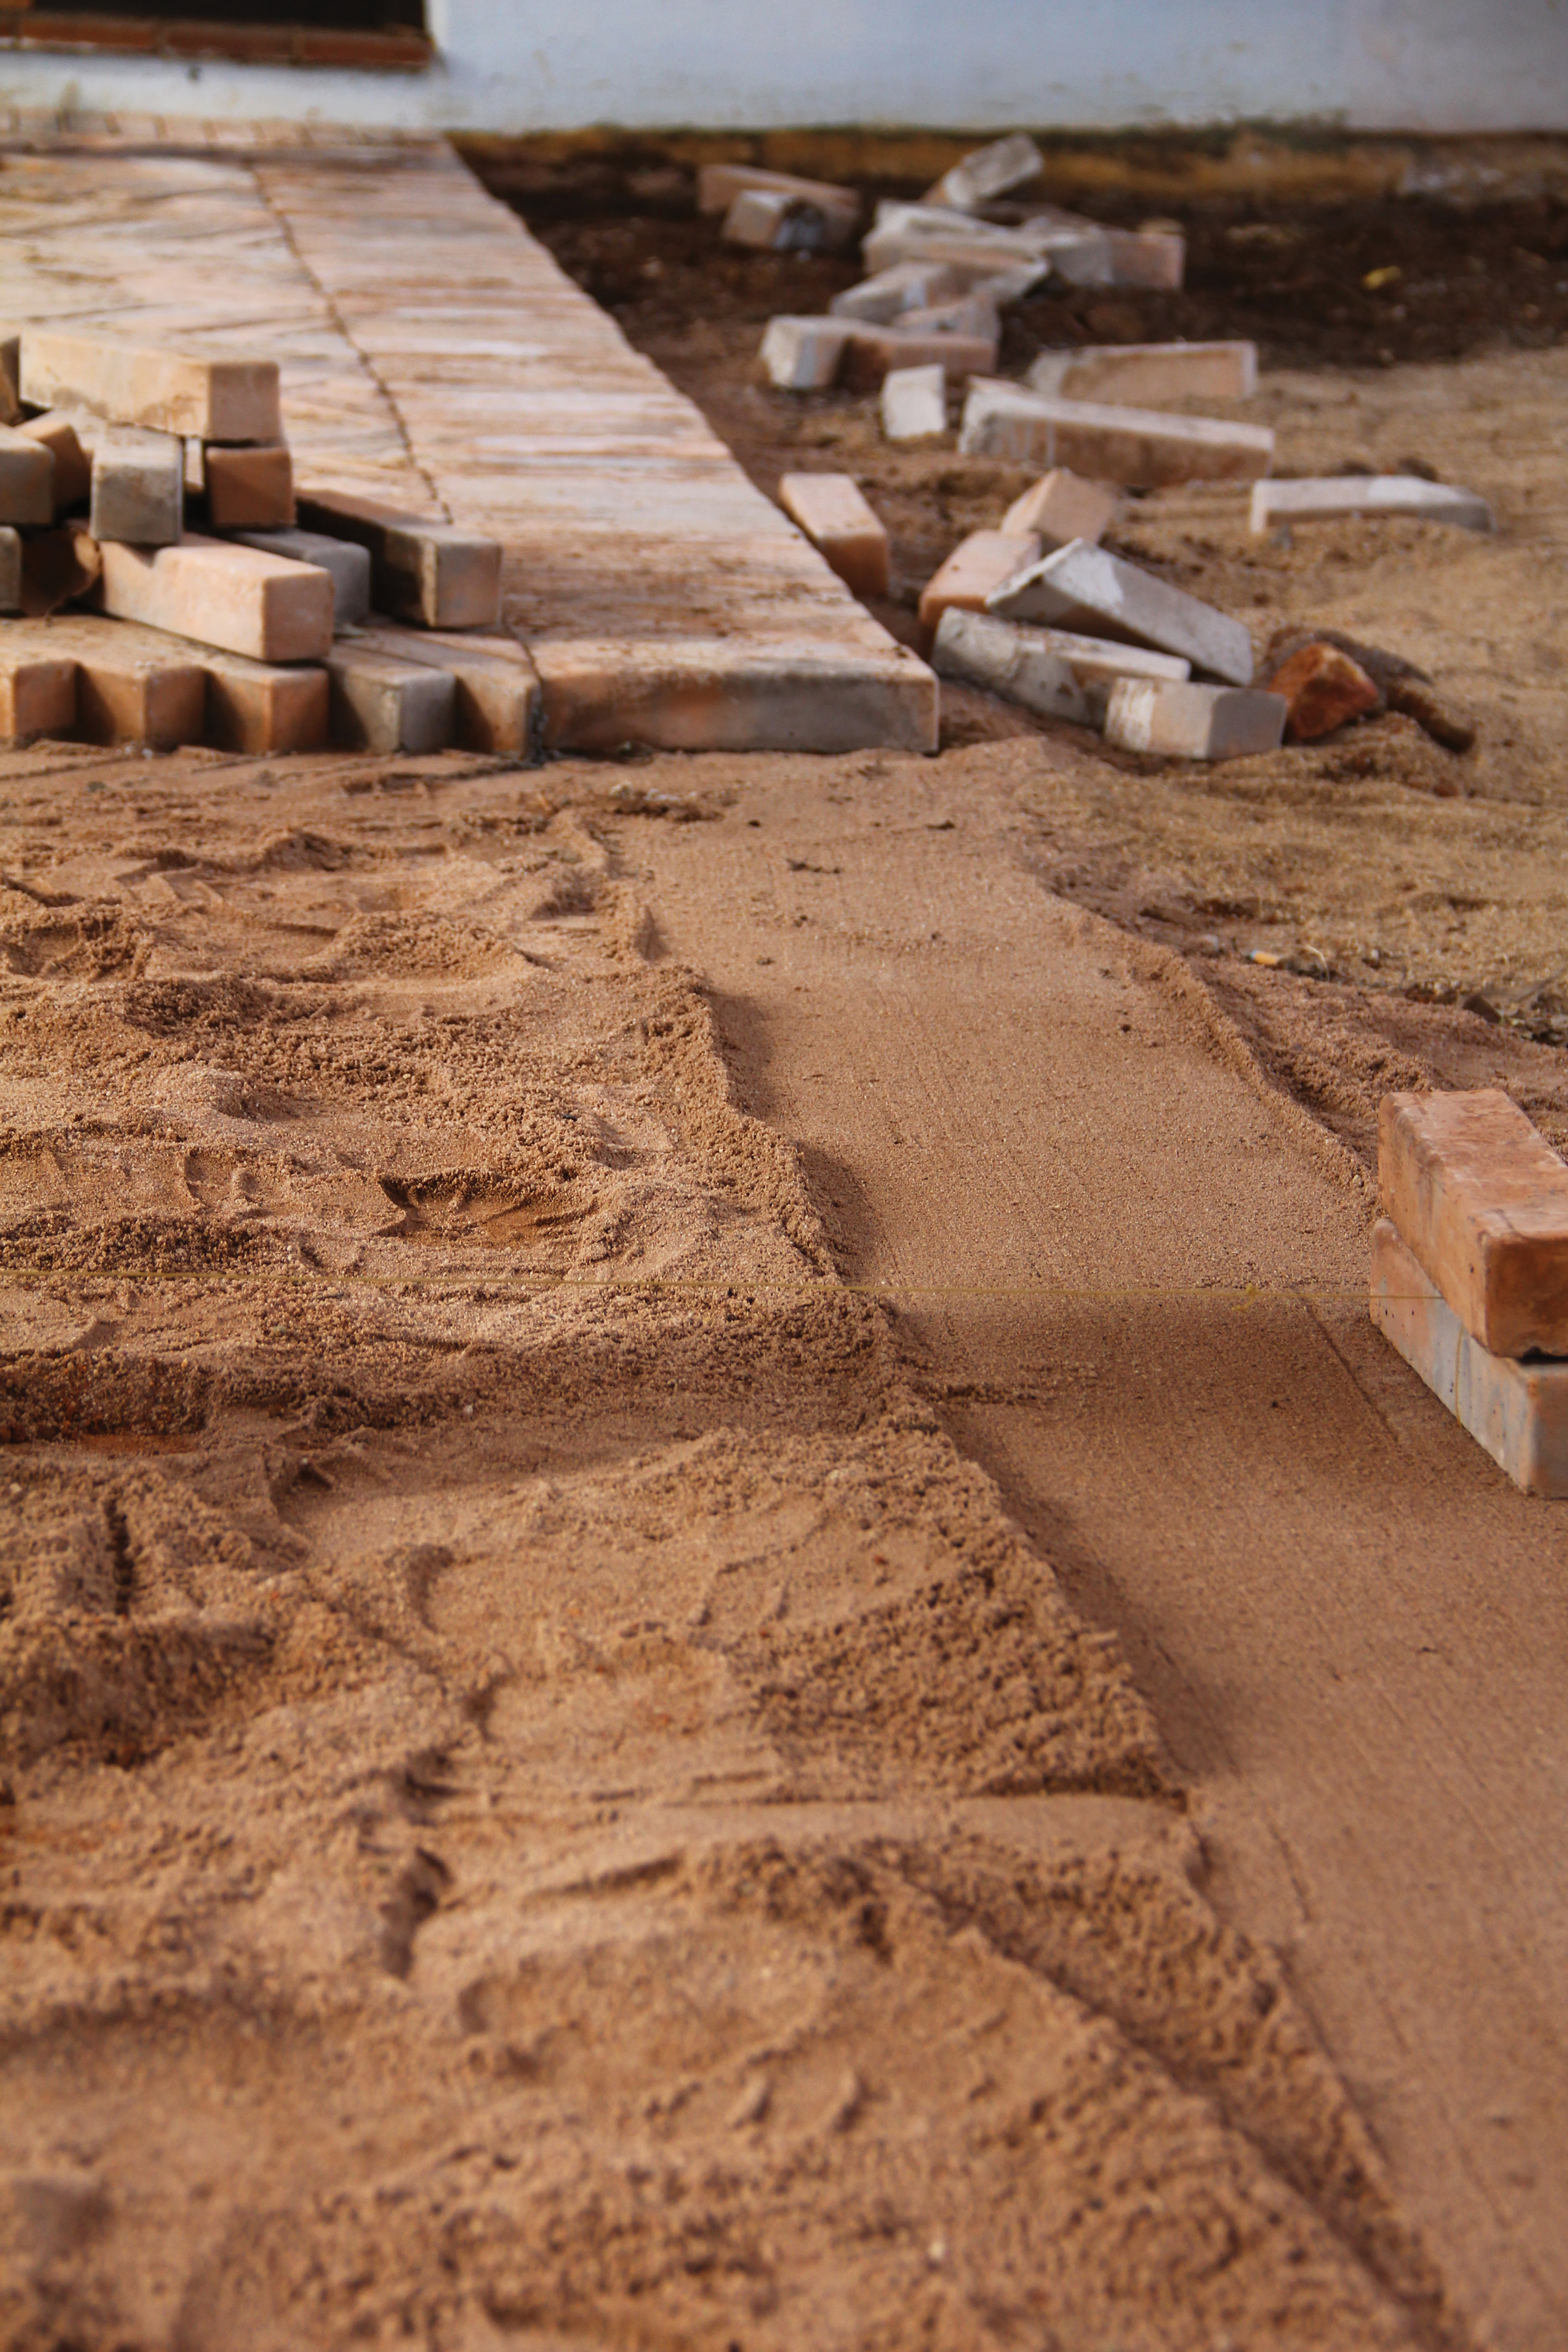
Prep your ground by clearing any pots, groundcover and stones. Add 25 mm to the depth of the pavers (50 mm) and dig down to that depth to ensure the top of the paver will be lower than the entrance of any doorway when laid. Build up or dig down to guide the run-o away from the house or towards a drain.

Step 3
Lay a 25 mm layer of fine river sand and use a flat piece of wood or spirit level to screed it.
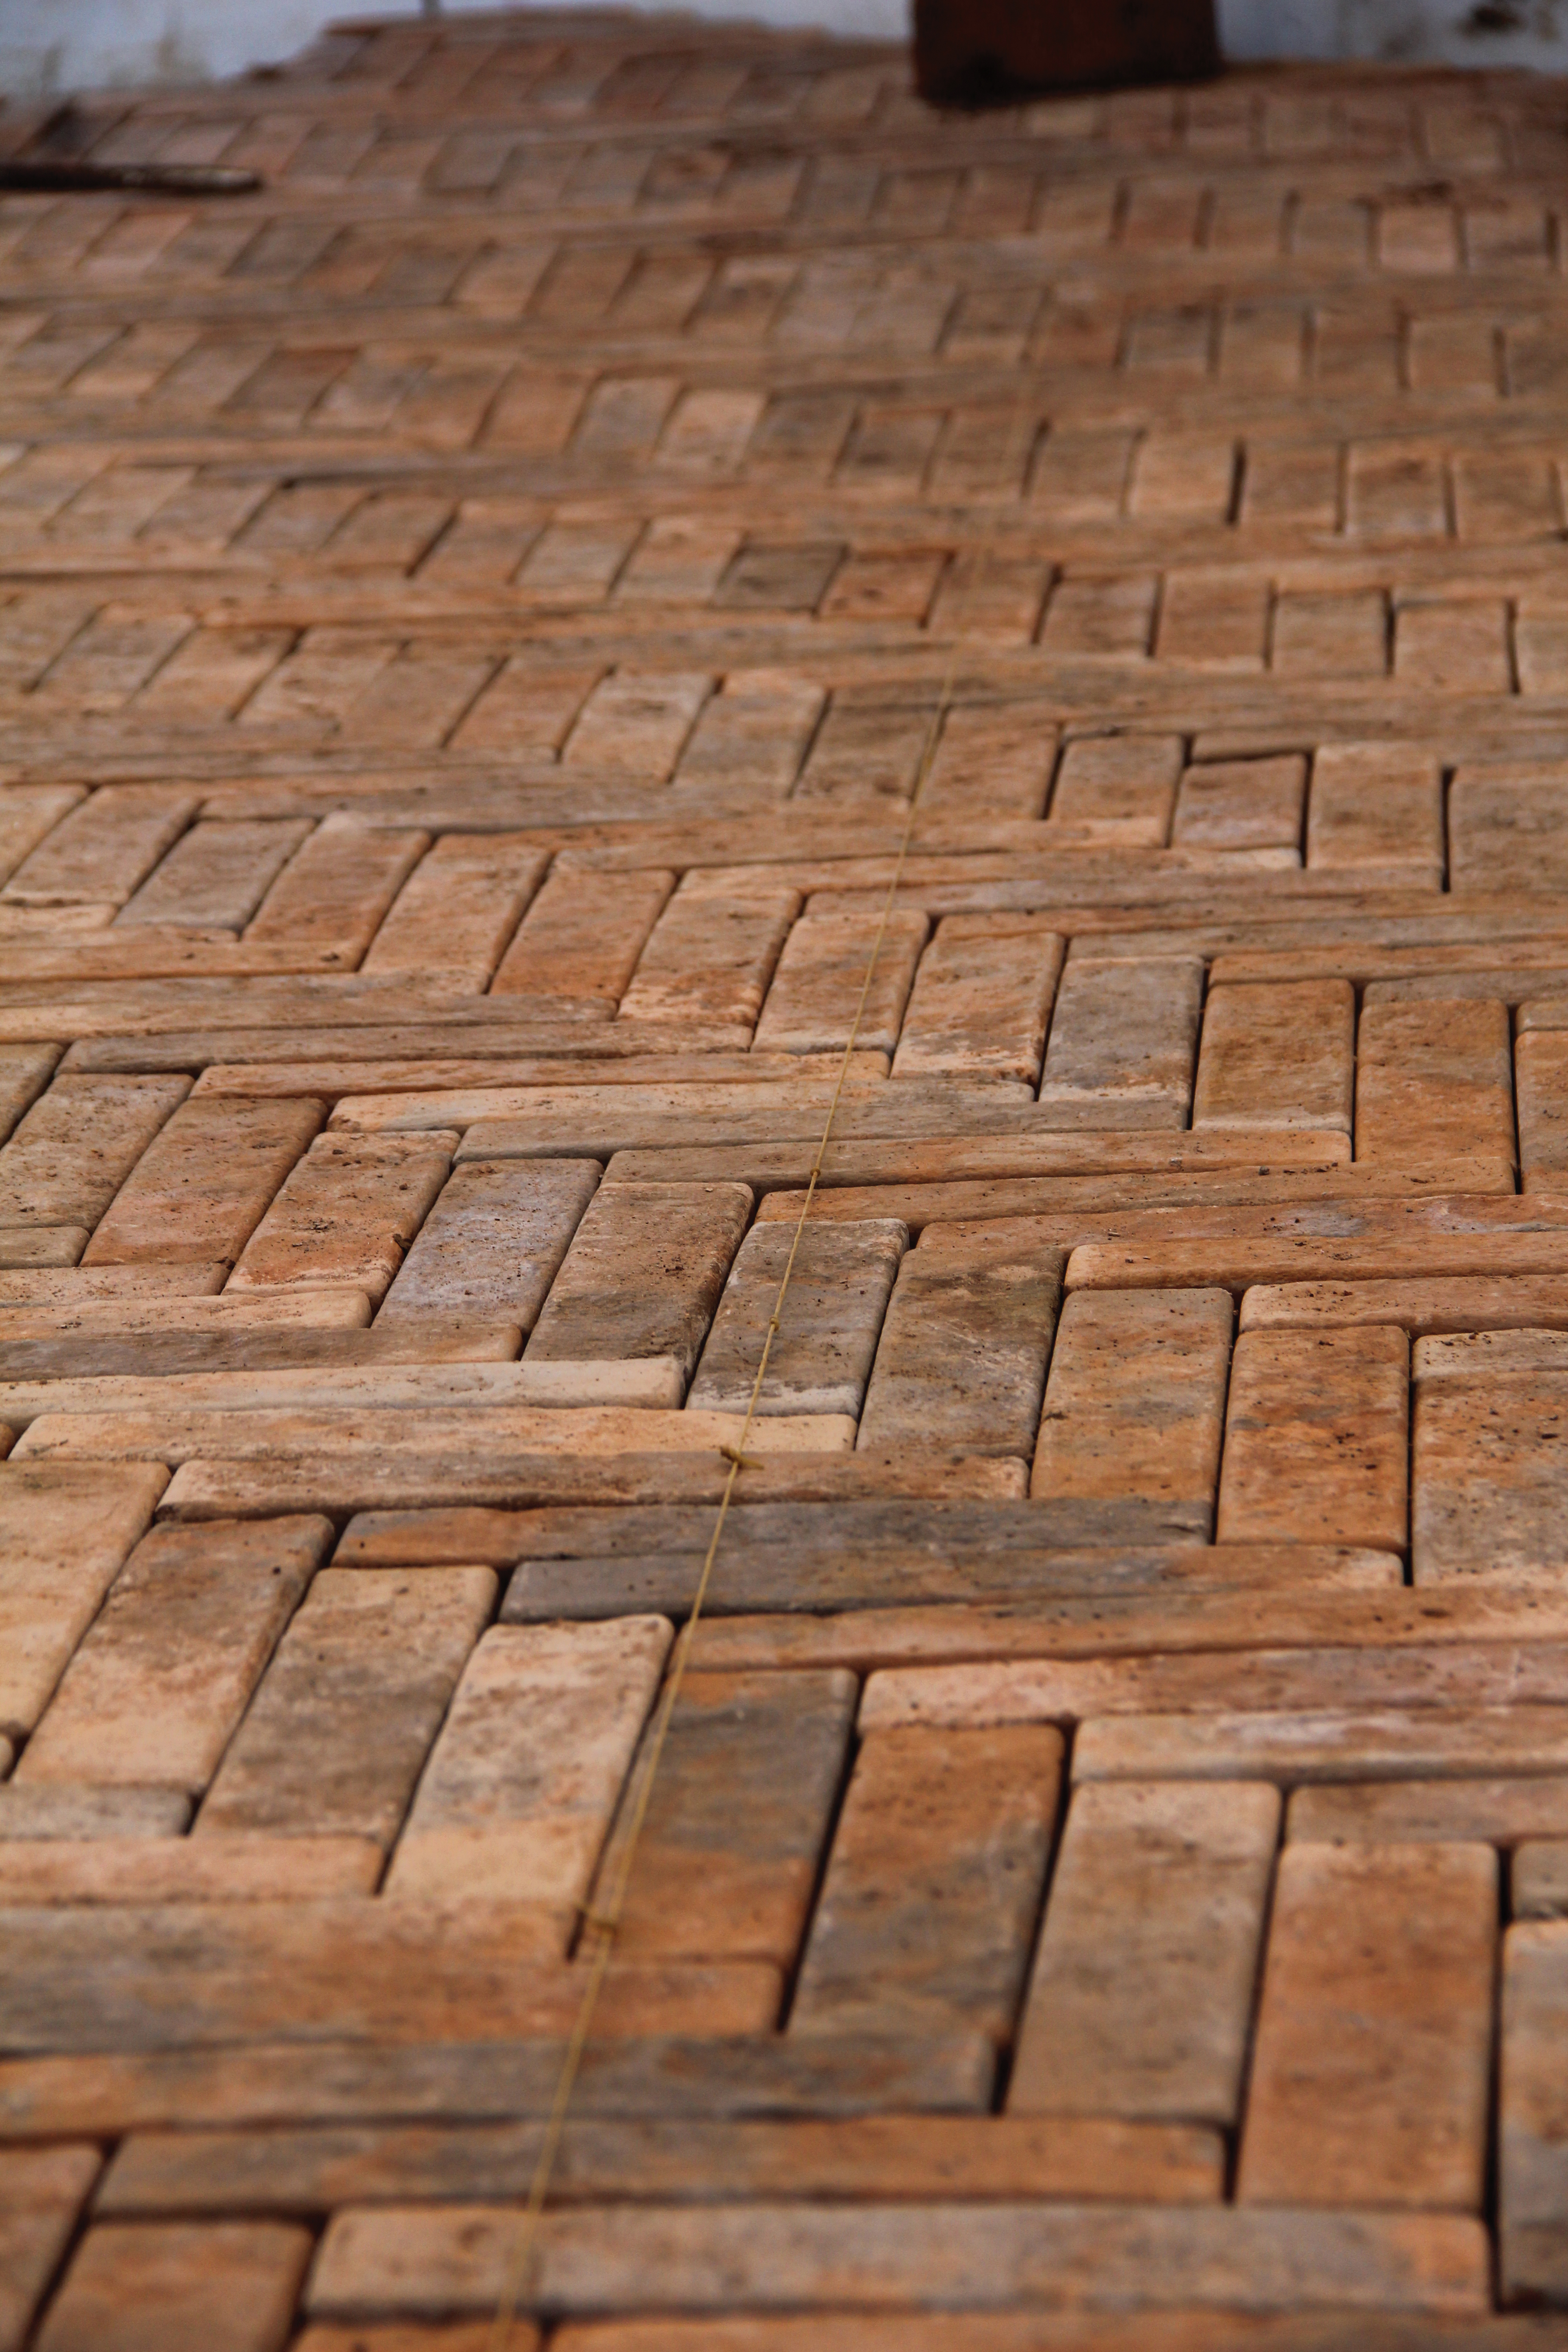
Step 4
To get the herringbone pattern correct, pay special attention to the first 20 pavers laid and get them just right before continuing. You can use some fishing line or builder’s line as a guide, placed at 45° to the edge of the paving. You will get a more accurate pattern if you pull two lines parallel to each other, one paver-width apart. Start your pattern in the most visible part of the area and lay your pavers in a herringbone pattern, moving out from that point and along your lines. Make sure you hold the lines. Once this start is correct and on the 45° line, the rest of your paving should follow suit.
Note: With the herringbone pattern, each edge paver will need to be cut flush with the edging. This is the sacrifice you have to make for the beauty of the pattern.
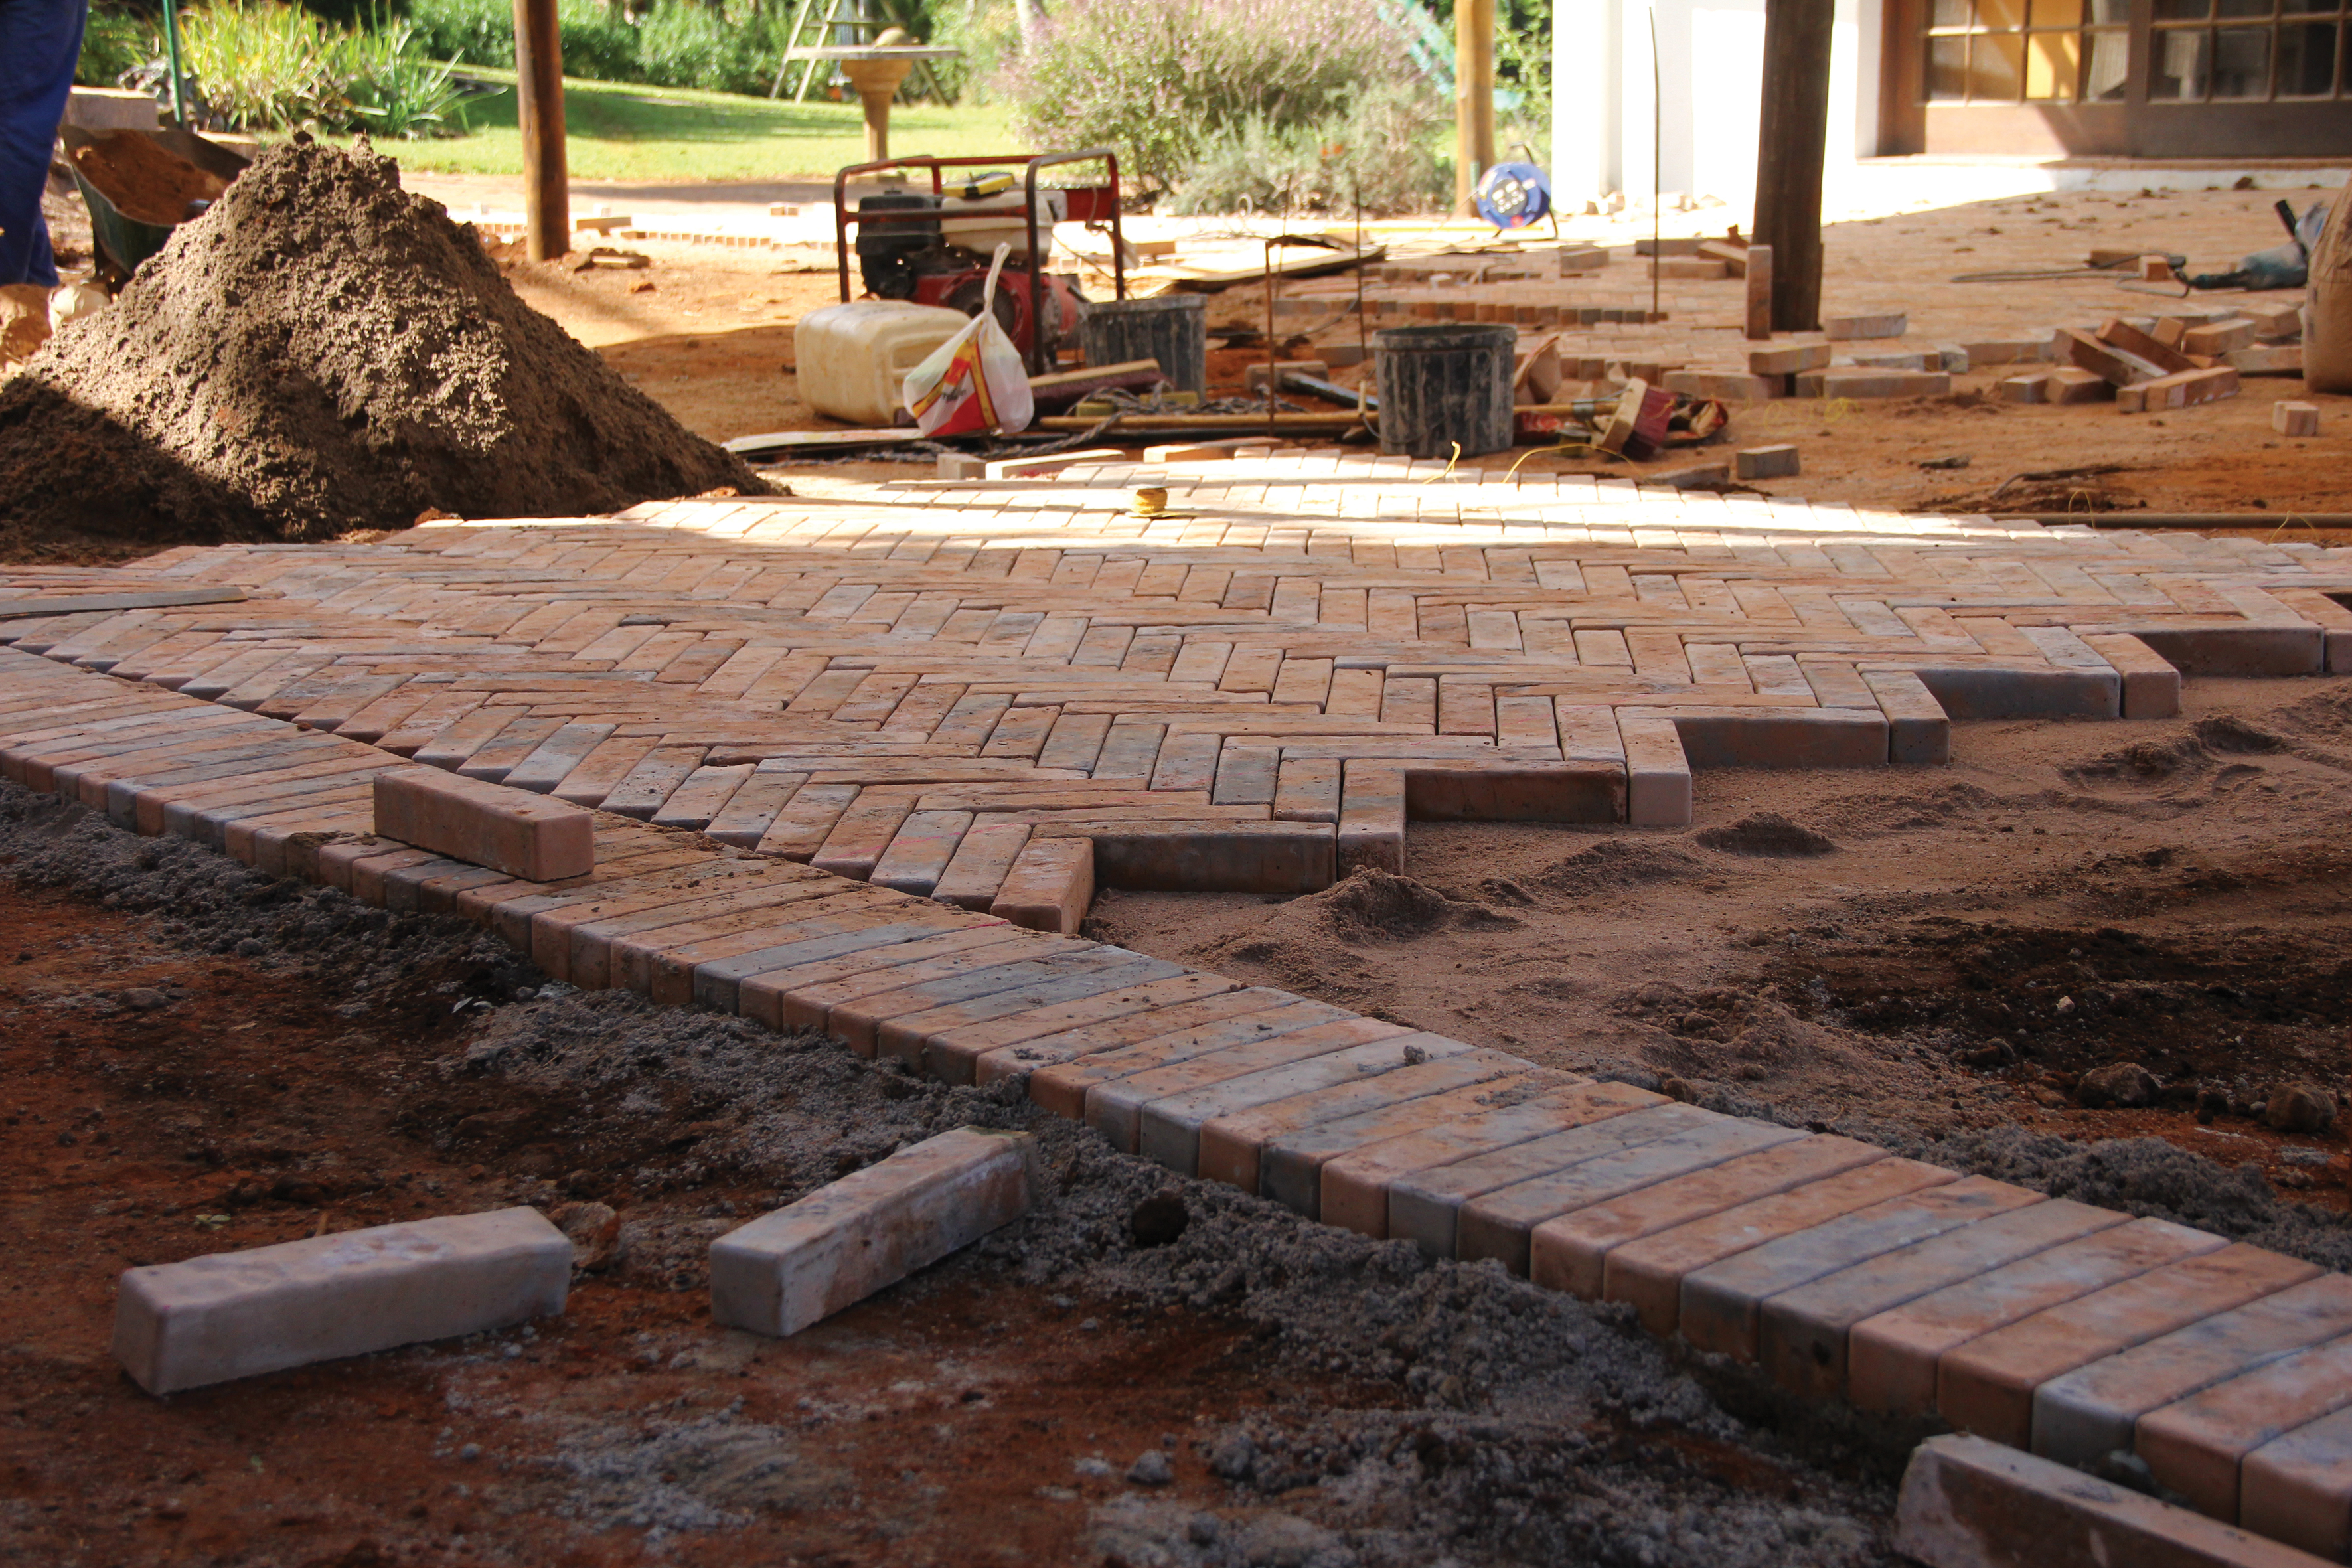
Step 5
Once happy with your layout, tap each paver in place and use a level to ensure they are level with their neighbouring pavers. You can lay the edging (header course) as you go or all at once (except for the pieces needing to be cut). Carry on laying all your whole pavers, tapping each paver in place as you lay them and checking that they are level.
Step 6
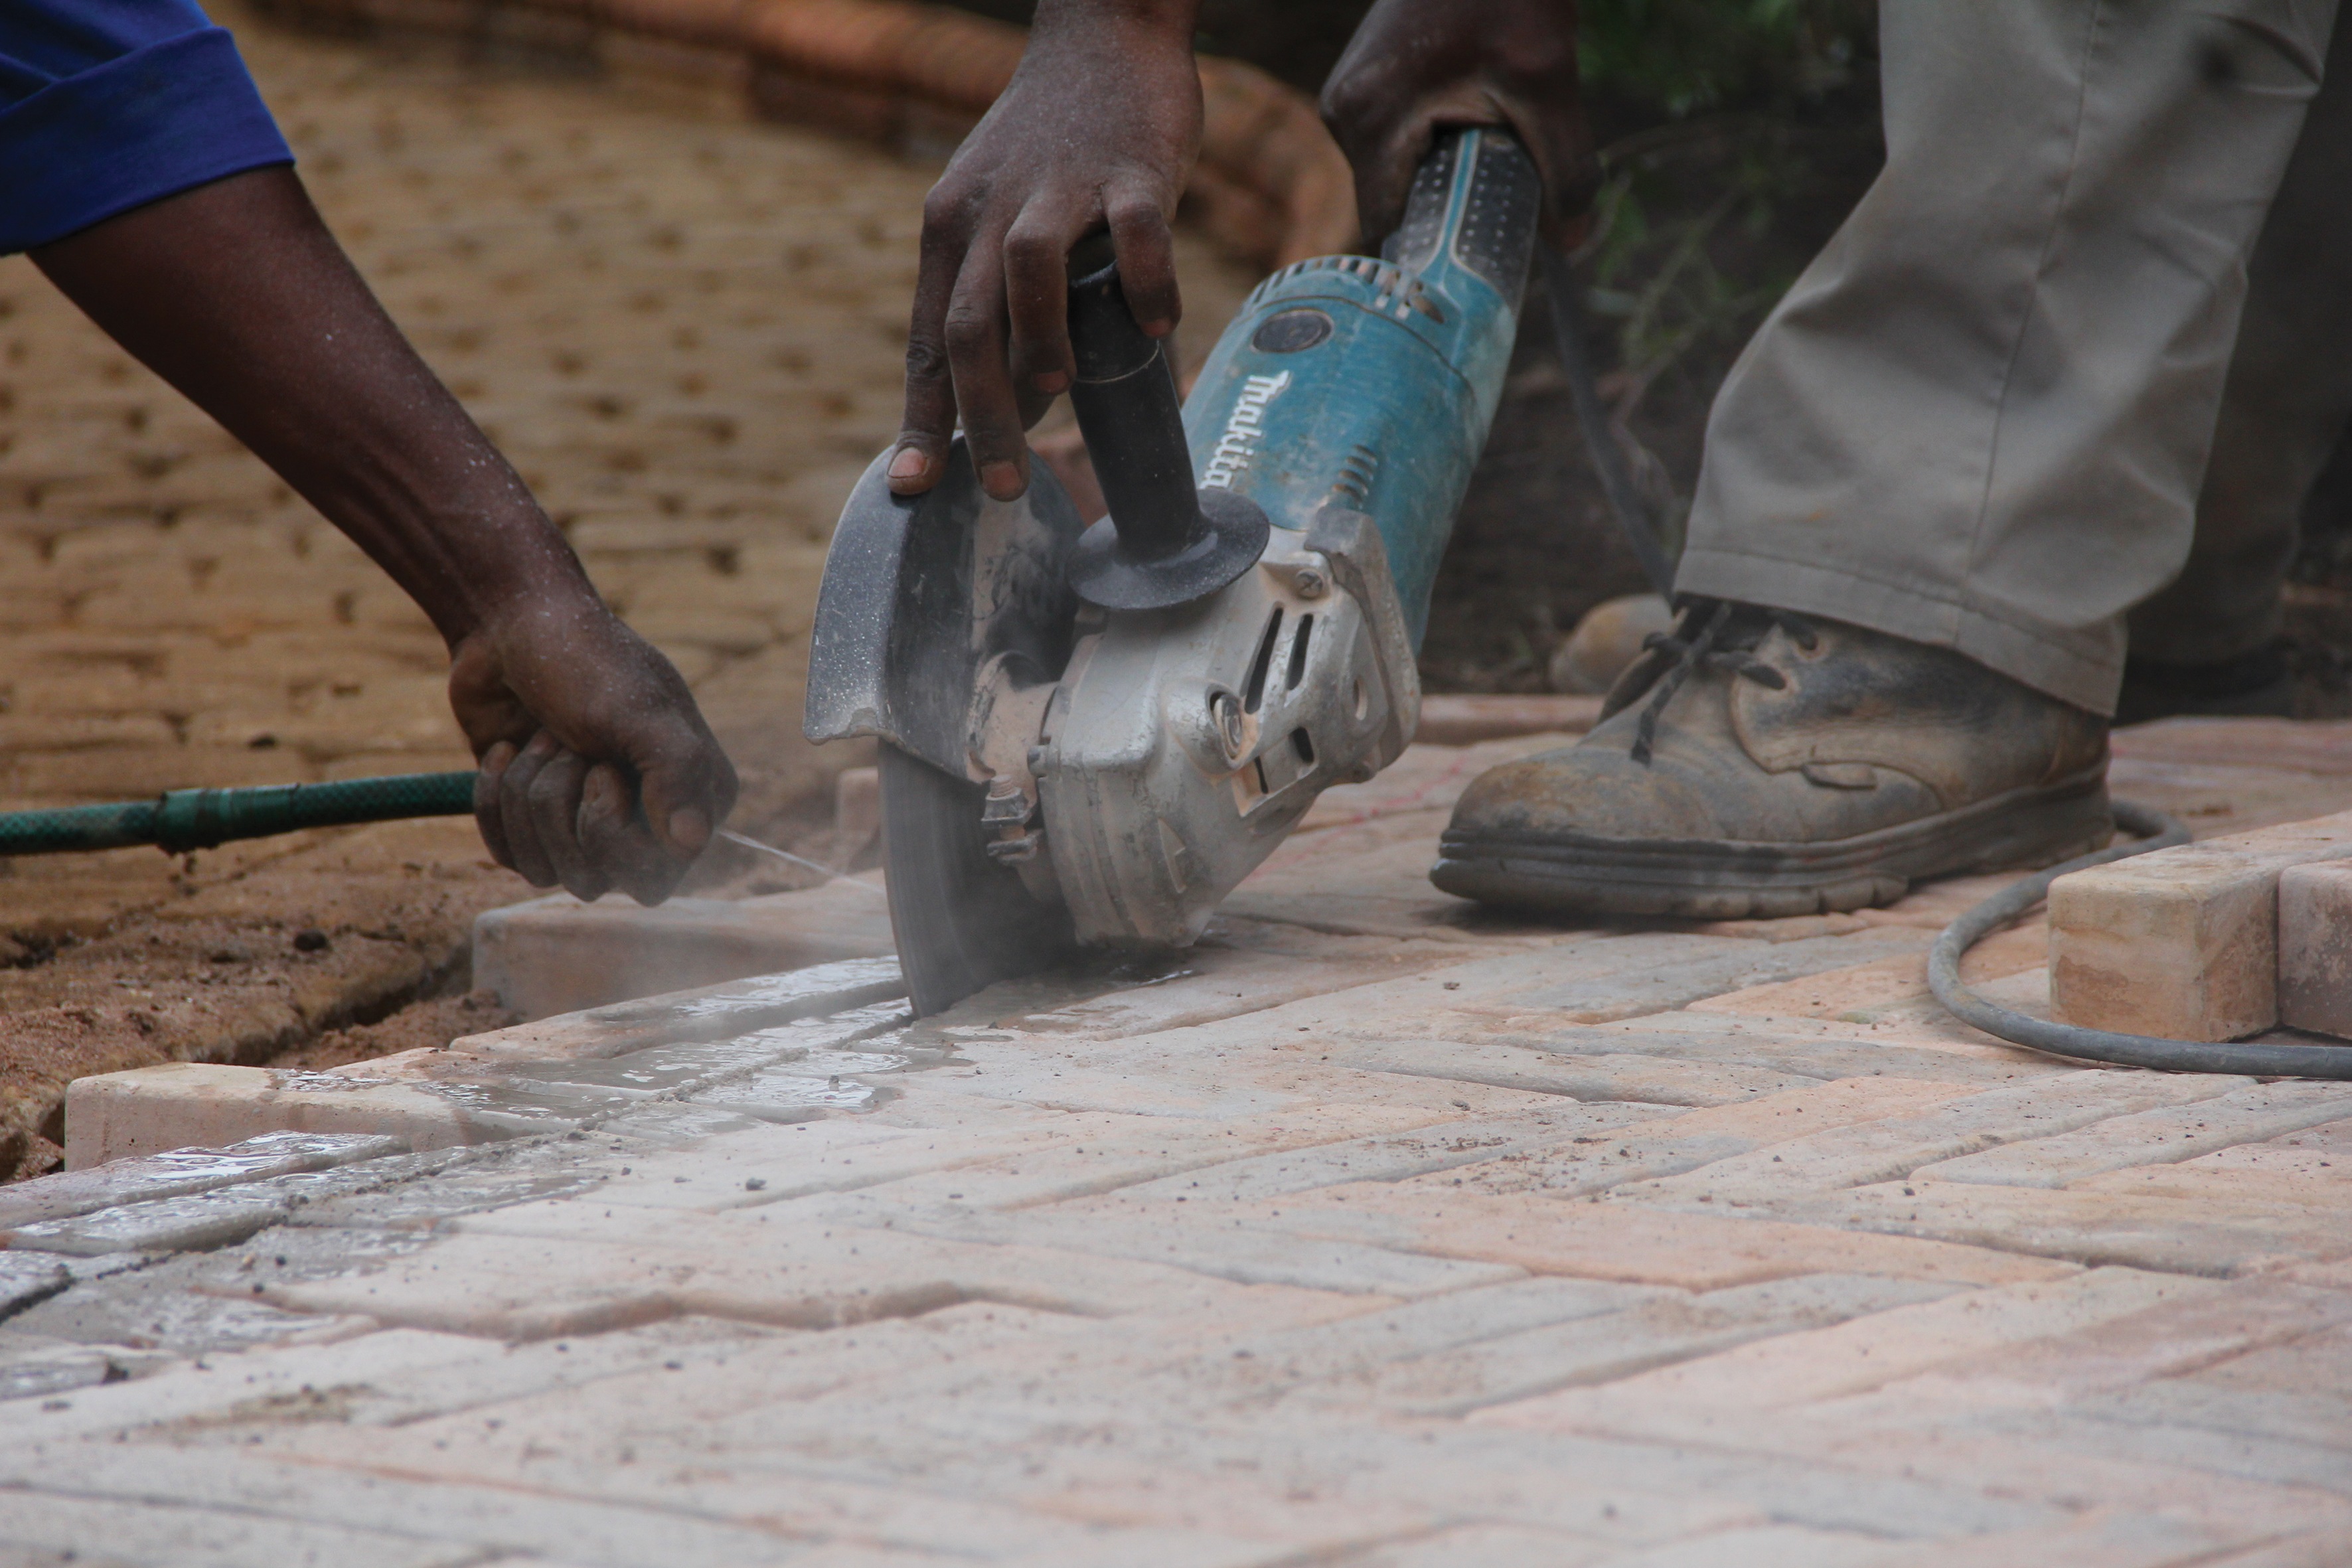
Once all the whole pavers for the header and inside are laid, you can cut the edge pavers. The easiest way is to cut them in situ. To do this you need to remove header course pavers and lay the pavers whole, then draw a cutting line with the builder’s crayon and a straight edge. Using an angle grinder, cut the pavers where they lie, on the inside of your drawn line.
Step 7
Replace the header course and tap lightly in place.
Step 8
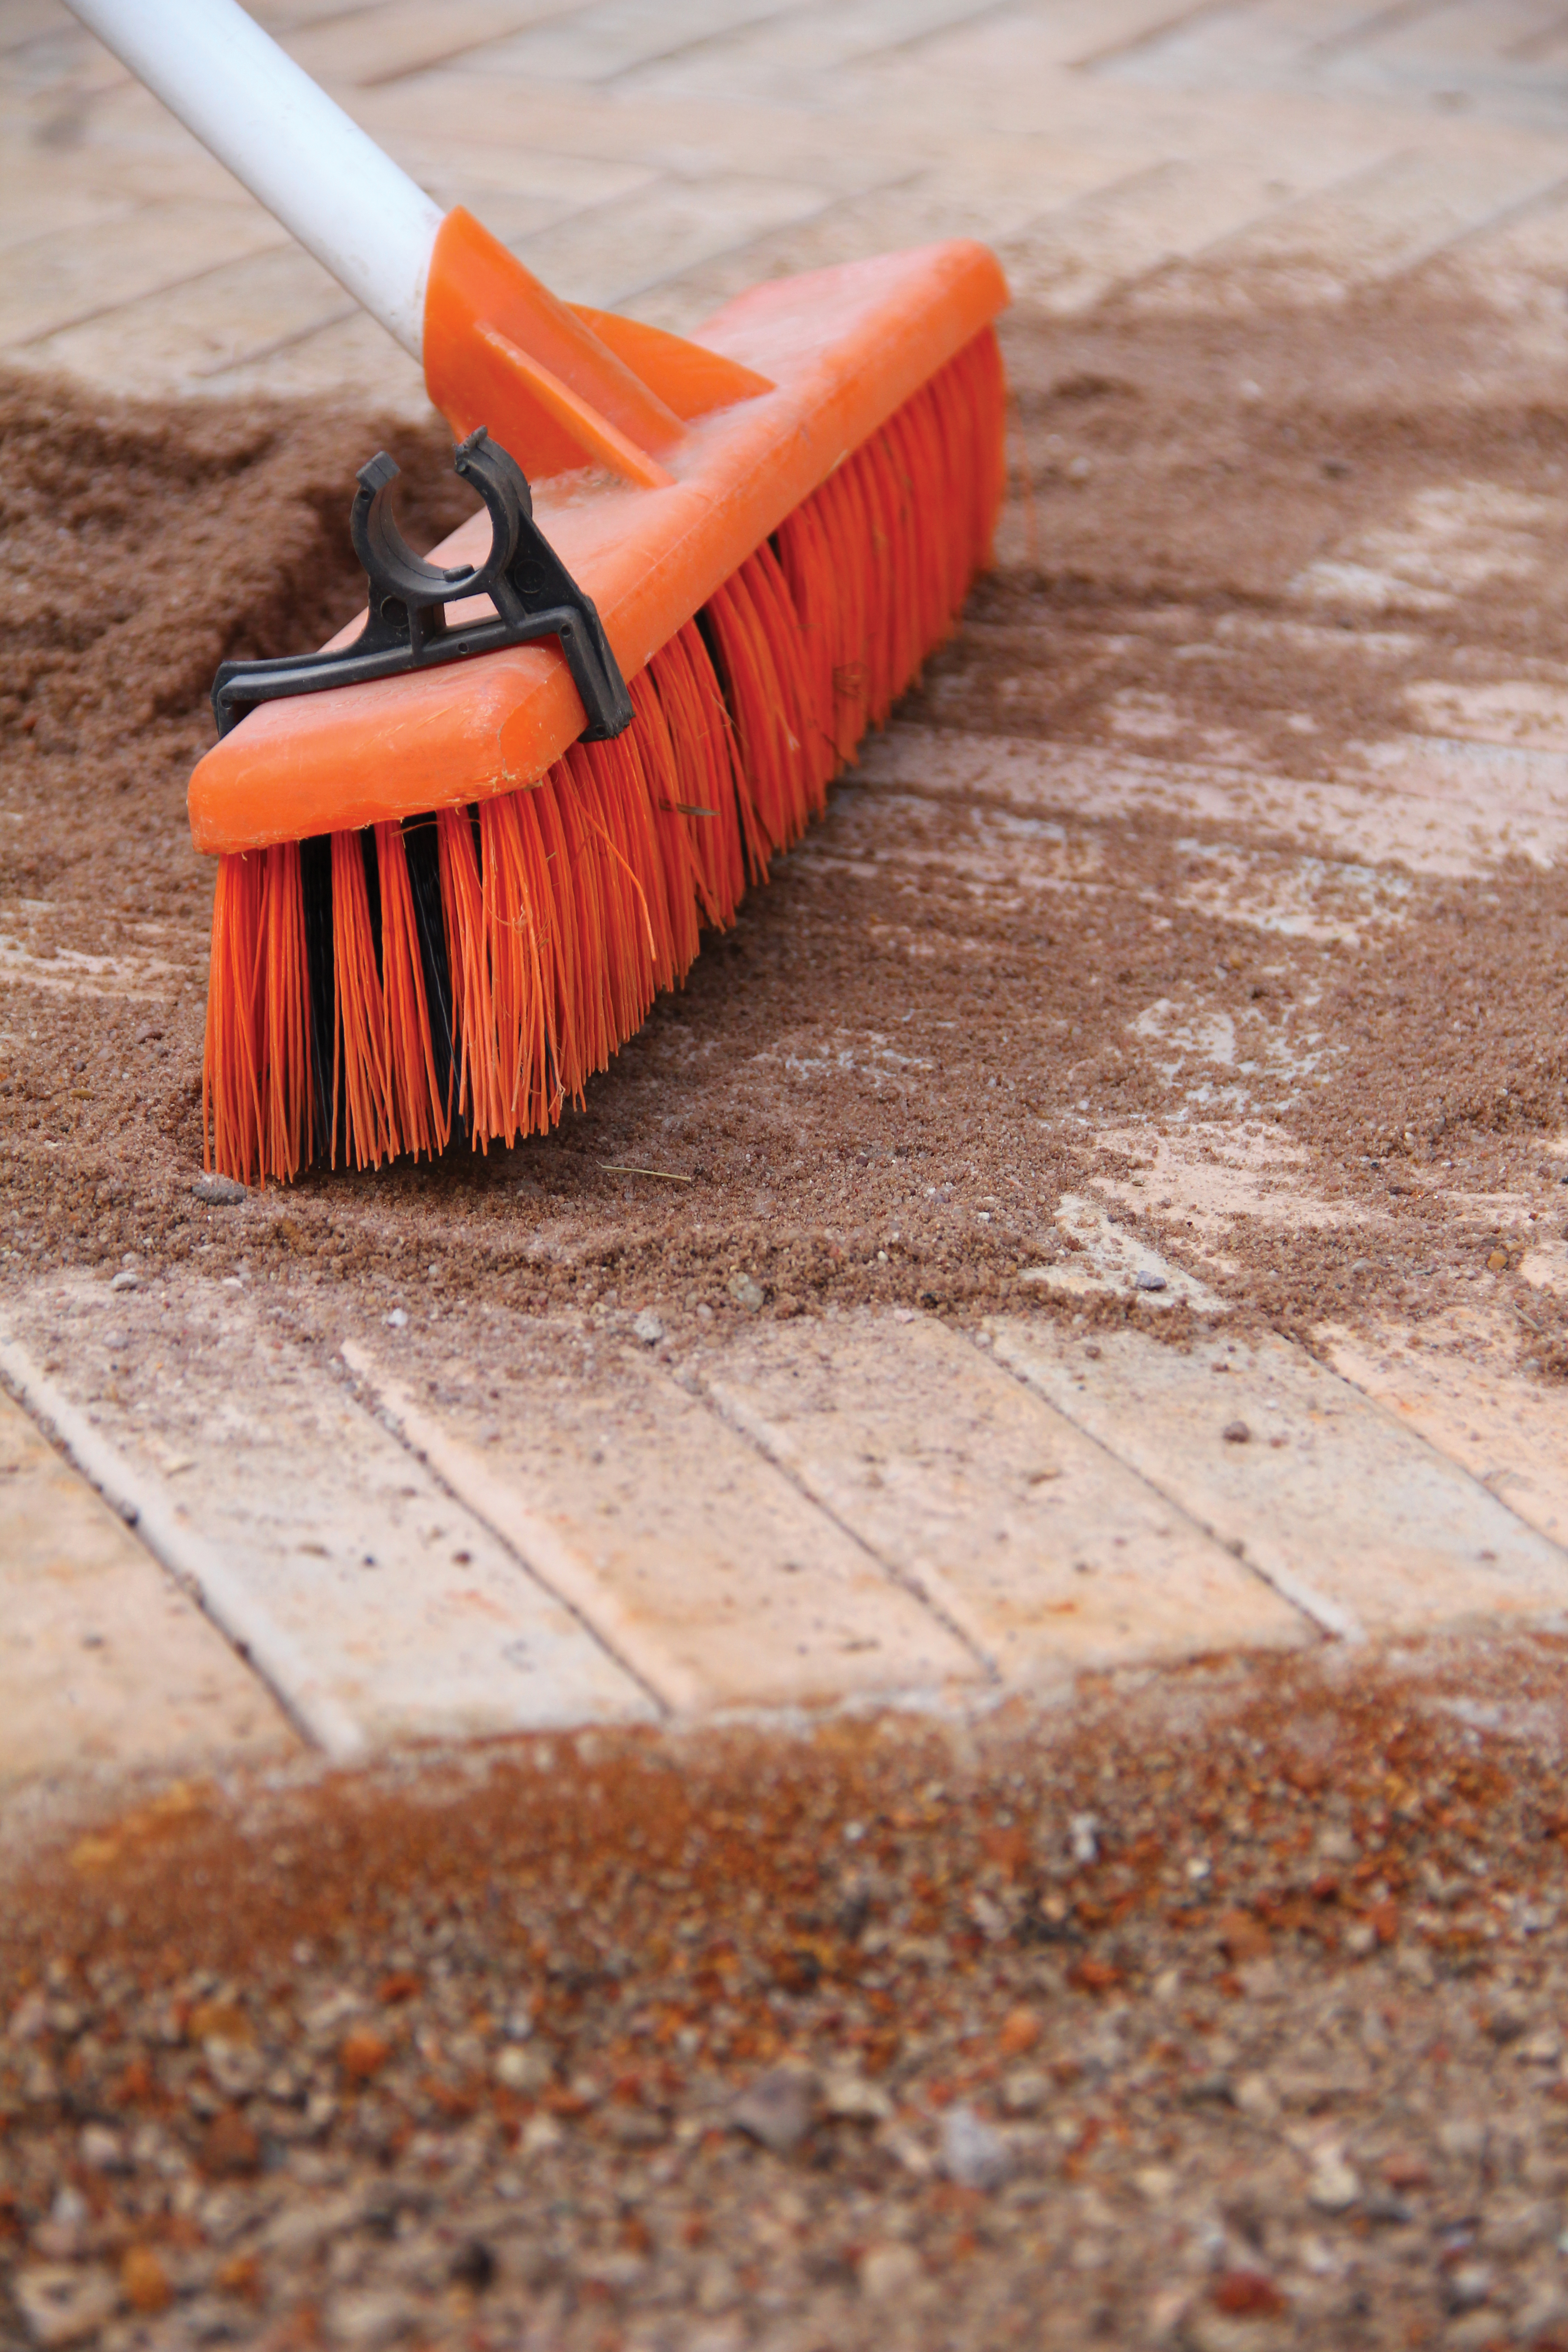
After laying is completed, make a dry mixture of 6 parts fine river sand and 1 part cement and brush this into the gaps between the pavers. Then, with a very fine mist attachment on your hose, very lightly water your paving, wiping each paver clean with a sponge afterwards.
Warning: if you use a hose without an attachment you will wash away the cement sand mixture before it has time to harden.
Credits
Referenced from Gallo images / Smartstone
Browse 1000’s of products available to you. Select your country to Shop Online.


