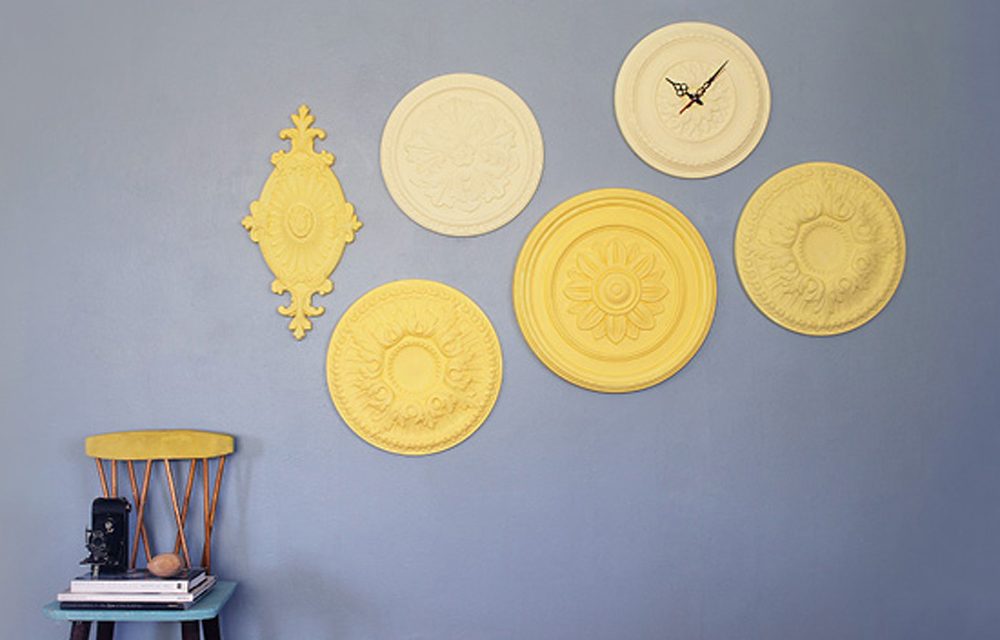
Give a feature wall some pizazz with some brightly-painted ceiling roses.
- Ceiling Rose collection of your choice
- A neutral colour for the wall. We chose Evolve’s Hermanus Mist in matt PVA
- Shades of your accent colours in a matt PVA. We chose yellow and used Modo’s Bumble Bee (PO21-W4), Glory Yellow (PO17-W2) and Bright (B002-05)
- Clock mechanism (available from your local craft store)
- Paintbrush
- Roller and tray
- Drill
- No More Nails adhesive putty
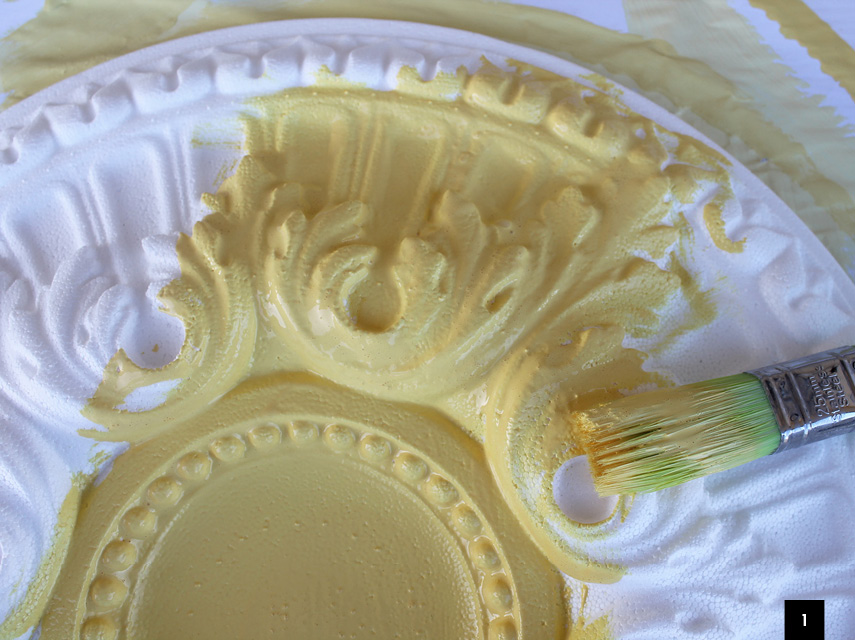
Step 1
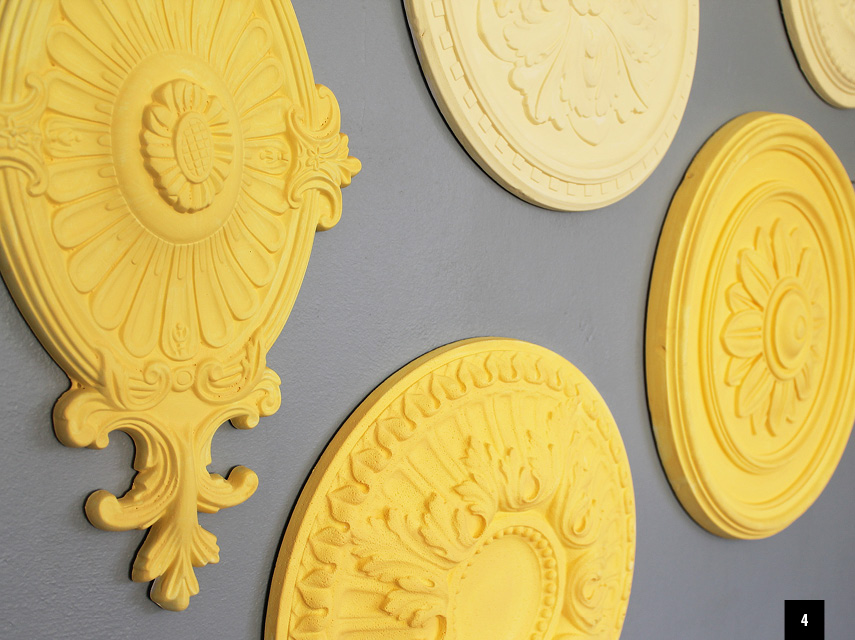
Paint your ceiling roses in different shades of your accent colour. We have painted the bigger ones in Modo Bumble Bee, medium-sized ones are in Bright and the small roses are Glory Yellow to create a gradient effect. This contrasts beautifully with the grey Hermanus Mist on the wall and truly makes them pop.
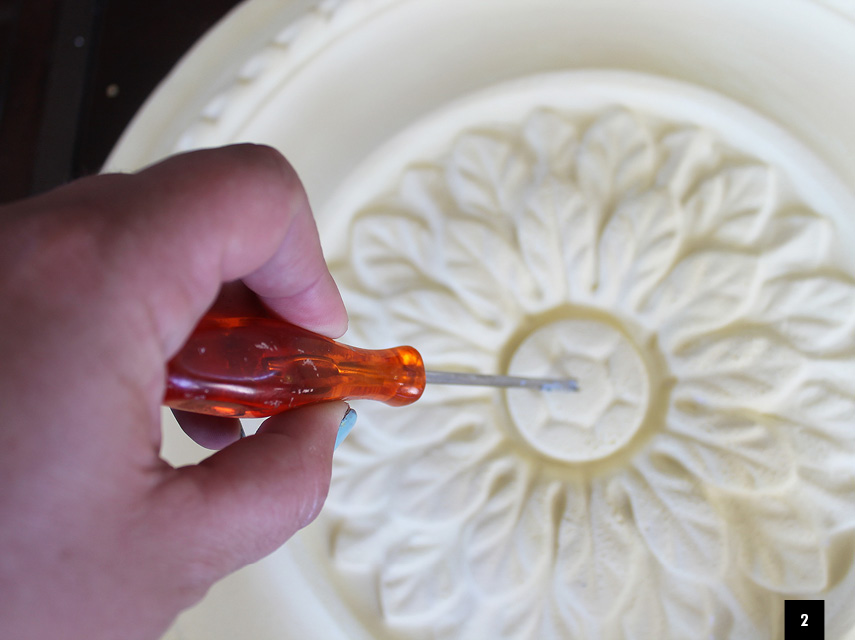
Step 2
Drill a hole in the ceiling rose you want to convert into a wall clock. Be sure that you choose a ceiling rose with a cavity at the back and that it is deep enough for the battery pack to slip into so it will be flush against the wall when finished.
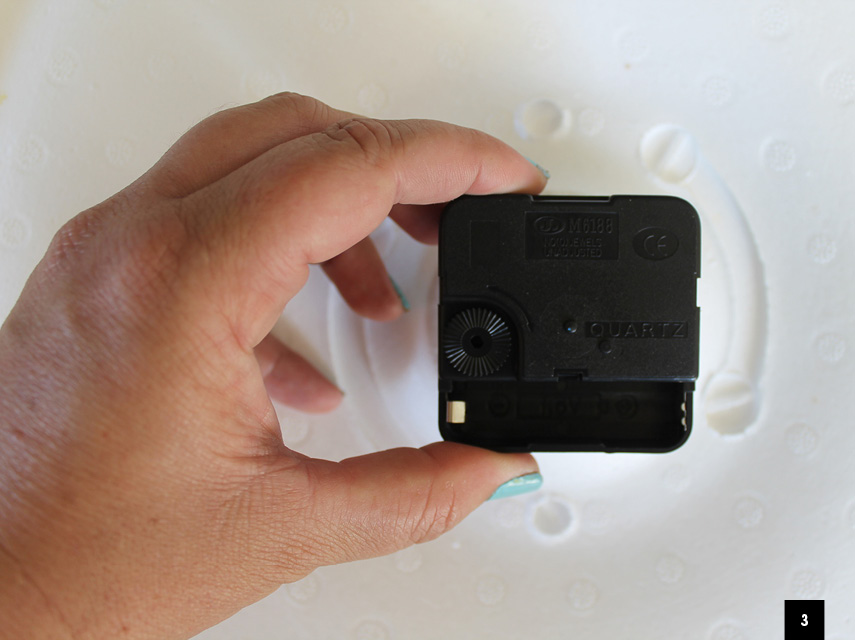
Step 3
Now add the arms of the clock (as per instructions) at the front of the ceiling rose and clip it to the back of the mechanism. Add a battery and set to the correct time.
Step 4
Ceiling roses are very lightweight so you don’t need to drill holes in the wall to attach them. Simply use an adhesive such as No More Nails. This is such a refreshing new way of incorporating ceiling roses into your home and with their detailed designs they are pieces of art in their own right.

