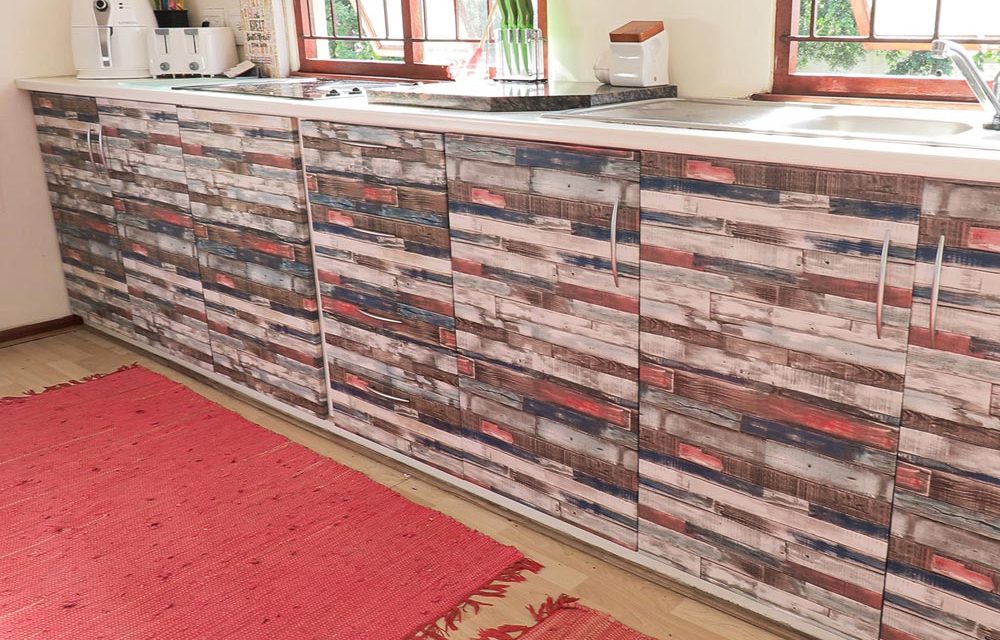
Cupboard doors needn’t be replaced – you can give them a totally new look quickly and easily with Con-Tact adhesive vinyl.
You will need:
- A cupboard door in need of a revamp
- Con-Tact Plastic Vinyl
- Thinners
- Cloth
Tools: Scissors, utility knife with a sharp blade, Con-Tact application squeegee, ruler or tape measure, pencil. You may also need a hairdryer to soften the plastic – this helps in getting the contact neatly around the corners.
Modernising a kitchen can be expensive if you need to replace cupboard doors. Here’s a way to keep the doors and cut down on costs, but still get that modern look you’re craving.
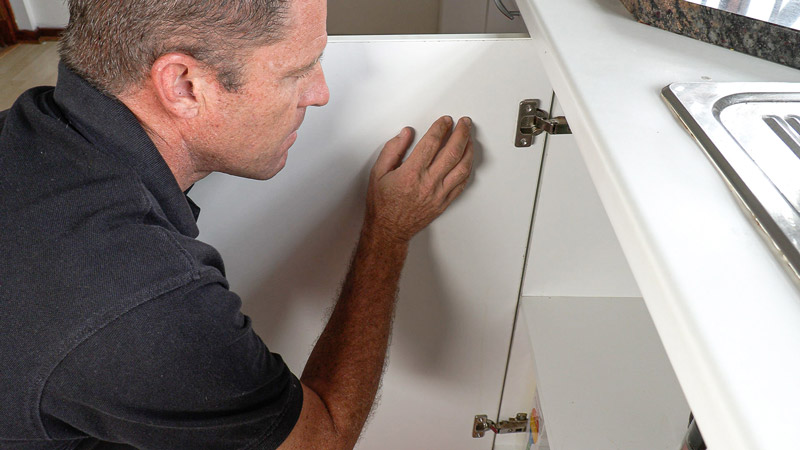
Step 1
Remove the door from the hinges so that you can work on it on a flat surface.

Step 2
Remove the door handle; set it and its screws aside for later.
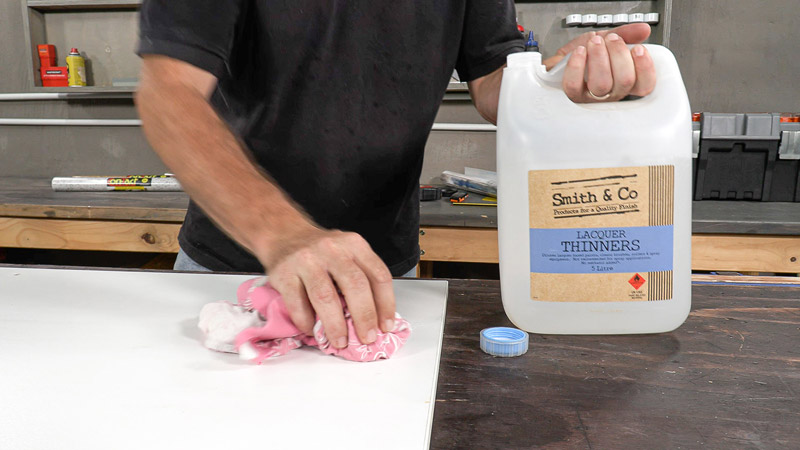
Step 3
Ensure that the door is clean and free from grease and other residue before applying the vinyl, so wipe it down with some thinners. Leave until completely dry.
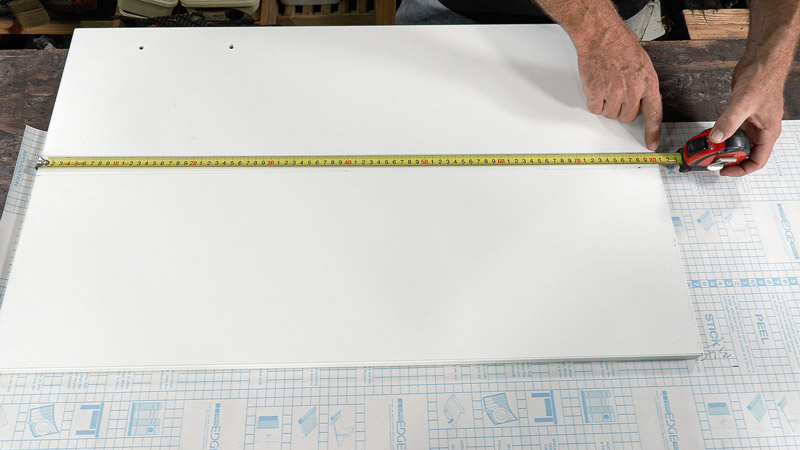
Step 4
Rolls of Con-Tact vinyl are 450 mm wide and 5 m long and this door is 500 mm wide. This means there will have to be a join in the vinyl. Instead of having a join near one edge, a join in the centre will be neater. To do this, make a mark at the midpoint of the door (250 mm from each side) and draw a faint line.
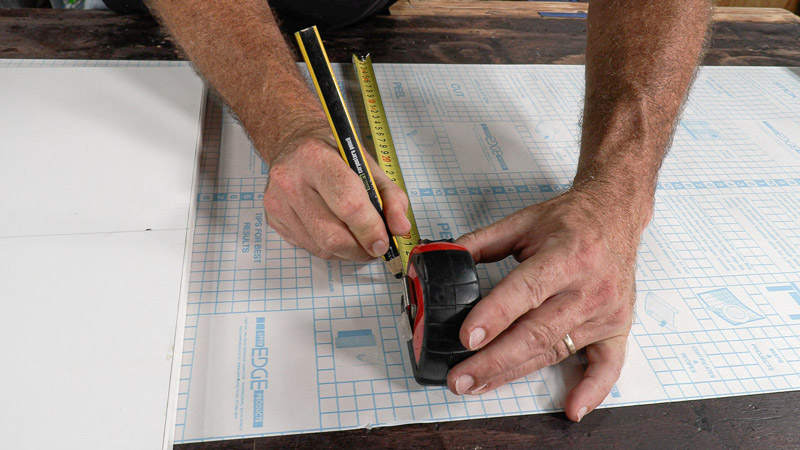
Step 5
Con-Tact recommends an overlap of 20 mm when joining vinyl. We also need to take the edges (20 mm) of the door into account, as well as an extra 50 mm to stick onto the back of the door. If we add that and the 250 mm together we get 340 mm – this is how wide we need to cut the vinyl.
Step 6
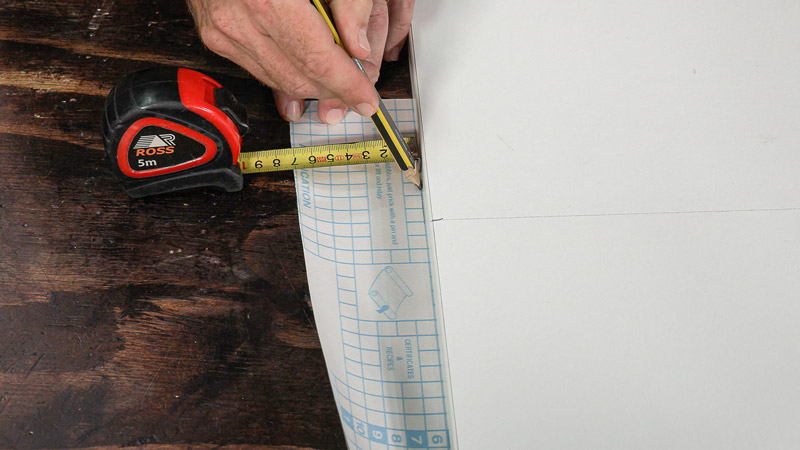
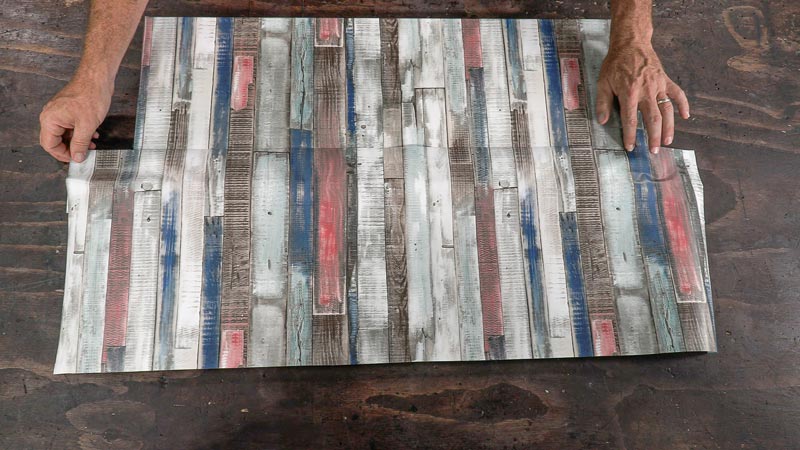
For the length we need, we add the height of the doors (805 mm in this case) to 40 mm for the two edges and 100 mm for the back of the door. That comes to 945 mm. Mark out two lengths of 945 mm x 340 mm and cut them with scissors. The vinyl has a grid on the back that helps with cutting straight lines.
Step 7
With the help of a friend, peel back the waxy backing sheet and tuck it out of the way. Carefully line it up with the centre line of the door and start it so that you have 70 mm extra at the end, for the overlaps.
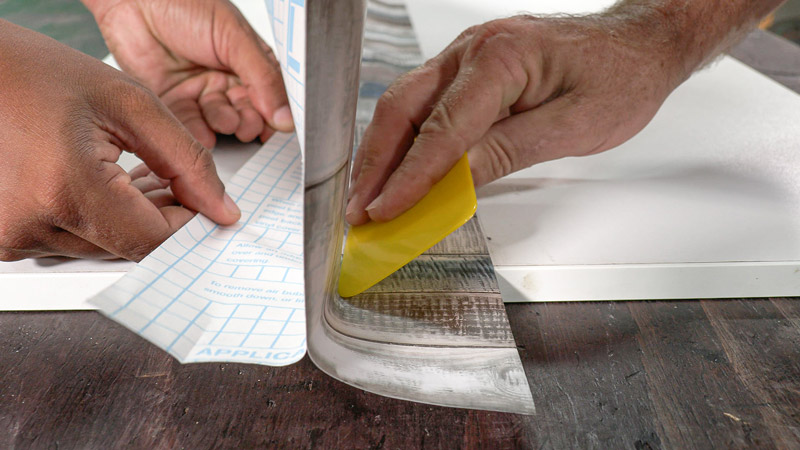
Step 8
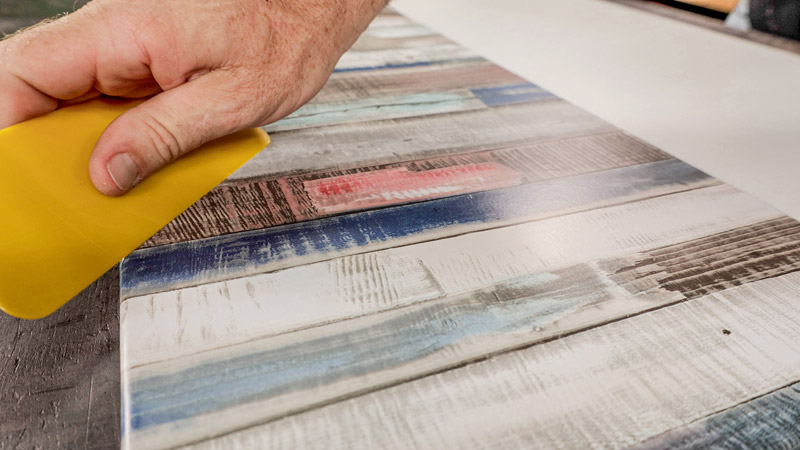
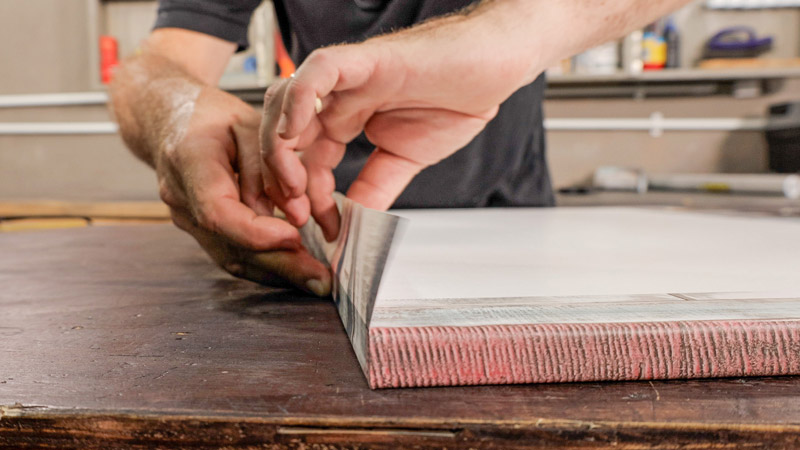
Now to start application: Work slowly and don’t push too hard or you can stretch the vinyl. Use the Con-Tact squeegee to gently smooth the Con-Tact into place. You will probably get a few bubbles – as you see them, carefully lift the Con-Tact and try to reapply. If this doesn’t work, use a pin or the utility knife to make a tiny hole or slit and squeeze the air out.
Step 9
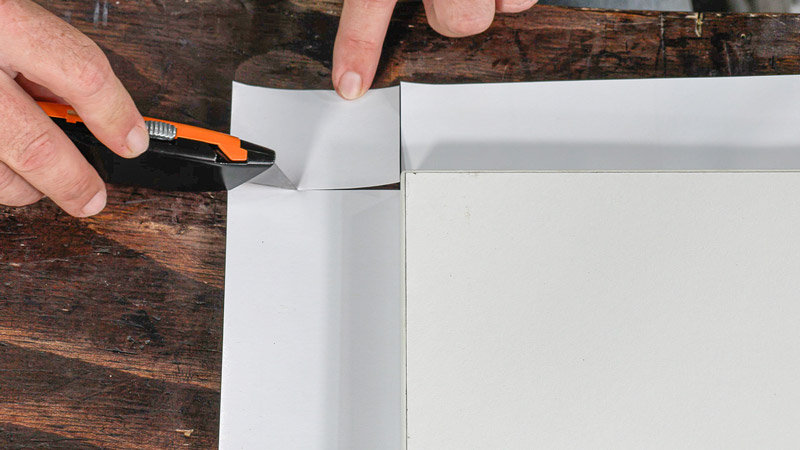
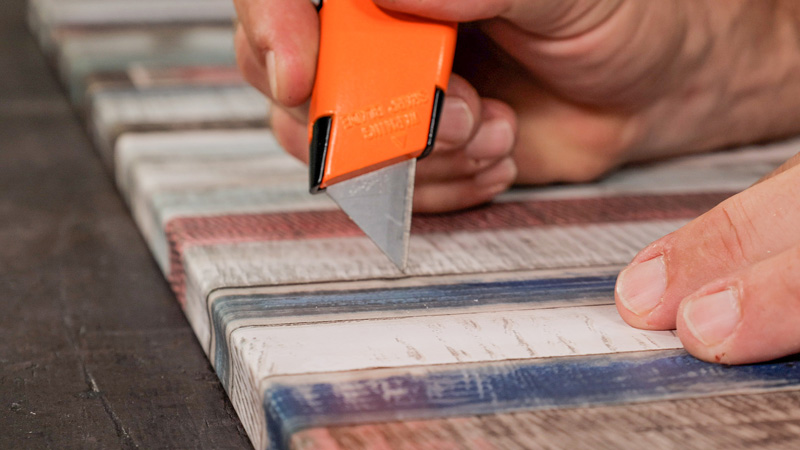
Flip the completed door over. Cut a straight line from the edges of the door and remove the resultant squares.
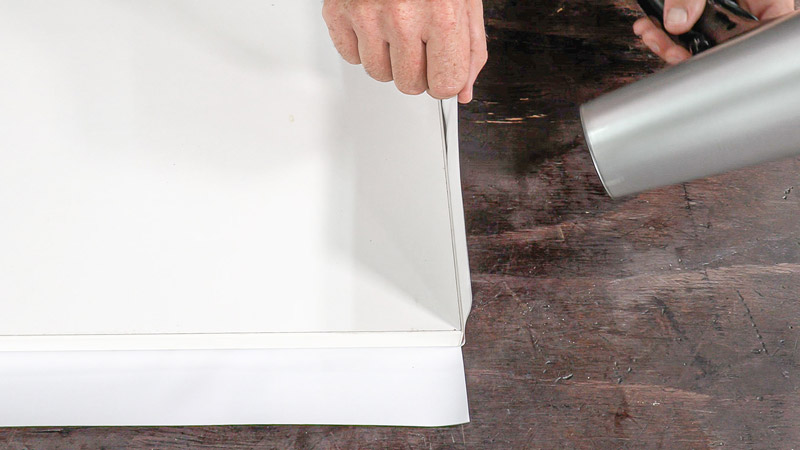

Step 10
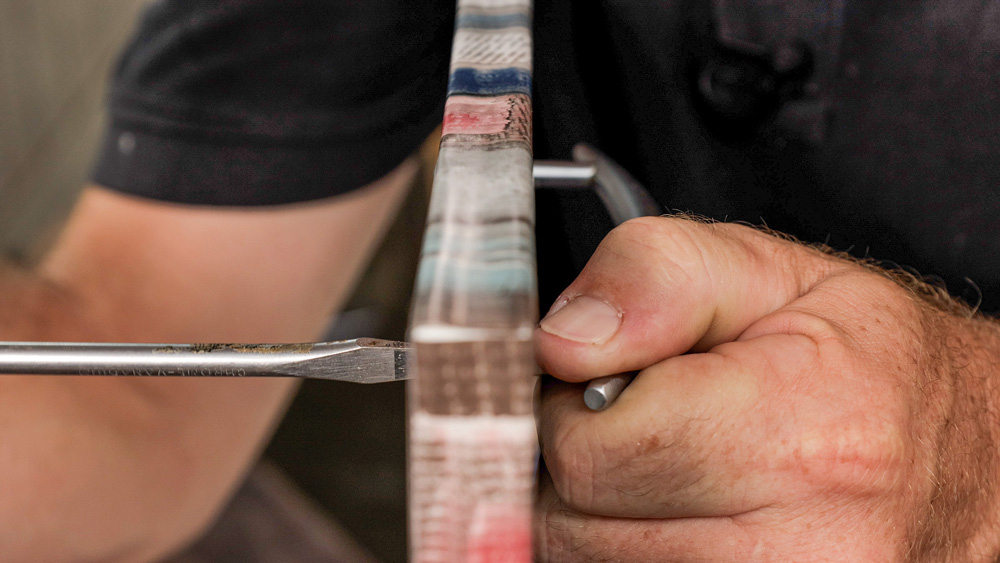
Use a hairdryer to soften the vinyl at the edges and then fold over.
Step 11
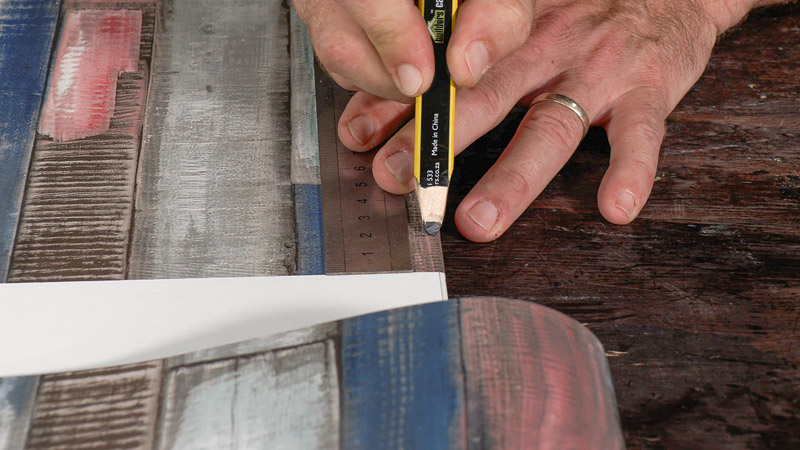
Before applying the second sheet, make a very faint line on the first sheet, 20 mm from its edge.
Step 12
Apply the second sheet in the same way as the first, lining it up with the mark on the first sheet.
Step 13
Use a utility knife to cut holes where the screws and hinges need to go.
Step 14
Refit the door handle.
Step 15
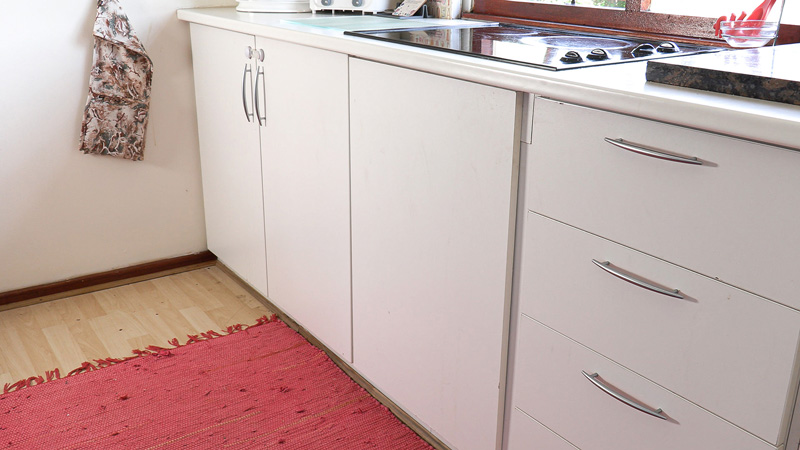
Refit the door and you’re done. What a difference this simple DIY has made!
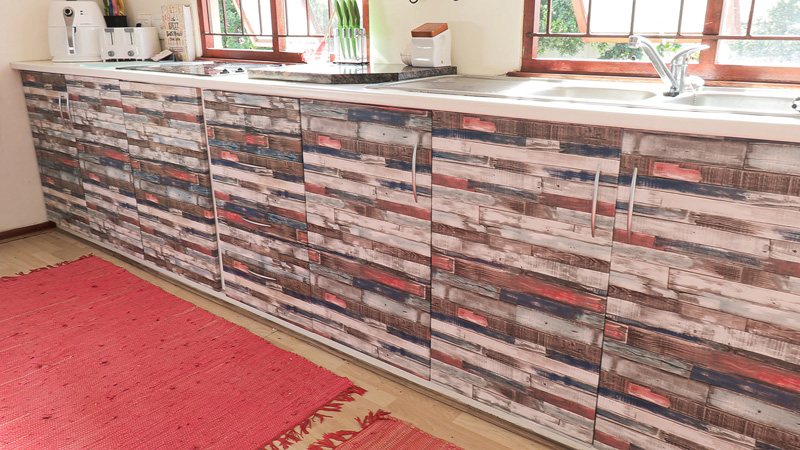
This really is an easy DIY that just about anyone can do. You also don’t need any expensive tools or equipment, and it’s a quick, no-mess project. Con-Tact vinyl is easy to use and has a wide range of applications: you can jazz up old office furniture, add some character to your fridge or chest freezer, or even cover a door in your house. With a few sheets of Con-Tact and your imagination, there really are no limits.
To see the Con-Tact range and to buy the tools you need for this DIY, visit your nearest Builders store or www.Builders.co.za.
Browse 1000’s of products available to you. Select your country to Shop Online.


