Make this simple towel rail ladder out of some repurposed home materials – a simple and quick DIY!
- Pine PAR – 3 x 32mm x 69mm x 2.4m
- Chalk paint
- Coarse sand paper
- Wood stain
- Wood glue
- Tape measure
- Pencil
- 60mm cut screws
- Cordless drill
- 4mm wood bit
Cutting list
- 2 Sides: 1.8m x 32mm x 69mm
- 5 Rungs: 450mm x 32mm x 69mm
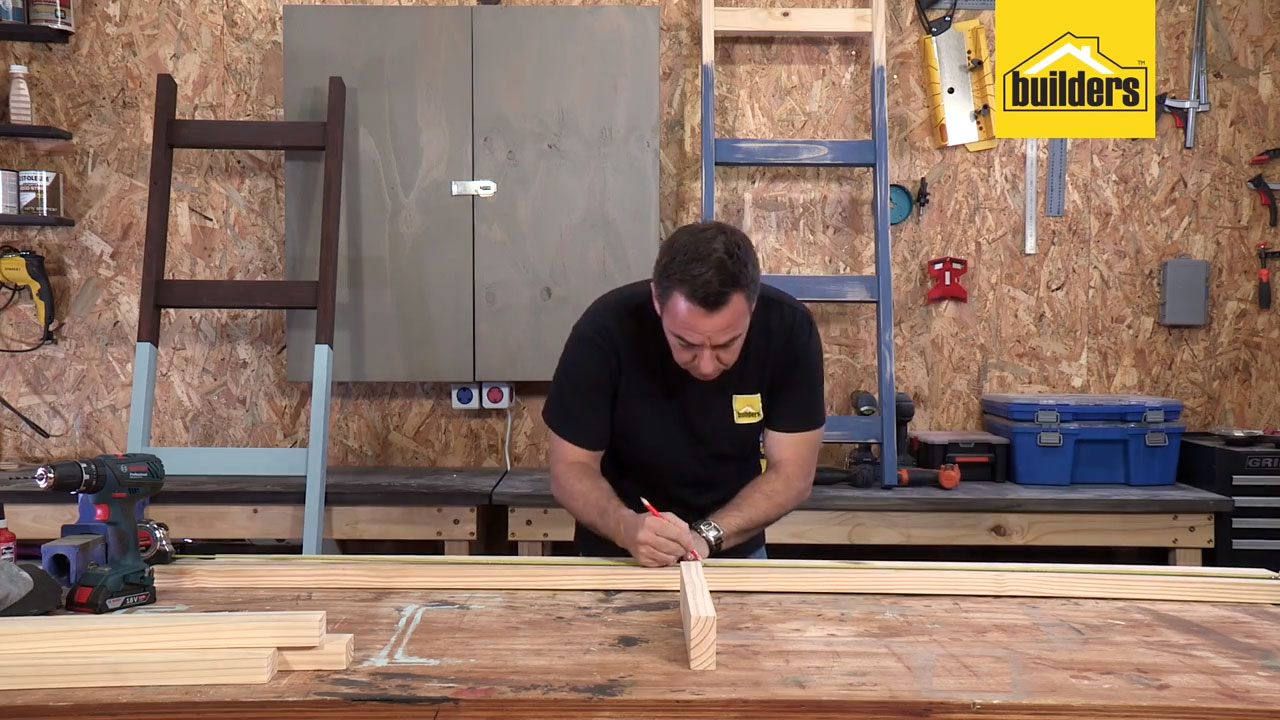
Step 1
Use a pencil and mark where to place the rungs along the sides. Start the first rung 150mm from the end and space the rest equally on the uprights.
Step 2
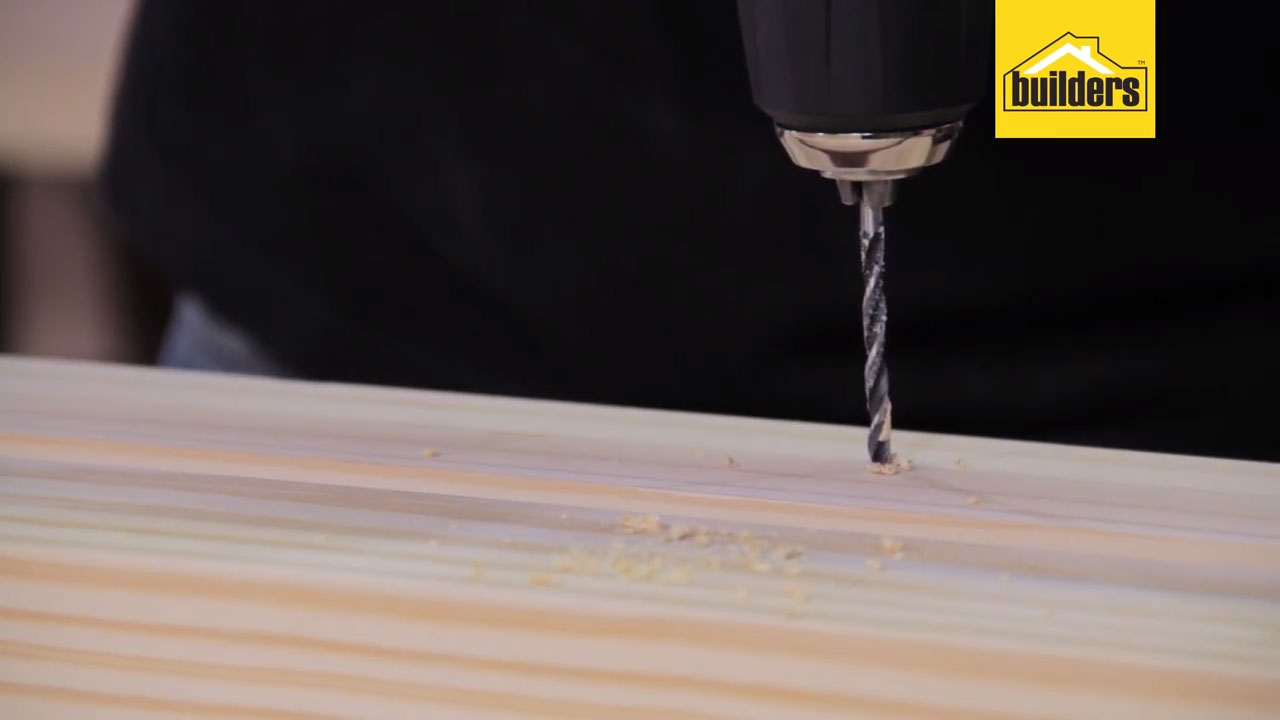
Drill holes at the marked points.
Top Tip: Place a piece of scrap timber beneath the wood you are drilling into to avoid the drill going into your work surface.
Step 3
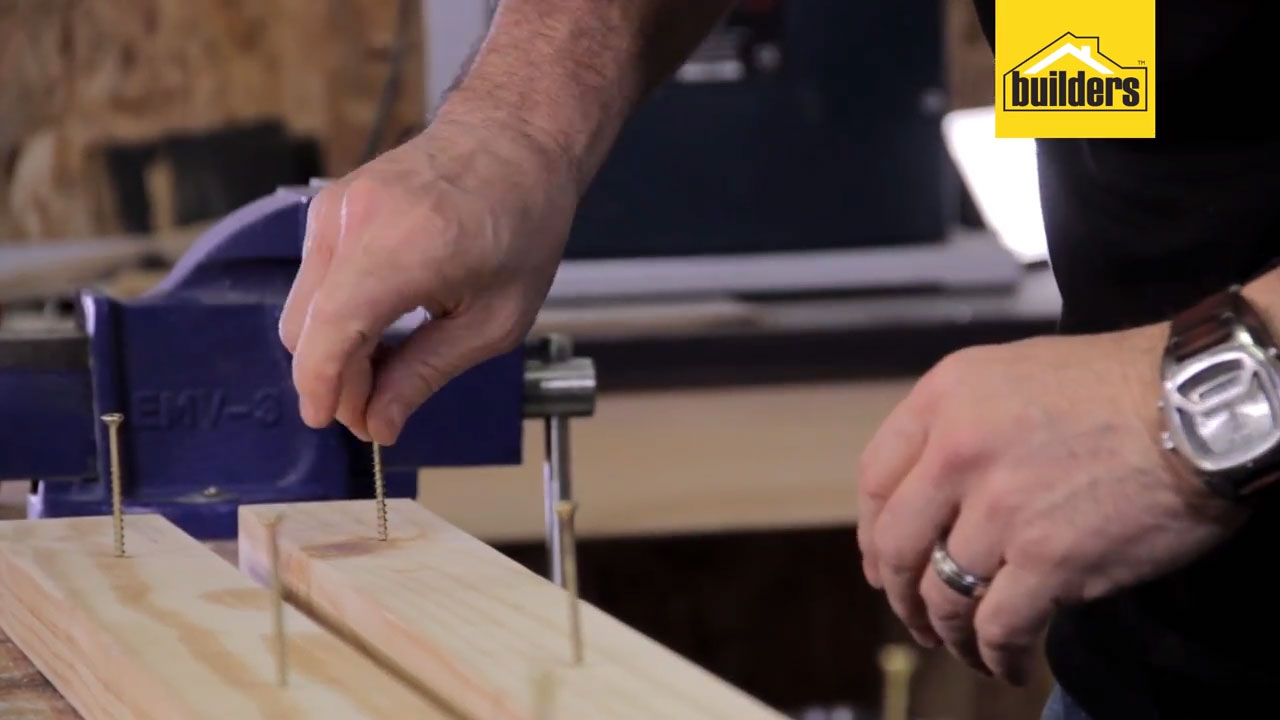
Start the screws in the pre-drilled pilot holes and then screw the rungs into place. Turn one side over and line up the rungs.
Step 4
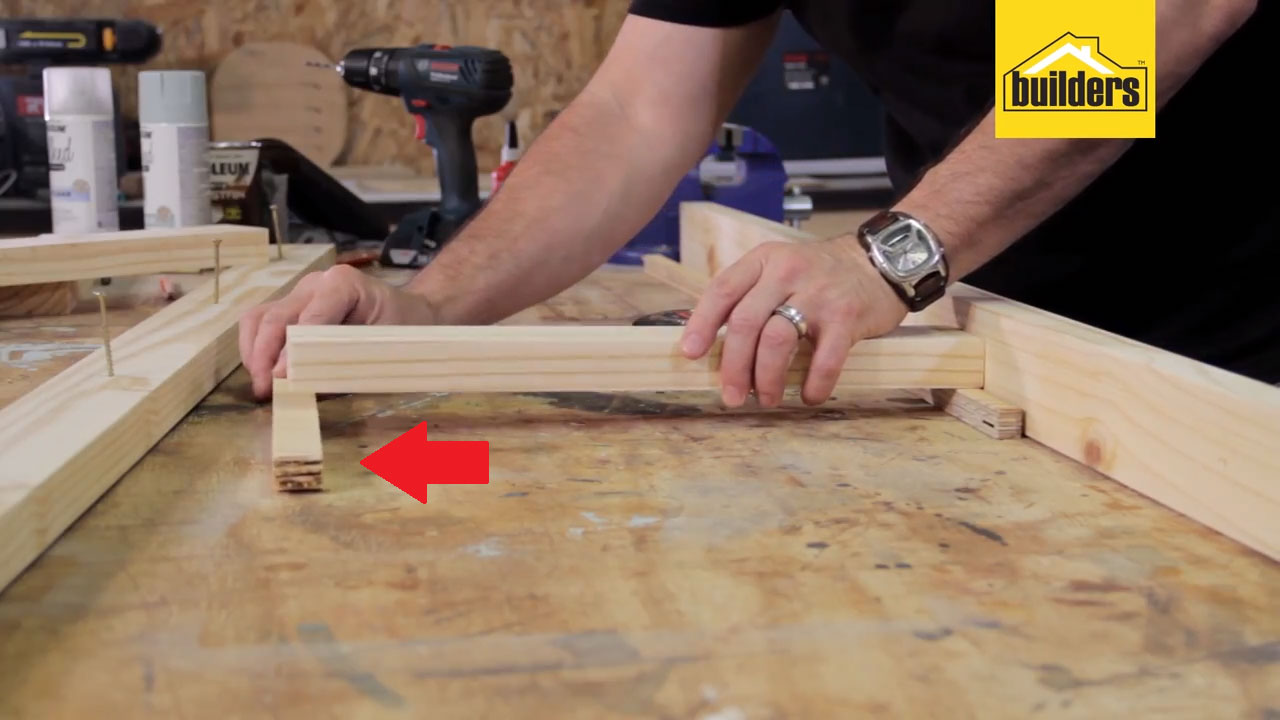
Make use of a spacer beneath the rung to make sure it sits at the correct height.
Step 5
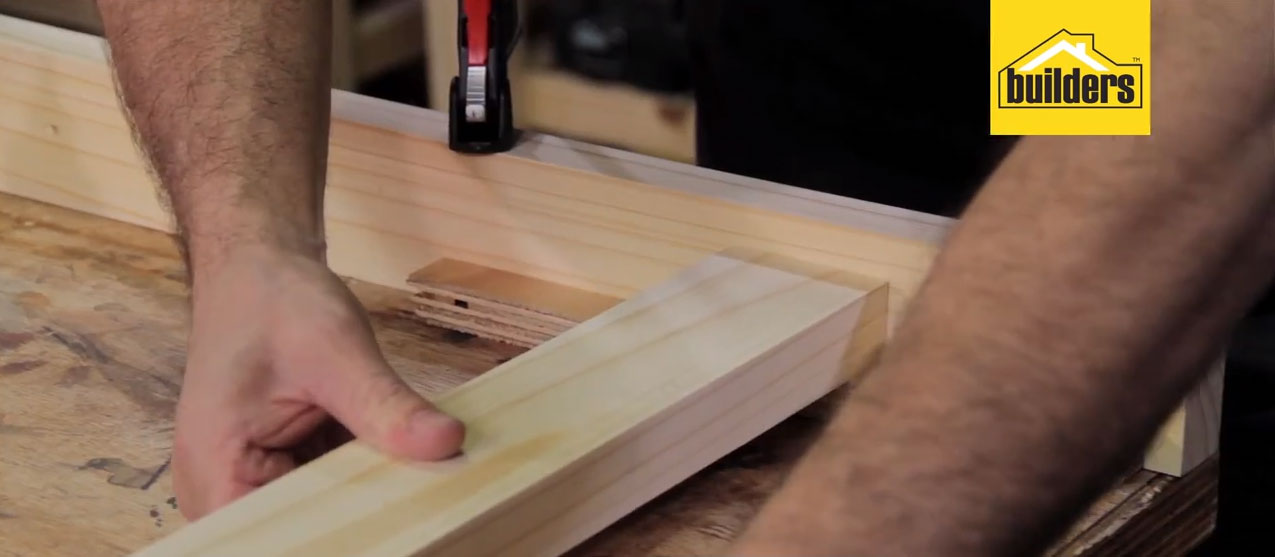
Start at one end of your ladder and make your way upward. Use wood glue on the mating surfaces as well as screws to ensure a solid bond. Repeat the process for each rung.
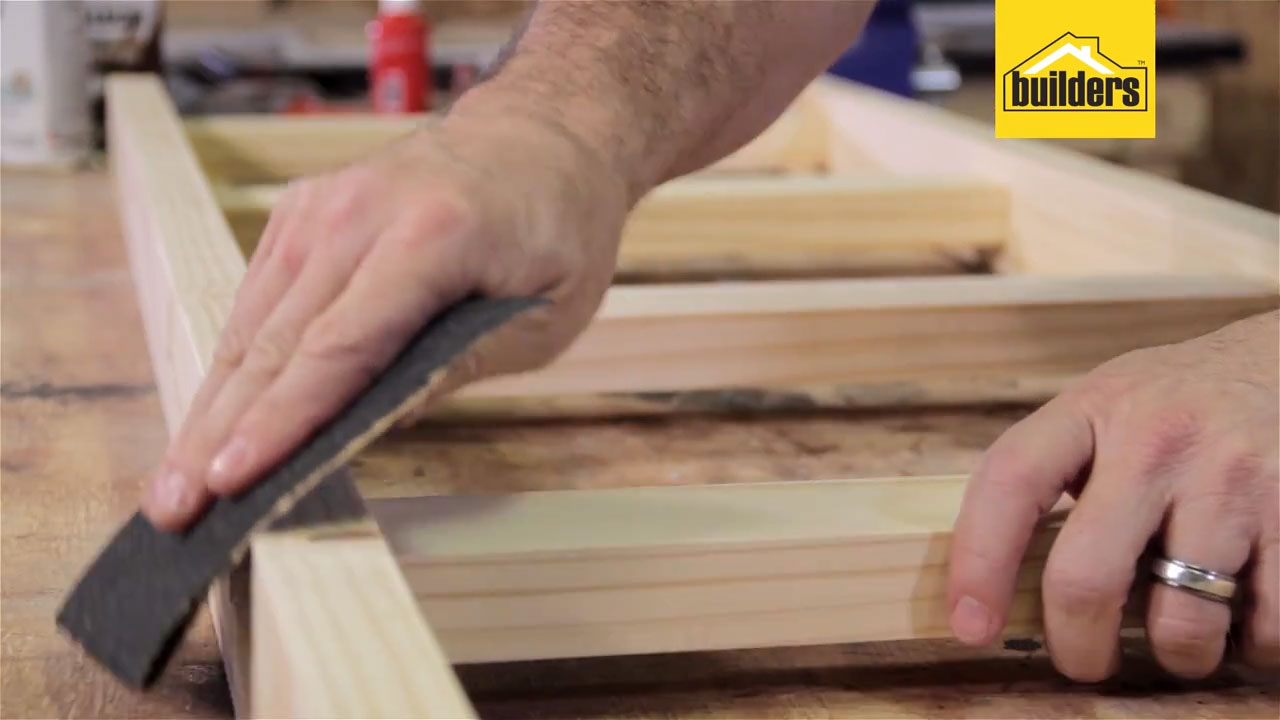
Step 6
Once all the rungs are attached, sand the ladder to add more texture to the wood and also to smooth any rough or sharp corners.
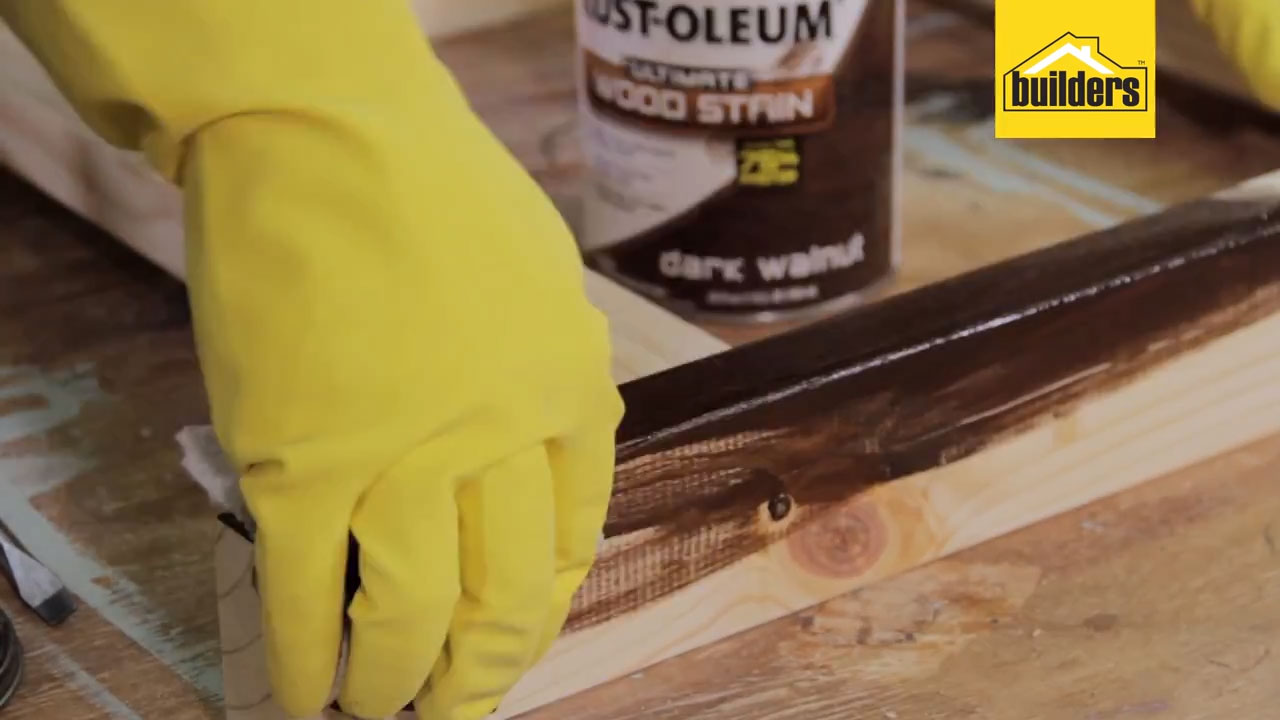
Step 7
Stain the ladder in a colour of your choice.
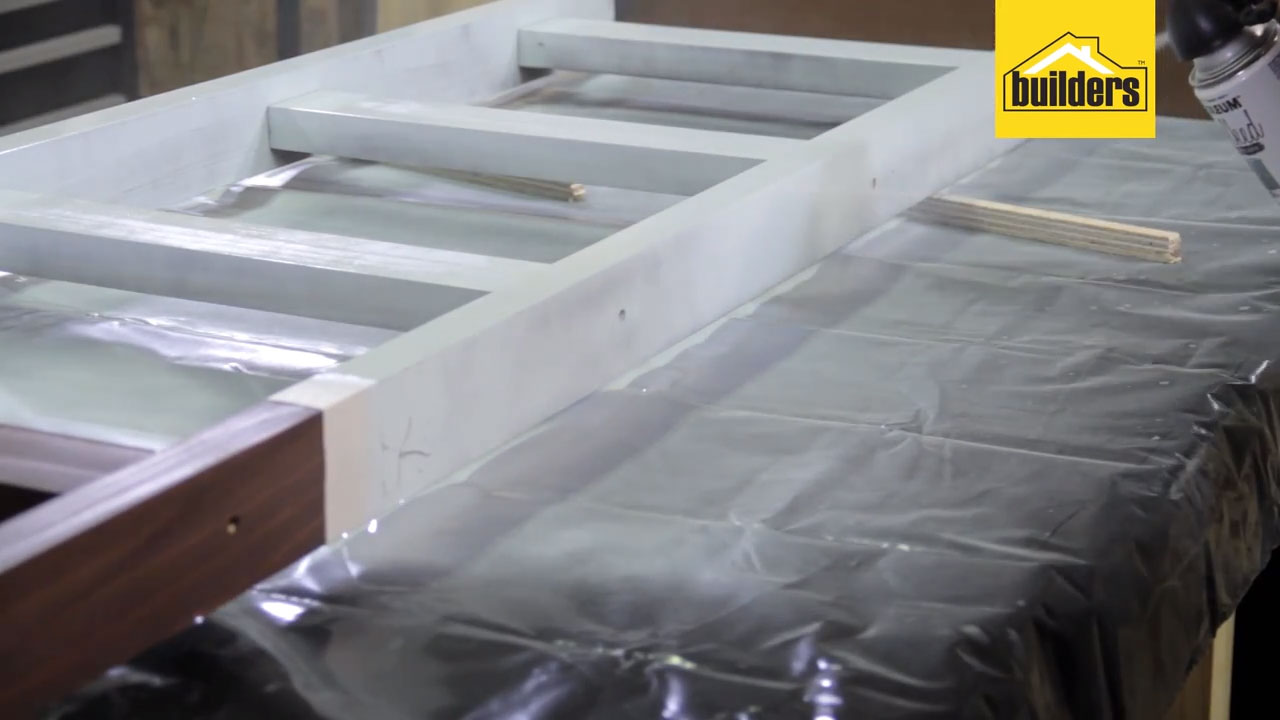
Step 8
Once the stain is dry, apply chalk paint to one end. Use masking tape to section off the side of the ladder you want painted.
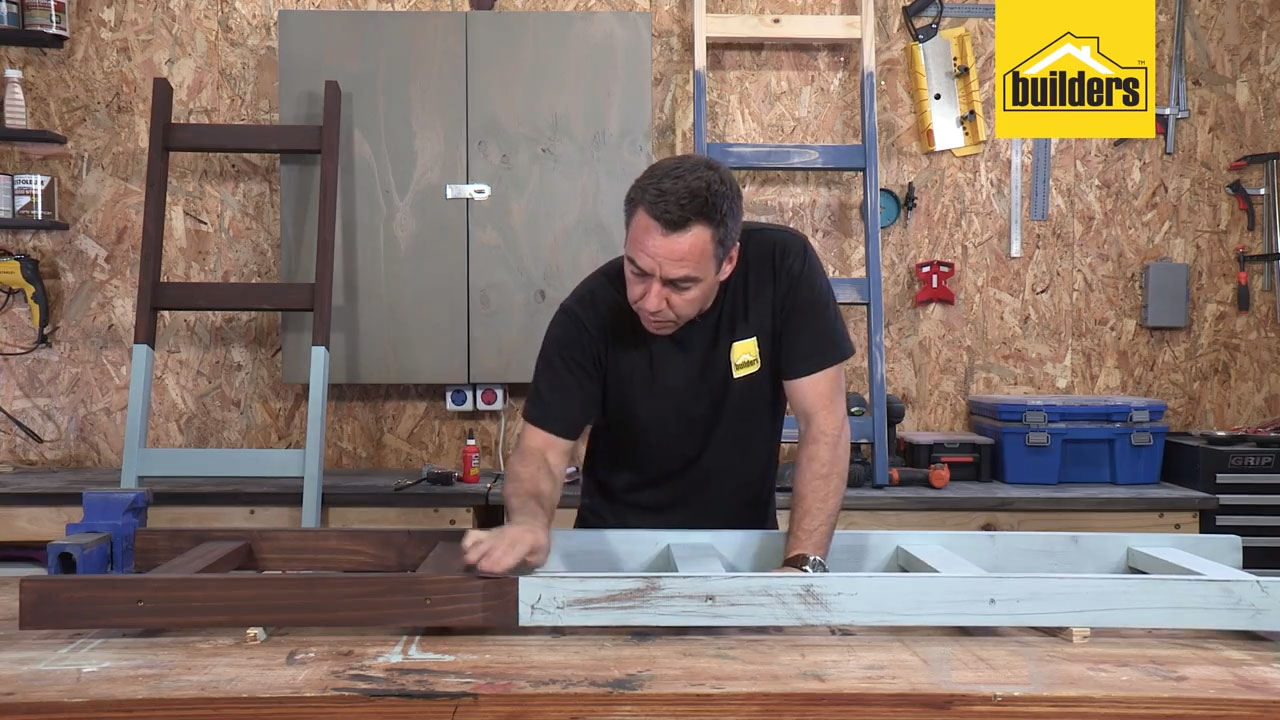
Step 9
Finally, once the paint is dry you can use sand paper to give the ladder a rustic, earthy look or simply leave it as is.

