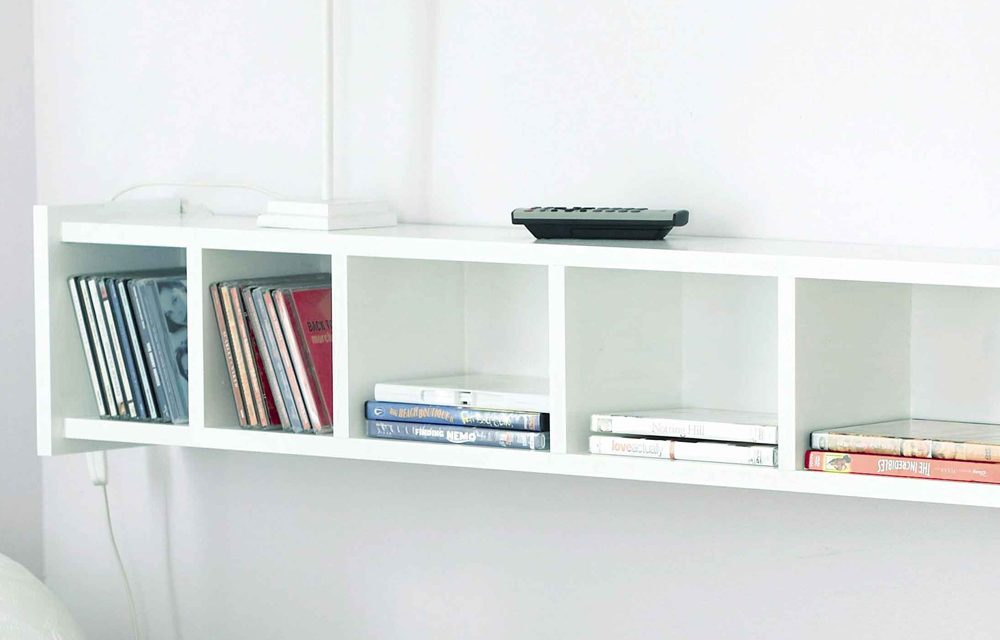
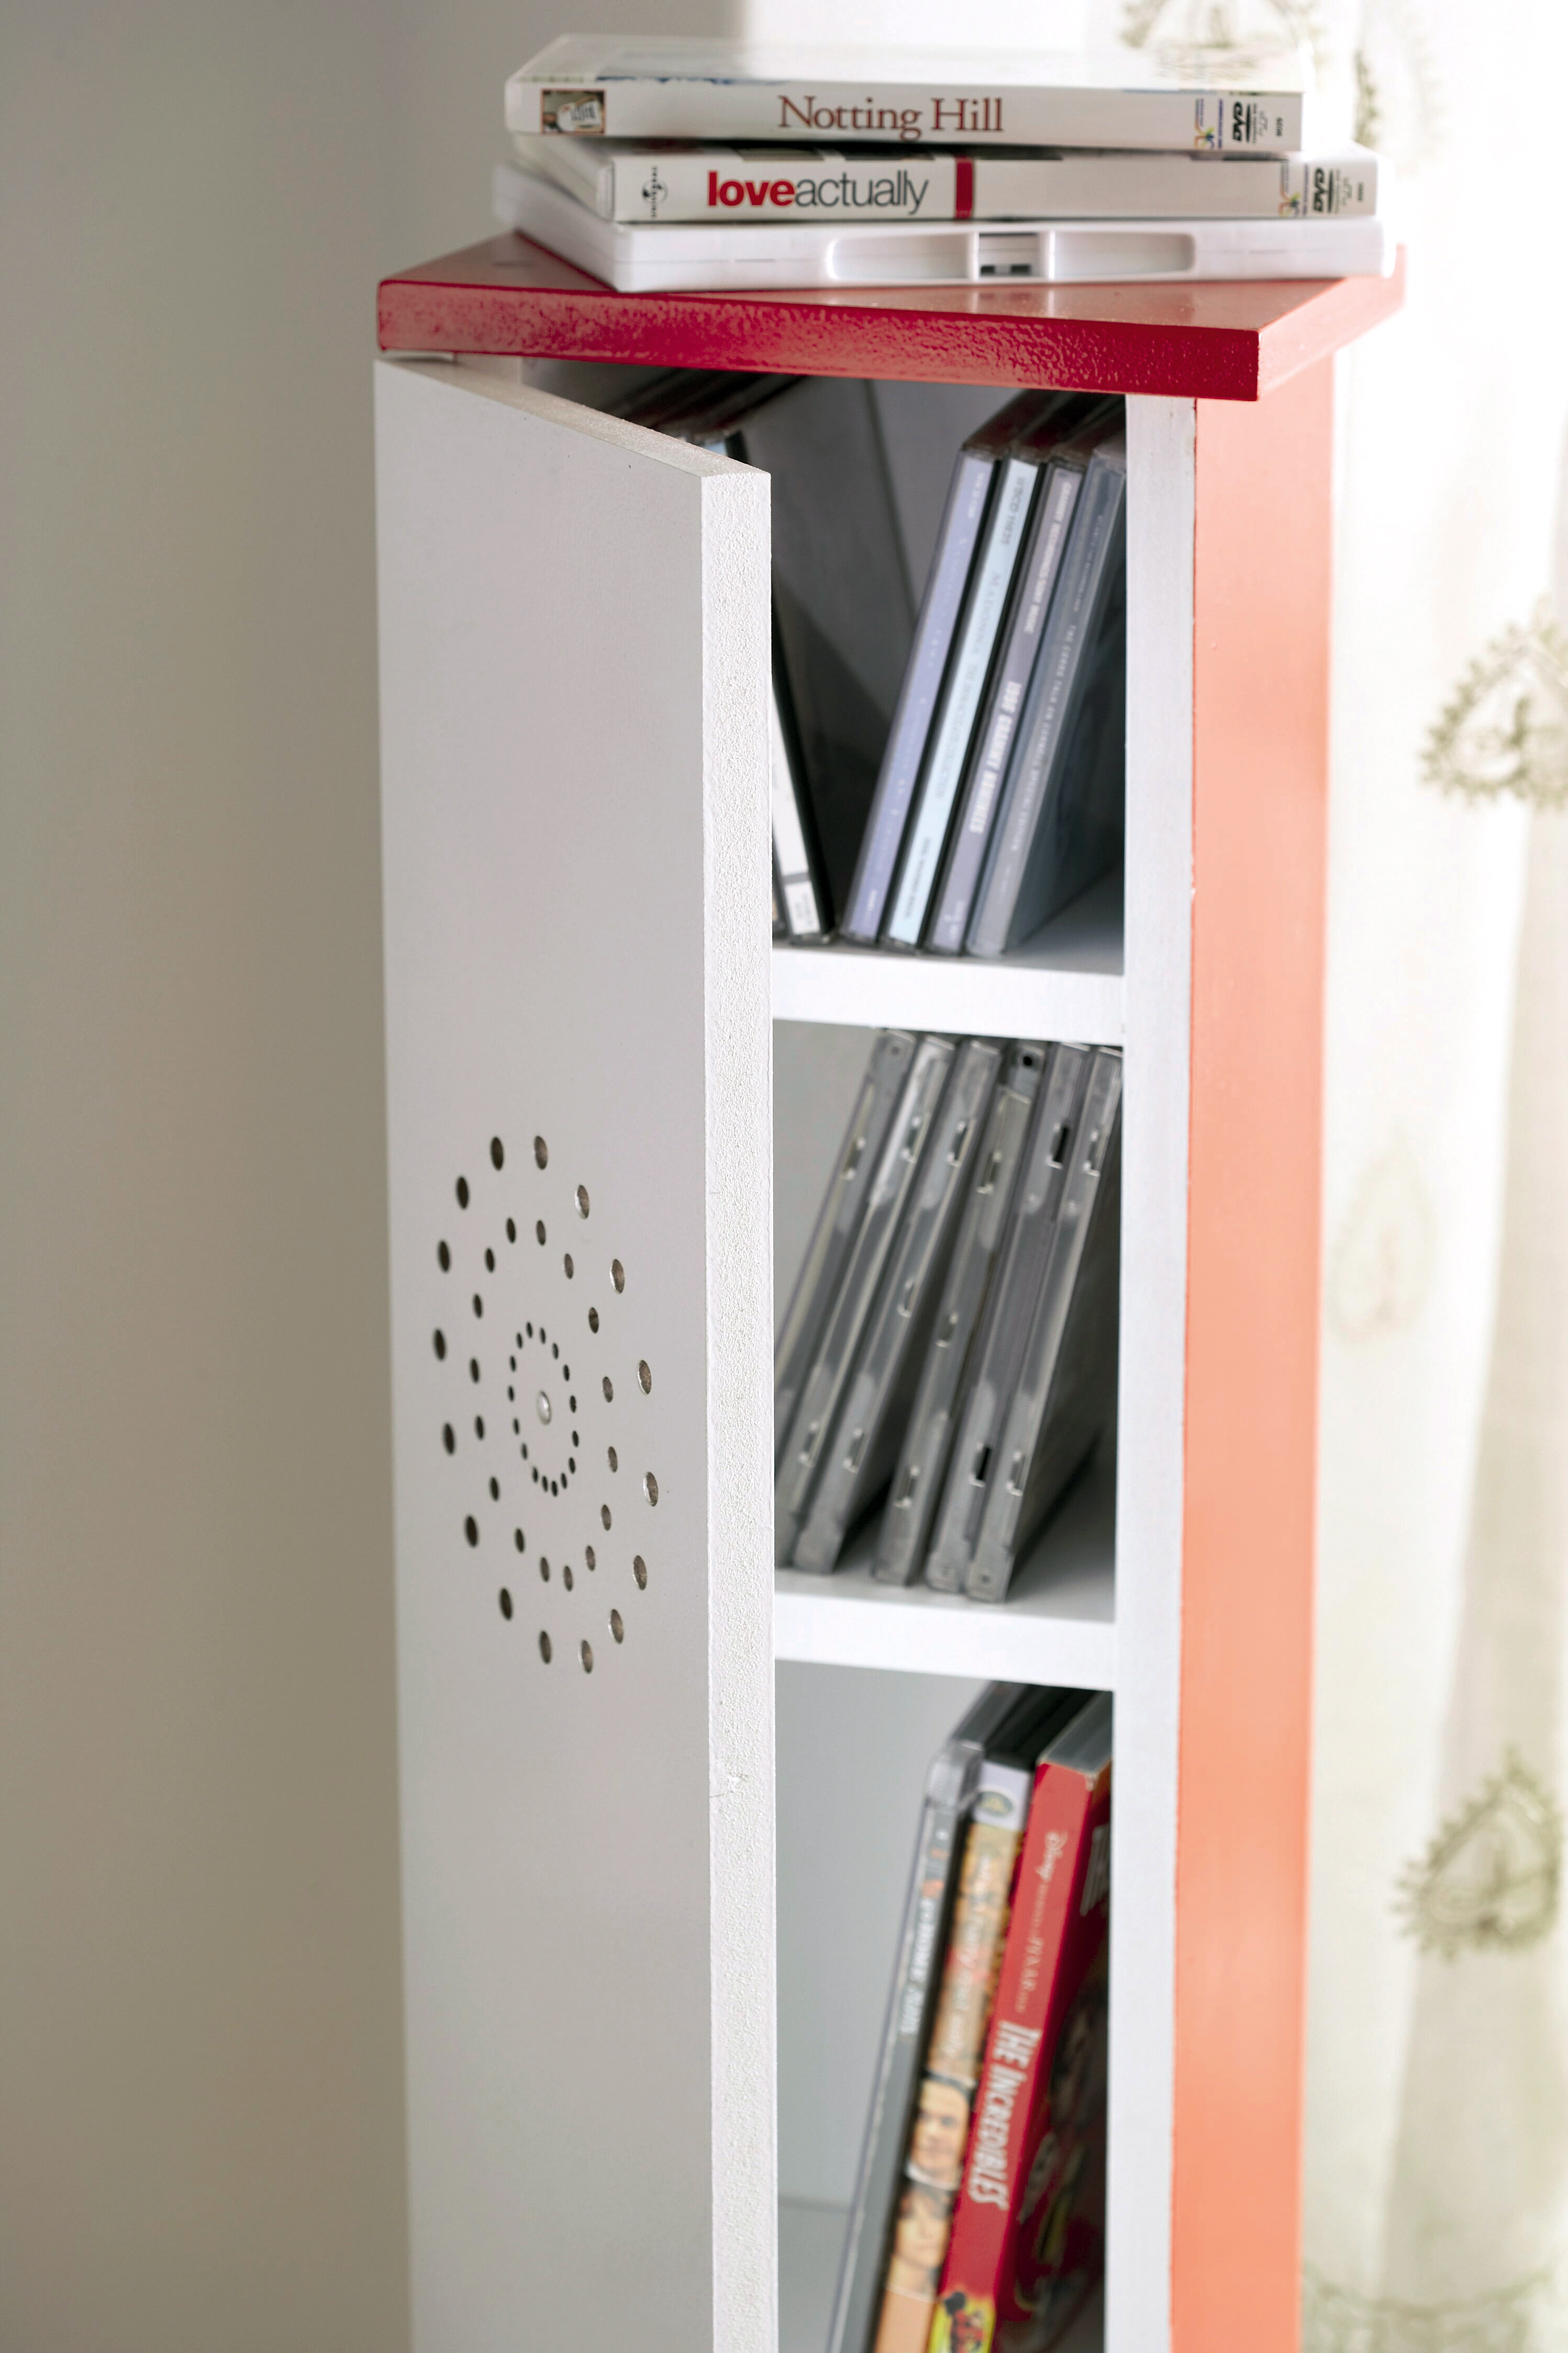
Storage space for CDs and DVDs can be a problem if you have a large collection. Here’s a project to construct a CD storage rack, which you can adapt to suit your storage needs and own personal style.
- sharp pencil
- tape measure
- cordless or power drill
- 3mm drill bit (for pilot holes)
- 5mm drill bit (holes for shelf hangers)
- countersinking drill bit
- steel ruler
- hammer
- chisel
- orbital sander
- paintbrush
- foam roller
- jigsaw – should you wish to cut out a pattern in the door
- 24 x 45mm chipboard screws*
- wood glue
- panel pins
- 2 butt hinges
- 1 roller catch
- shelf hangers
- rough- and medium-grit sandpaper
- wood filler
- wood primer
- enamel/acrylic PVA
Cutting List
- A – top and bottom: two 212 x 165 x 16mm Supawood planks
- B – sides: two 929 x 150 x 16mm Supawood planks
- C – shelves: four 150 x 150 x 16mm Supawood planks
- D – door (optional): one 576 x 410 x 16mm Supawood plank
- E – legs (optional): 44 x 44mm pine/meranti plank offcuts (you will ultimately need four 250 x 44 x 44mm pieces)
- F – back: one 961 x 182 x 3mm backing board
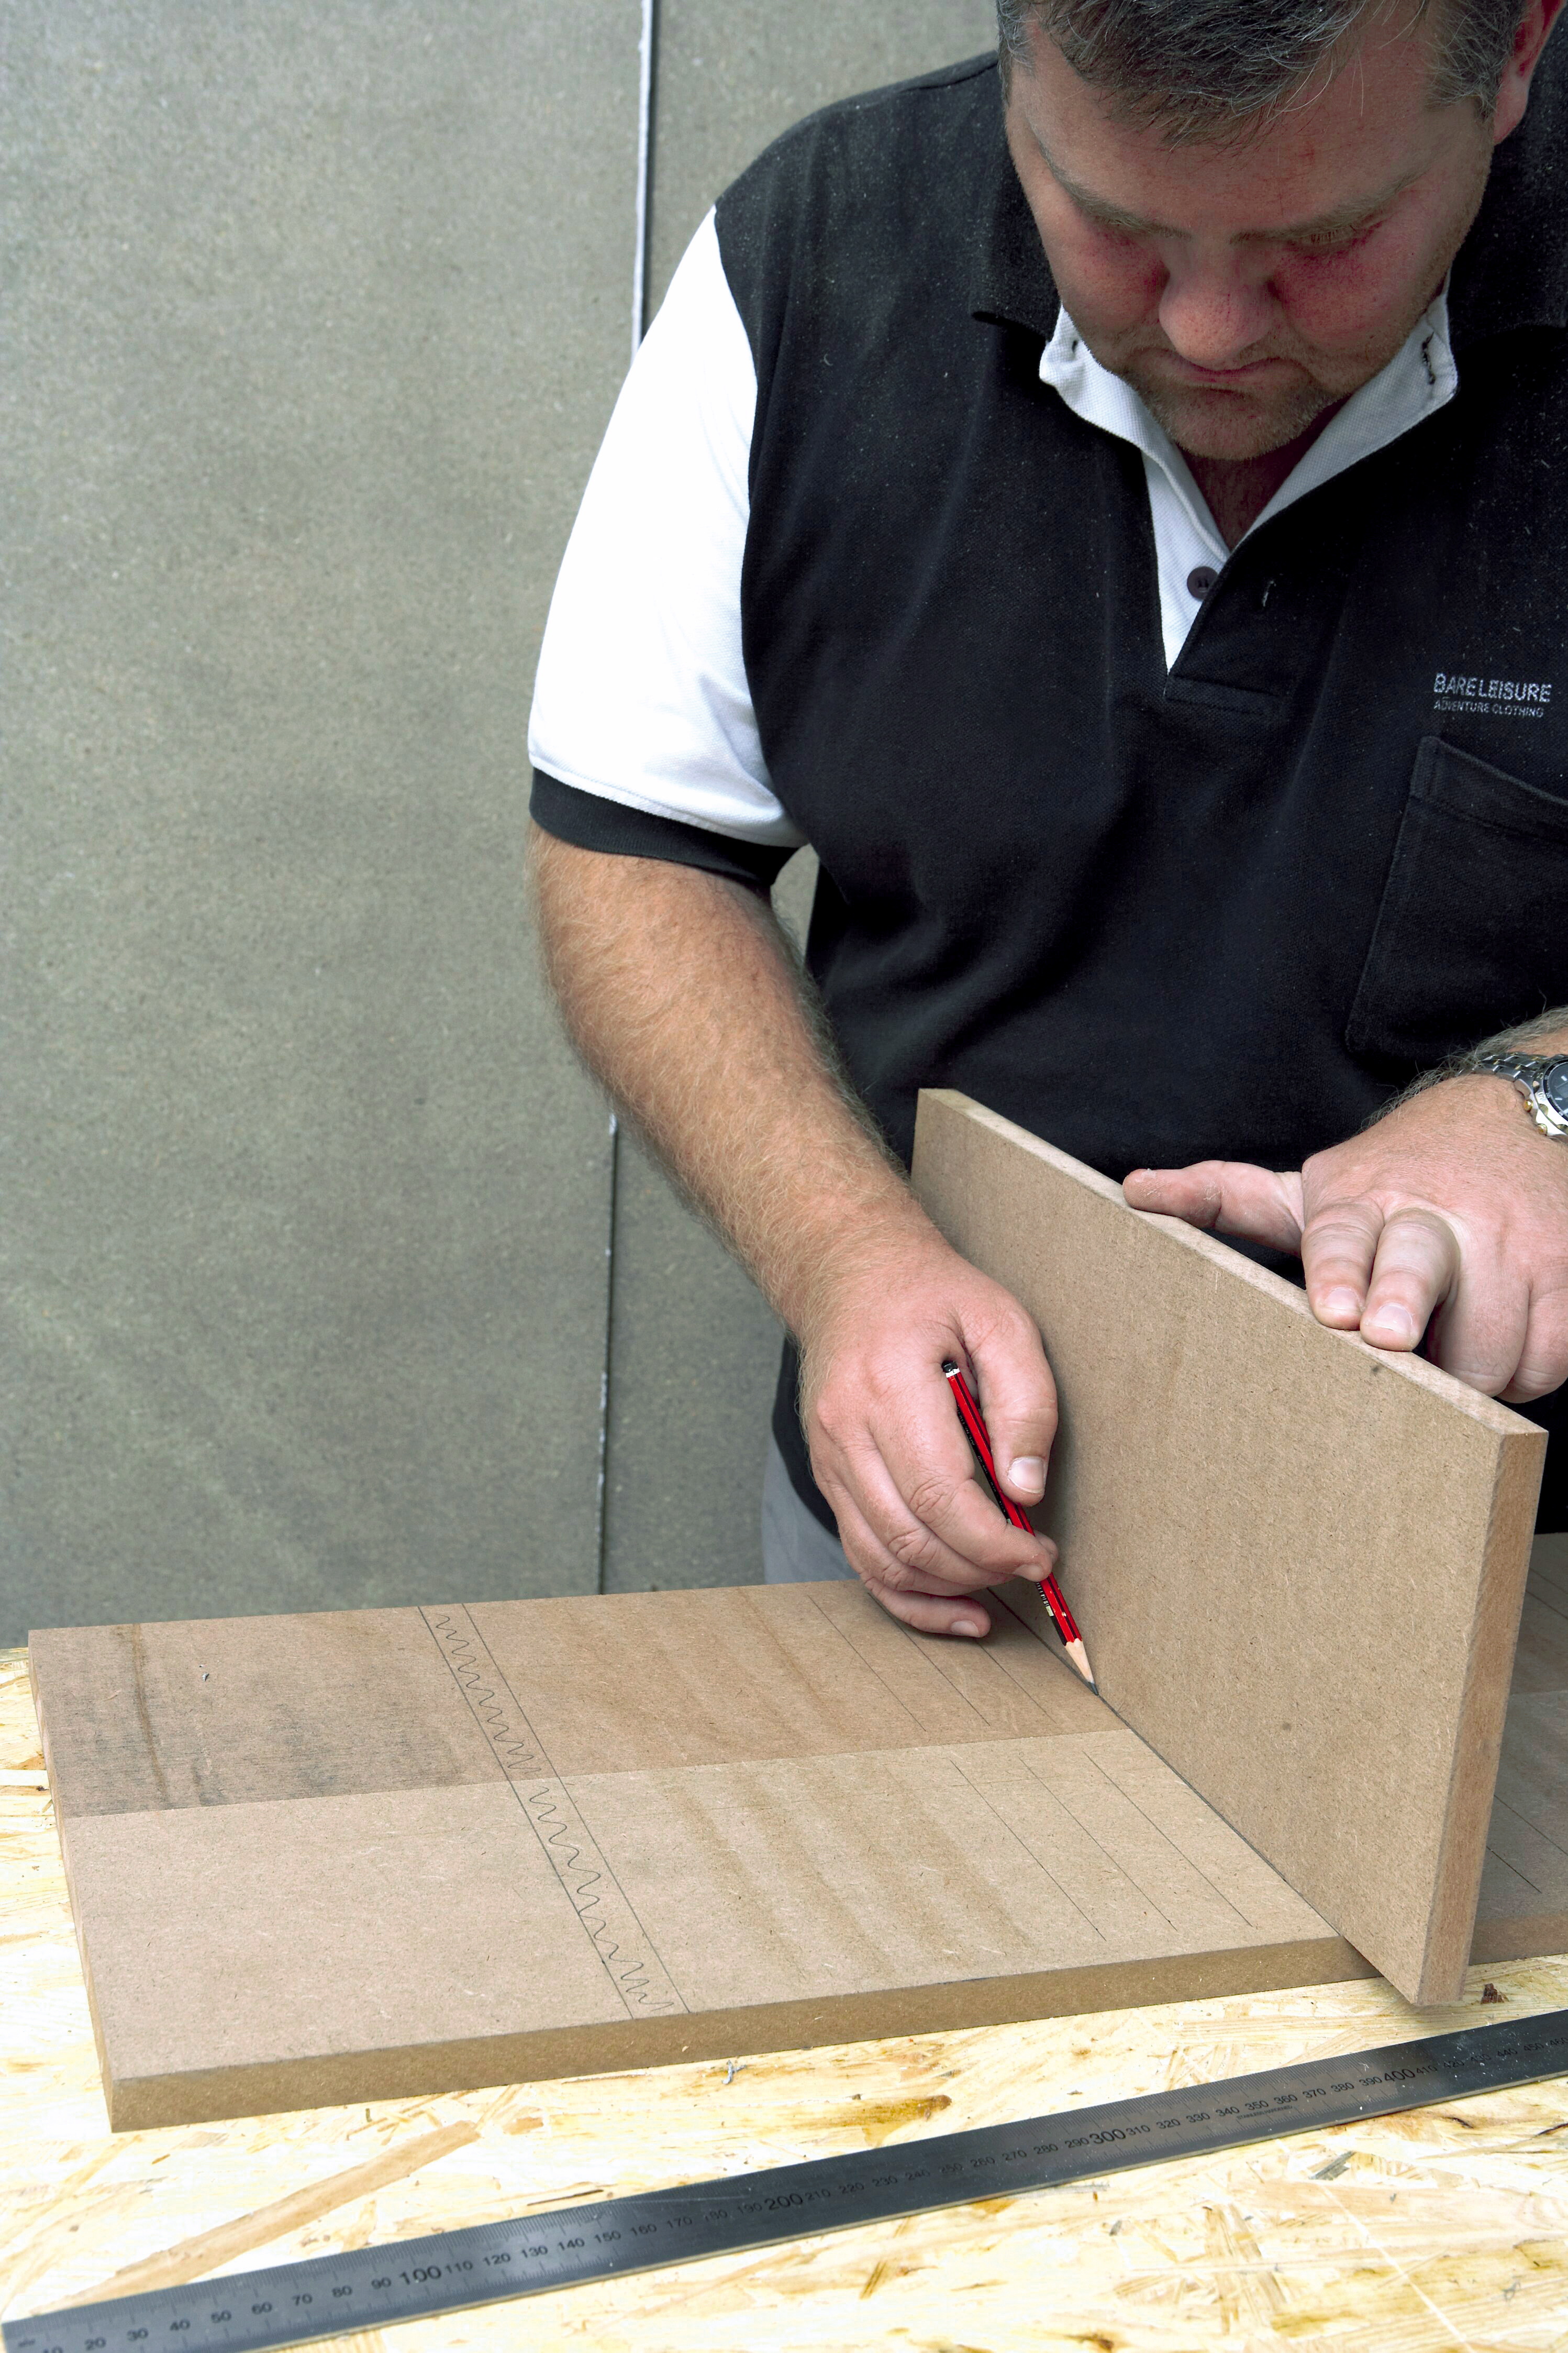
Step 1 & 2
Measure and mark lines 16mm apart at 150mm intervals (space for CDs) or 215mm intervals (space for DVDs) along the sides (B) as shown. Use an offcut piece of 16mm Supawood as a spacer for marking the positions of the shelves.
Toptip: Should you wish your CD rack to have adjustable shelves, mark three or four additional lines at 20mm intervals above and below the lines you would have marked for the positions of any ‘fixed’ shelves.
Toptip: It would be a good idea to incorporate at least one ‘fixed’ shelf into your plan to give the structure some lateral support, as you will screw any fixed shelves into the sides of the rack at a later stage.
Drill a pilot hole using the 3mm drill bit 30mm in from the edge of both side planks (B) between the 16mm lines that you have marked for the position of any fixed shelves.

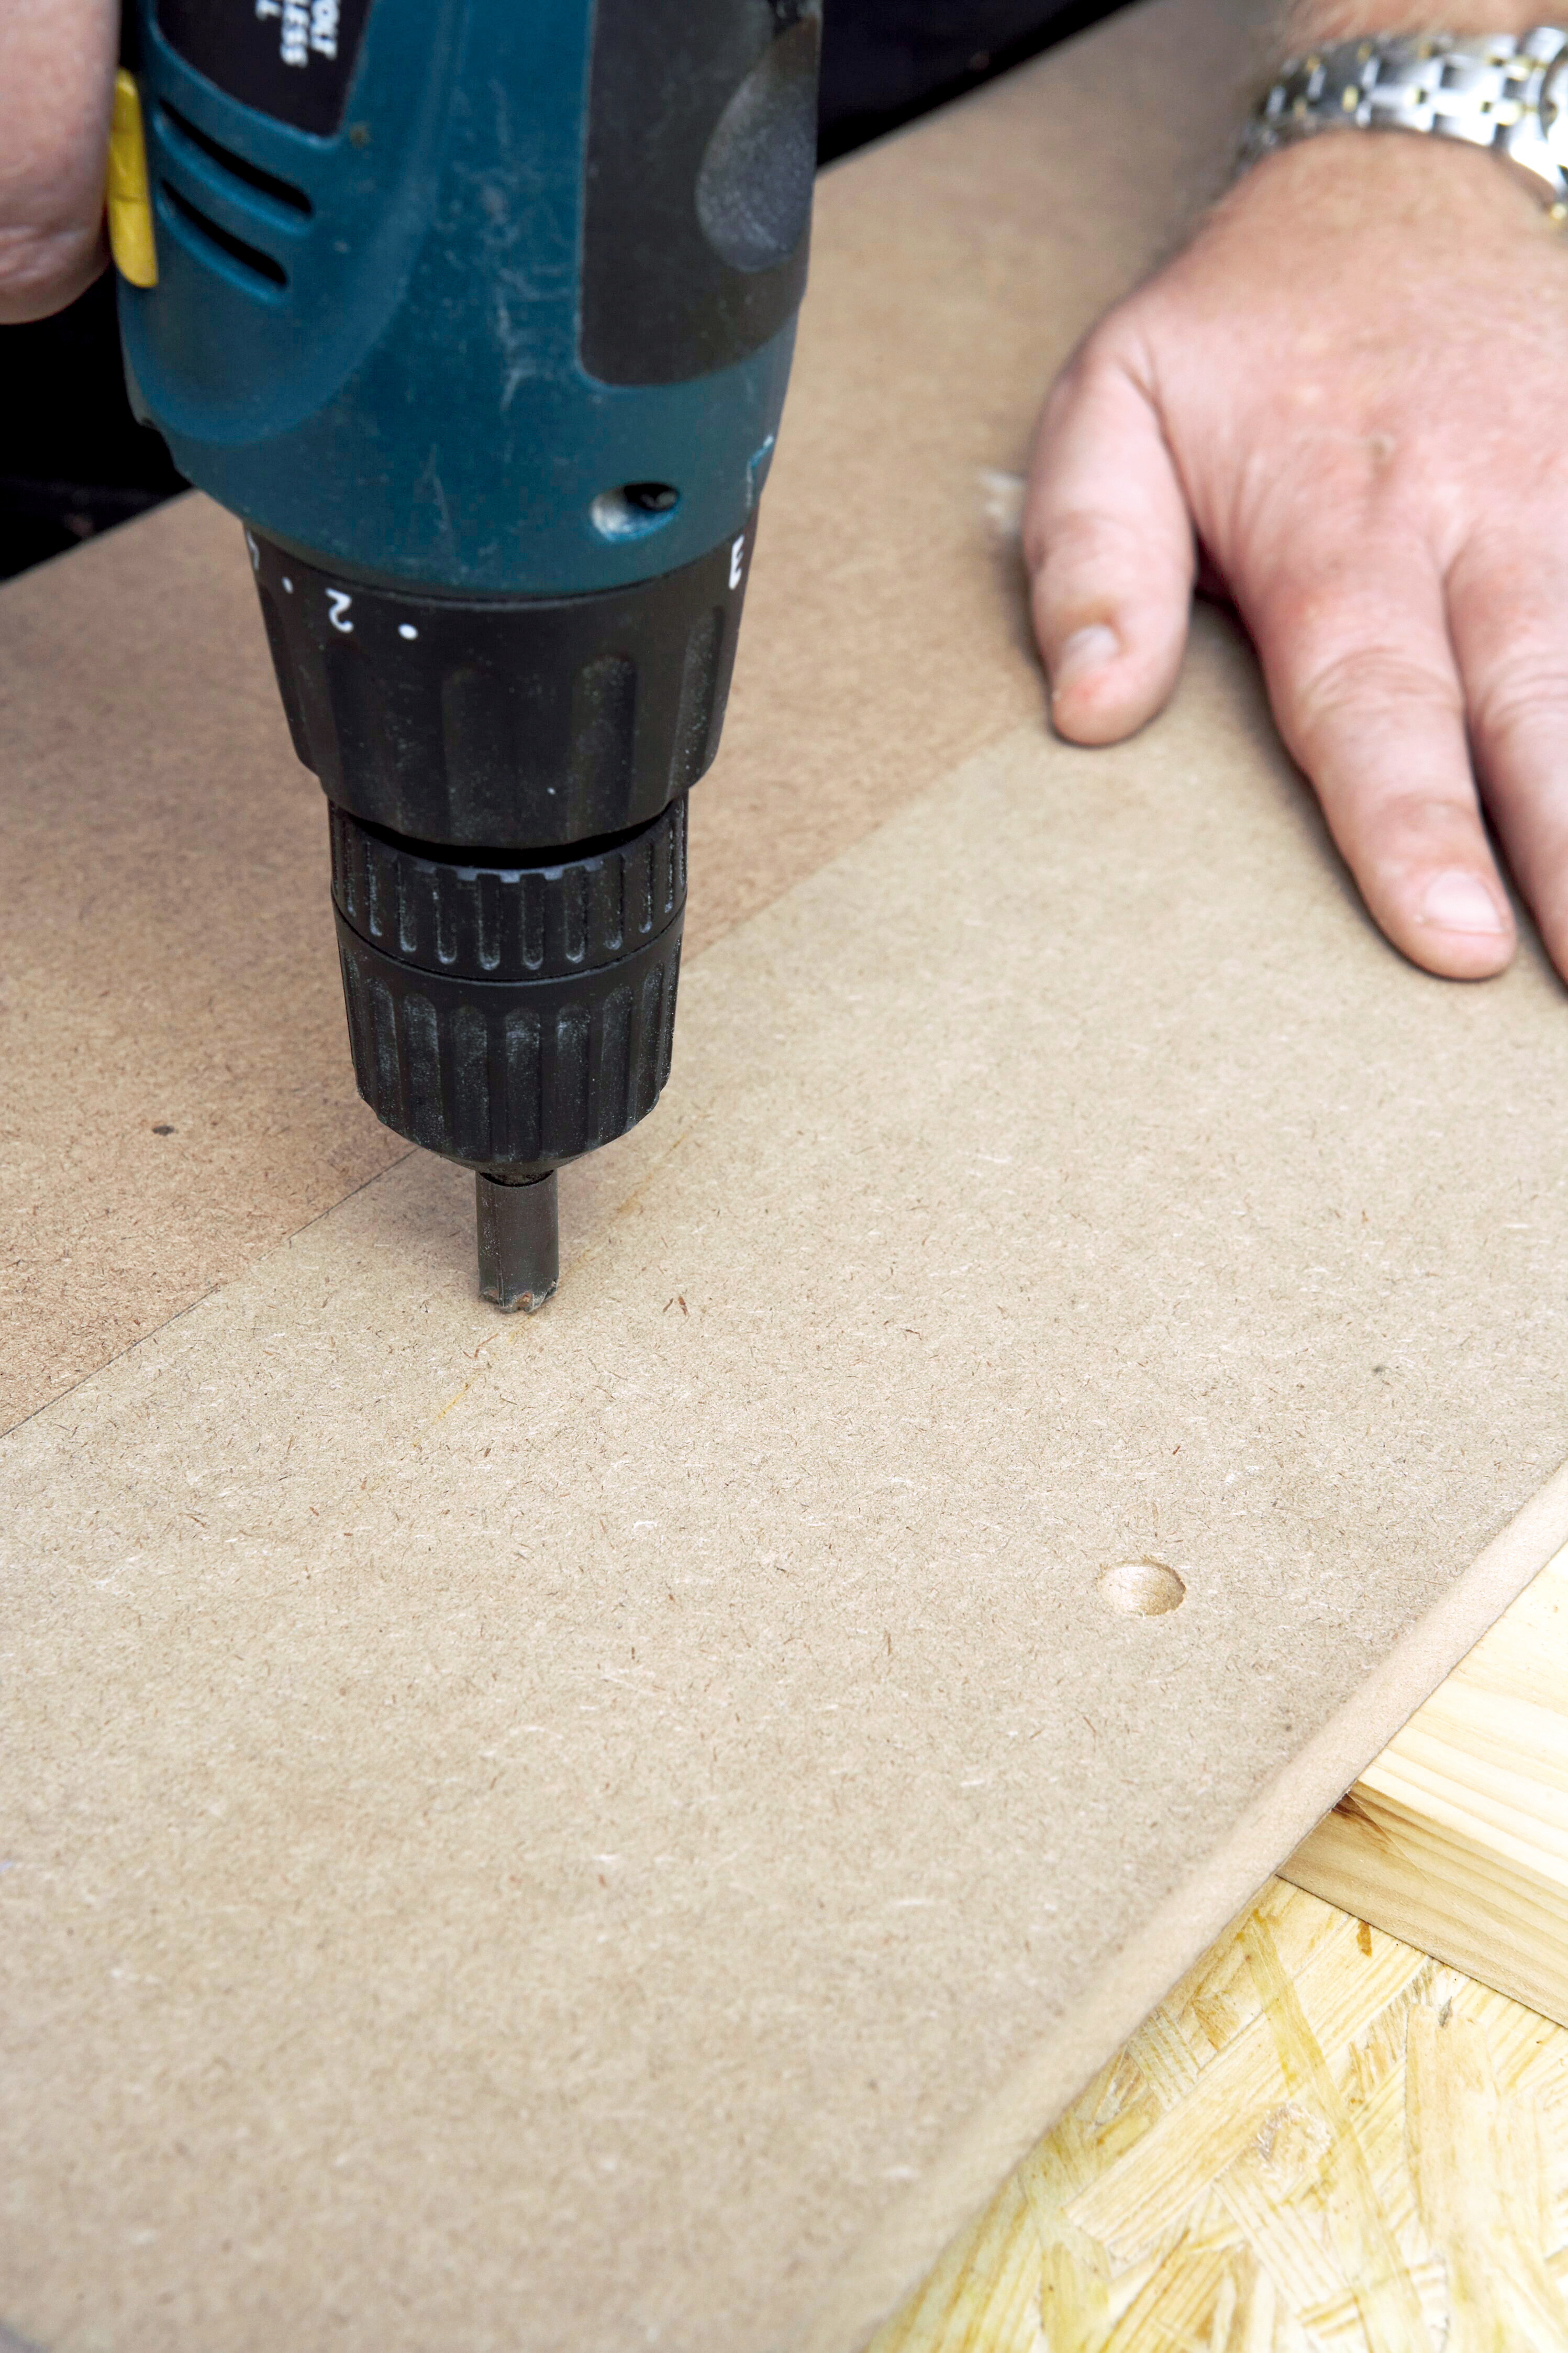
Step 3
(optional: refer to the step- 1 tips above) Drill a 5mm depression 30mm in from each edge of both side planks (B) along the lines you have indicated for the position of any adjustable shelves. These holes will hold the shelf hangers. These are then pressed firmly into position, with the flat side facing upwards, in order to hold the shelves.
TopTip: Use electrical tape wound around the drill bit (as shown in the photograph) to indicate the depth to which to drill the holes for the shelf hangers.
Step 4
Turn the side pieces (B) over and use the countersinking drill bit to countersink only the holes that will be used for the fixed shelves.
Use shelves (C) as 16mm spacers to mark the placement position of the sides onto both the top and bottom pieces (A). When marking, position these spacers (C) flush with one long-sided edge of A and 15mm in from each short side, and the other long side, of A. Drill pilot holes between the 16mm lines, as in step 2, and countersink these as in step 4. Screw the top piece (A) to the sides (B) using 45mm chipboard screws. Spread some wood glue onto the edges before screwing everything together.
Top Tip: To avoid splitting the Supawood, drill pilot holes into the top and bottom edges of the sides (B) before affixing.
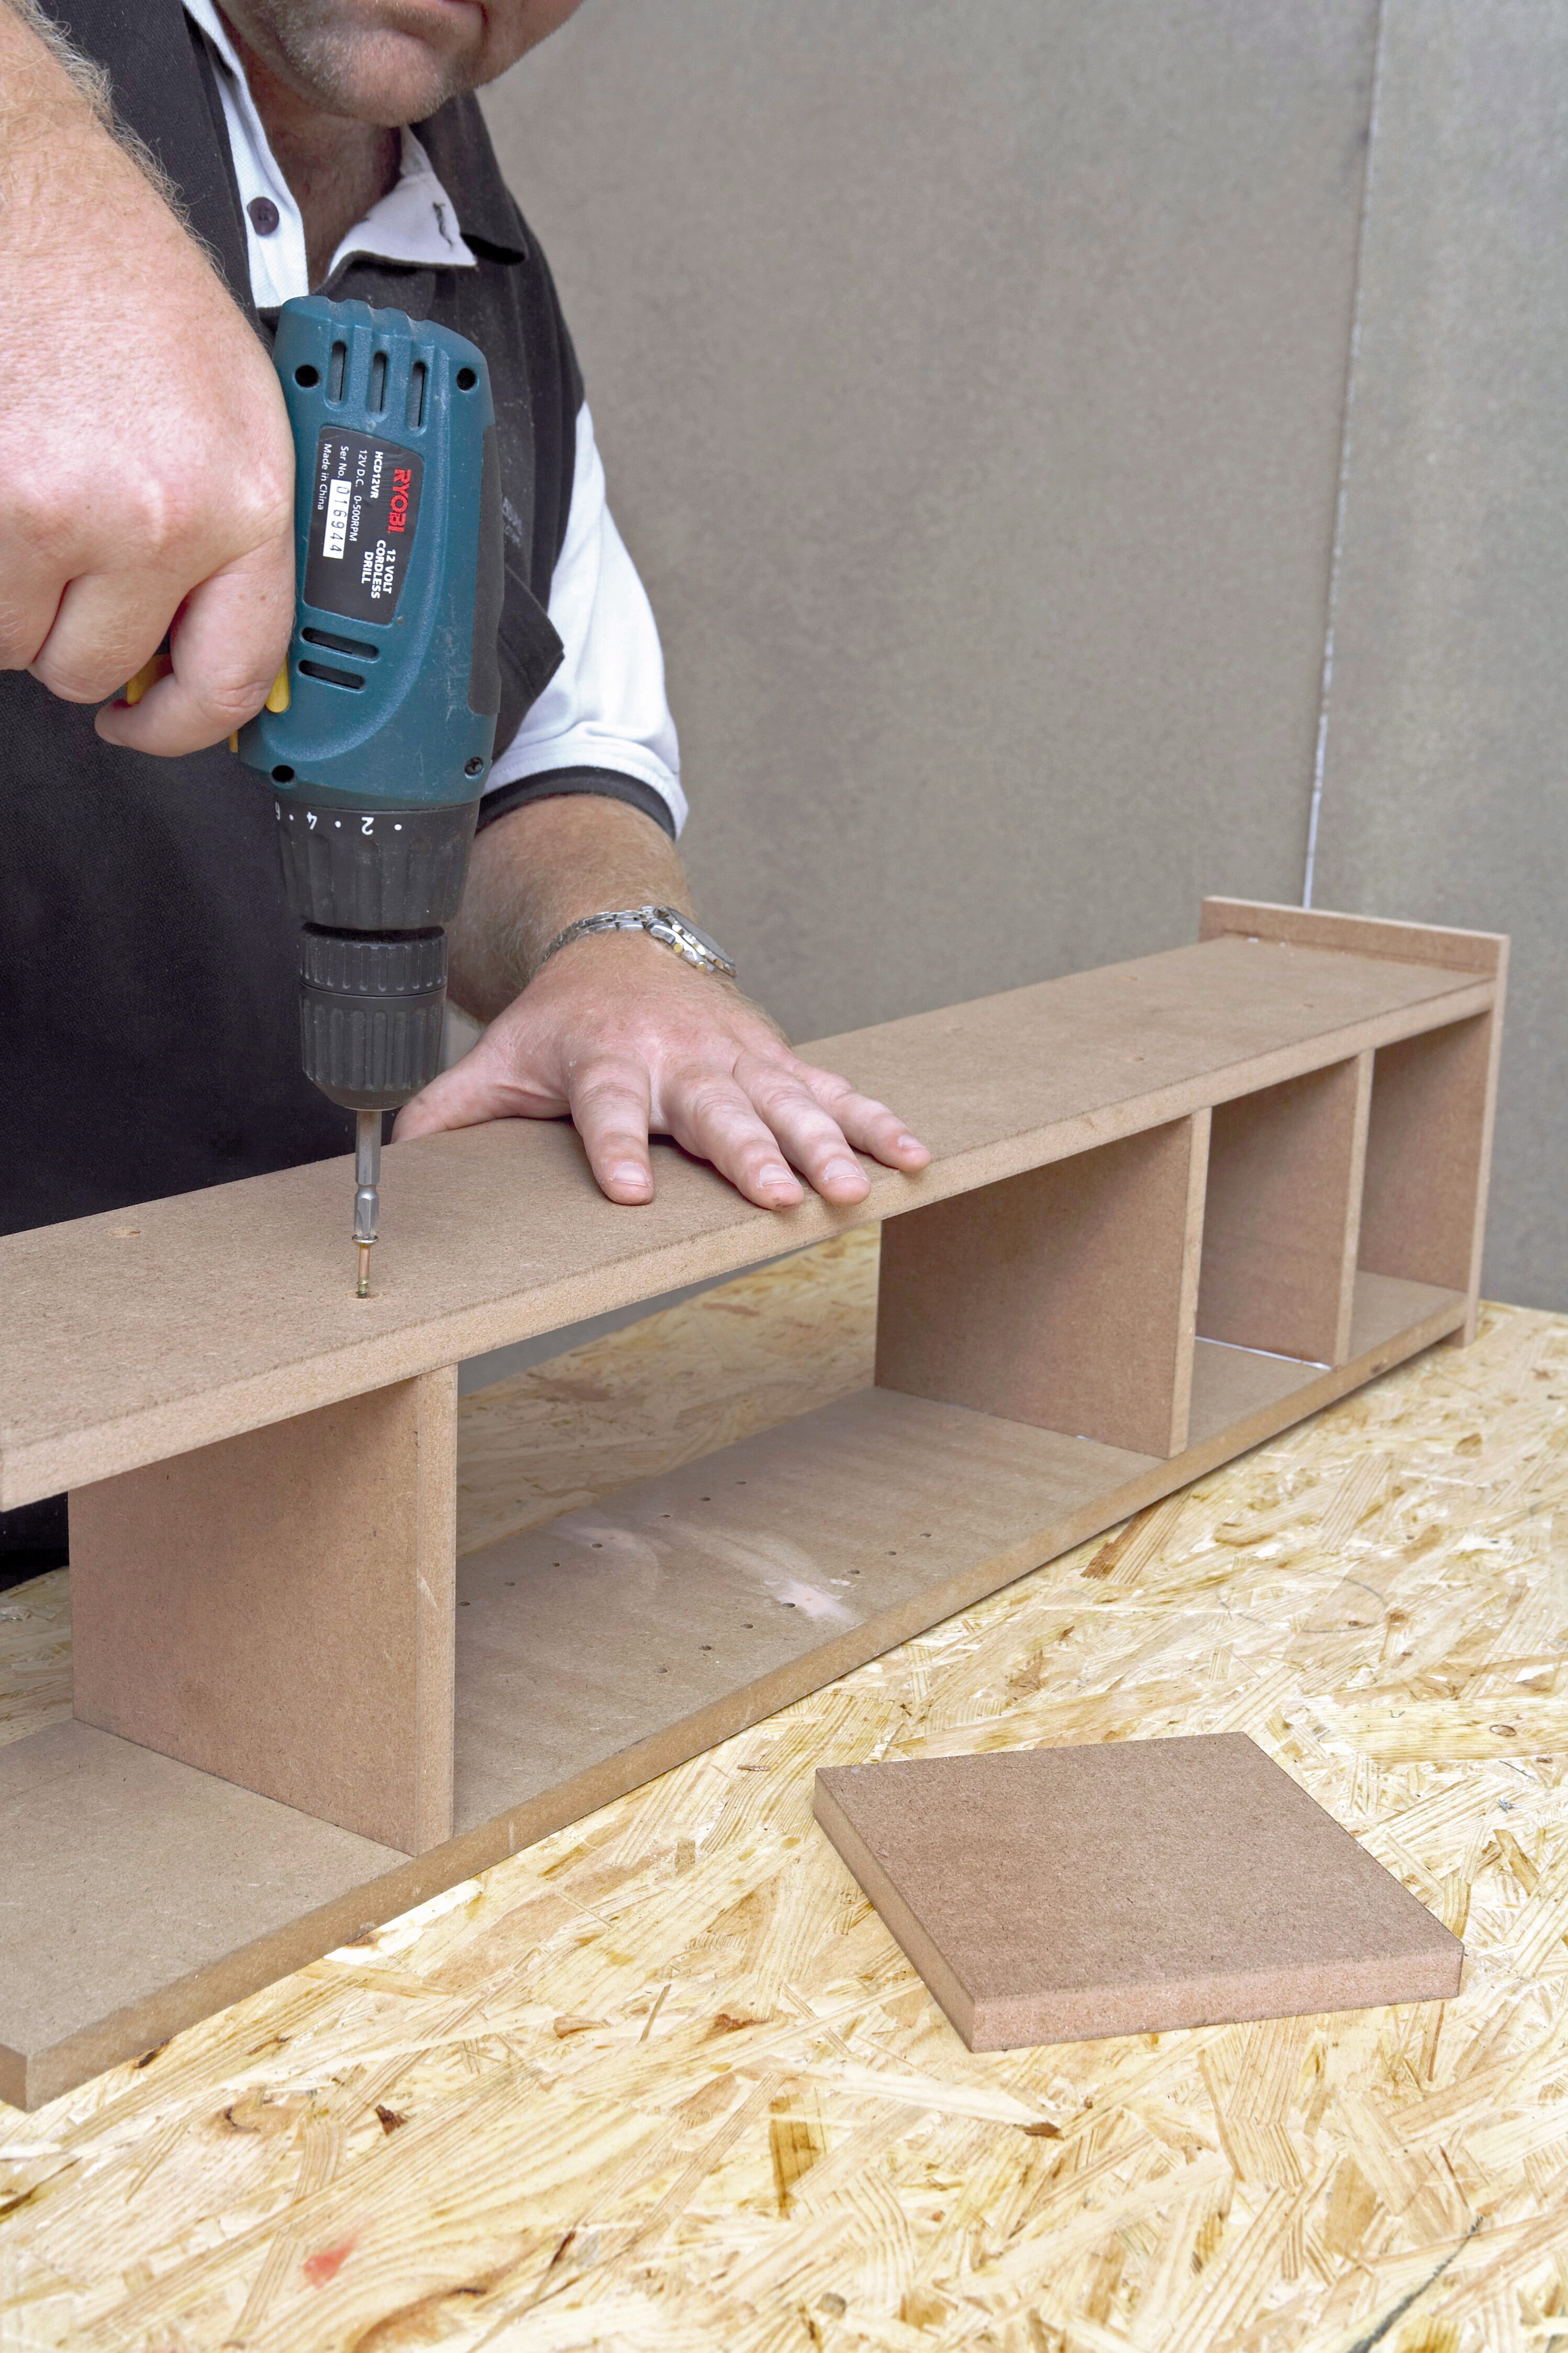
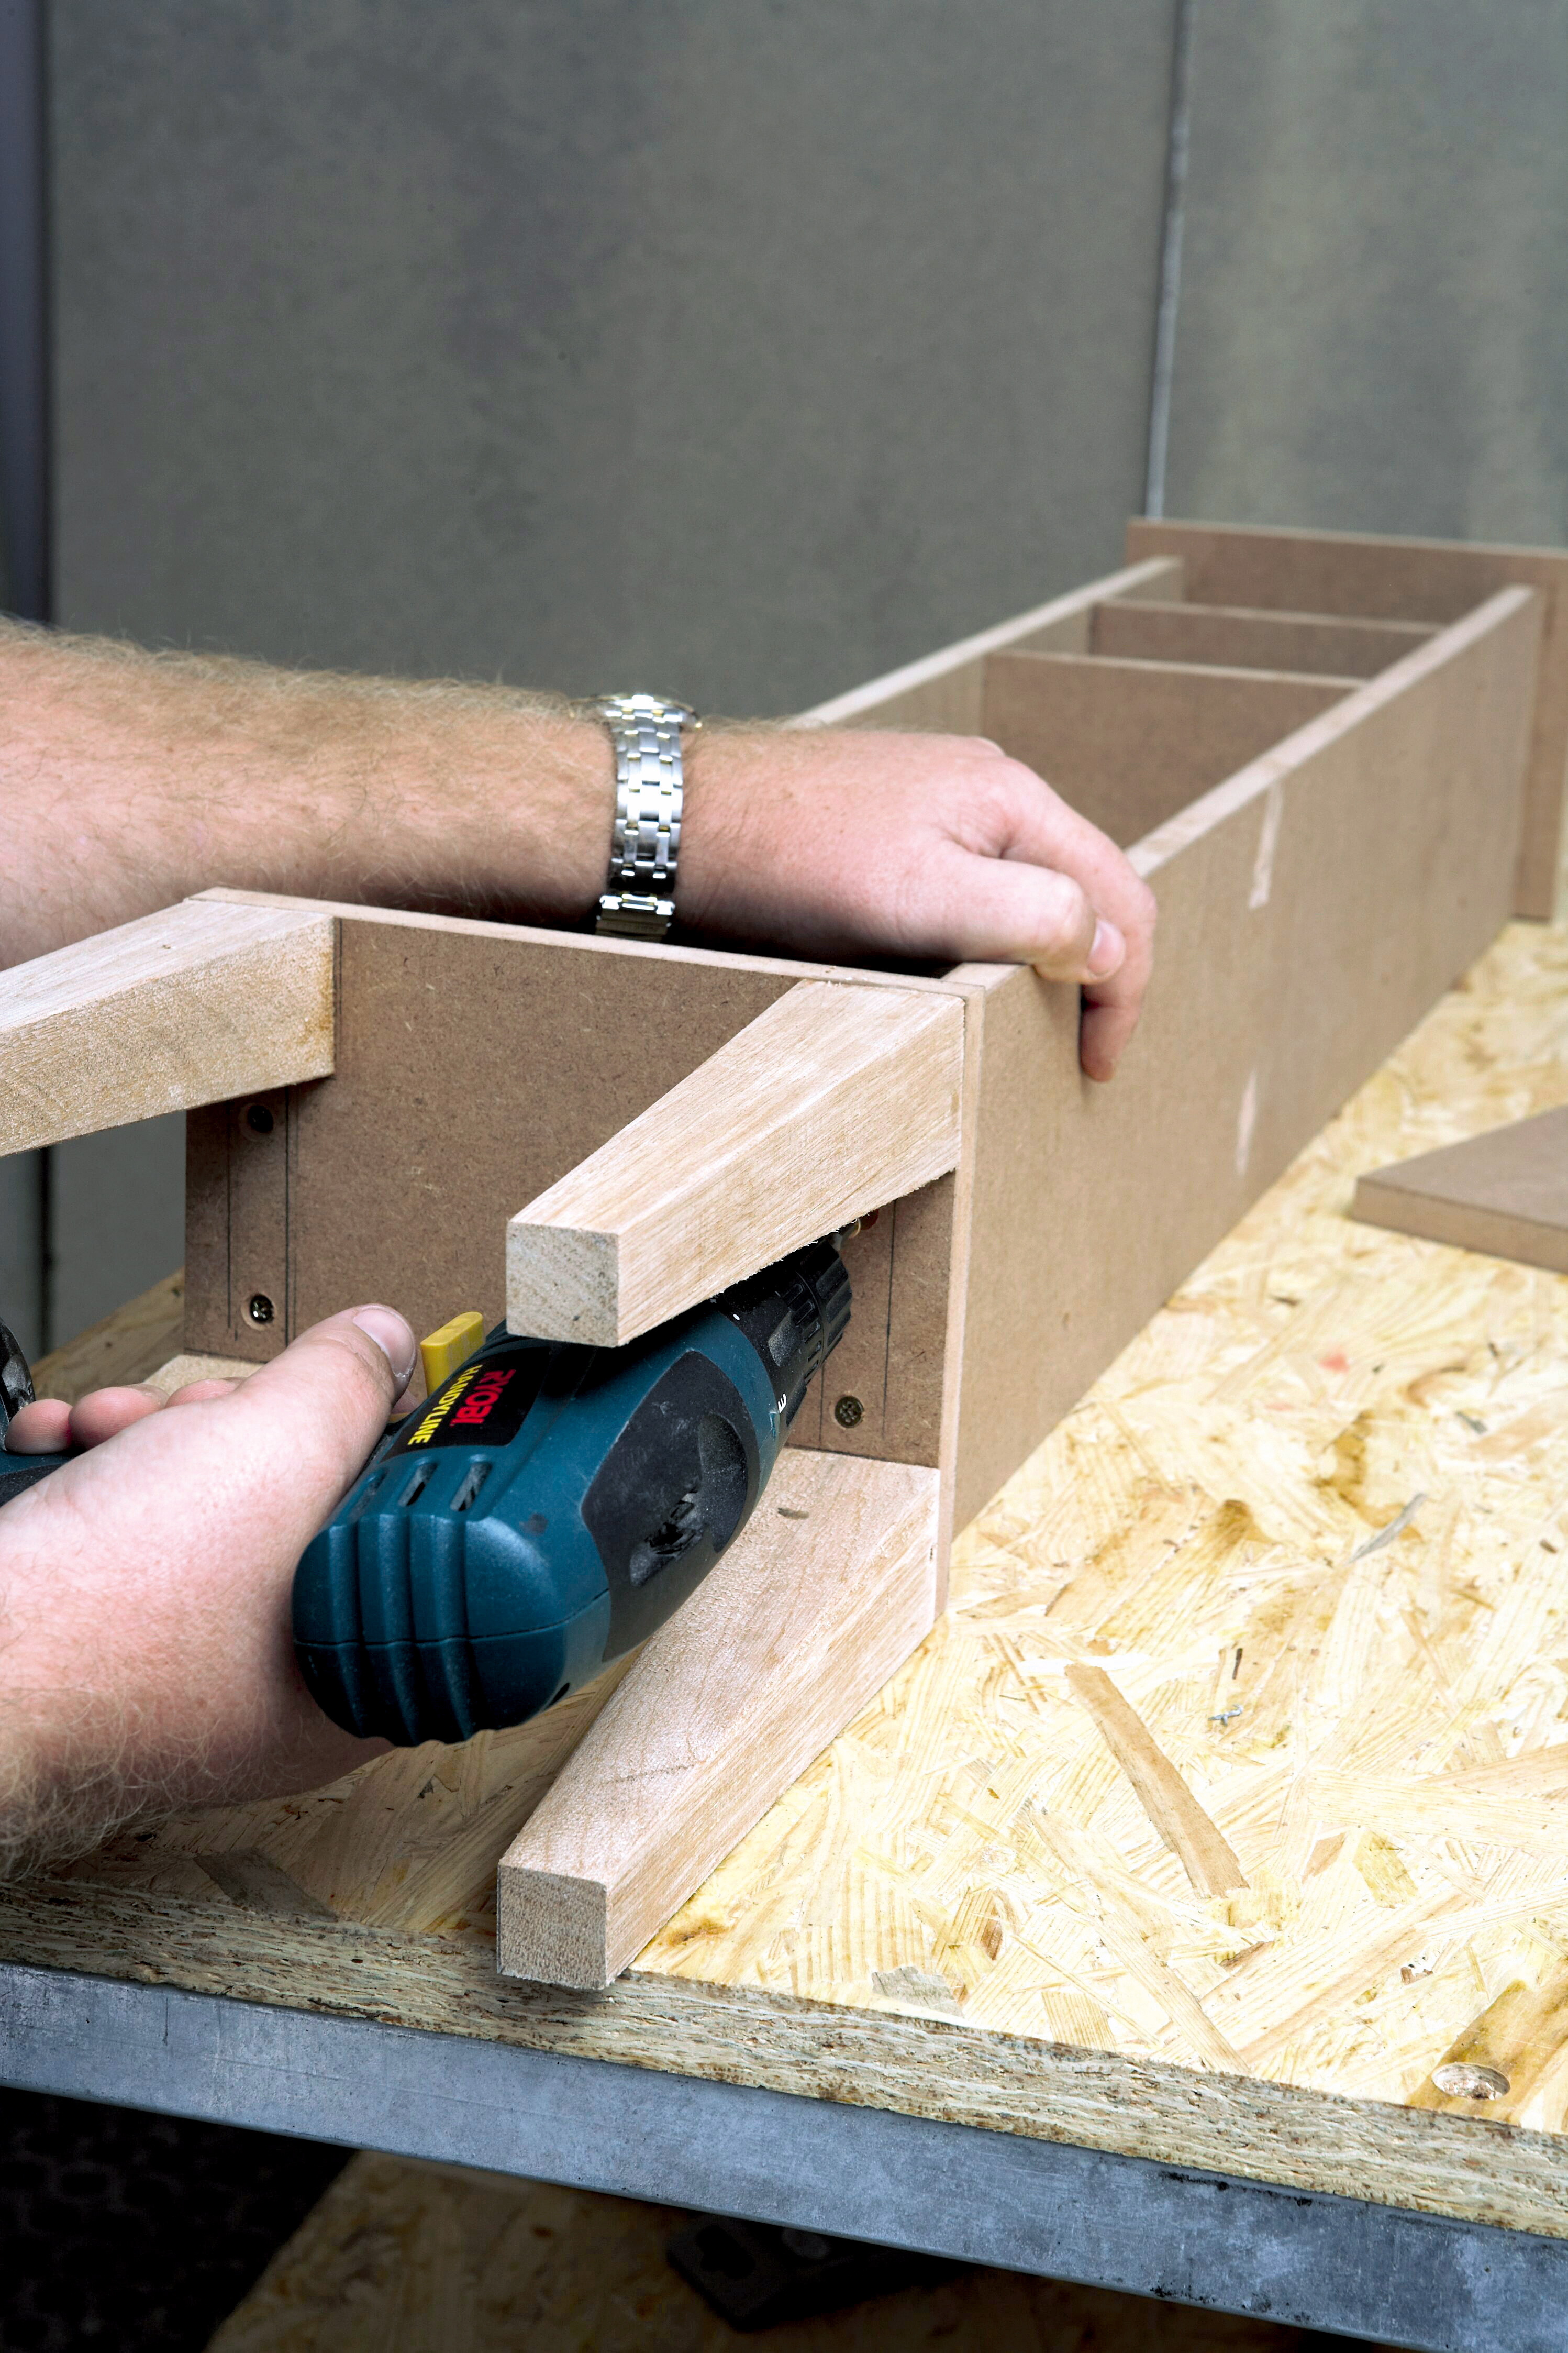
Step 5
Place ‘fixed position’ shelves between the sides (B) in their relevant positions and drill pilot holes through the sides into the shelves before gluing and screwing these in place. Spread some wood glue onto the edges of the shelves (C) before screwing these in place. These fixed shelves will add lateral strength to the structure.
Optional: We decided to adapt our design, as one option, by adding some legs fashioned from an offcut length of 44 x 44mm meranti planking (E). These steps follow. Alternatively, screw the bottom piece (A) to the sides as described in step 5 and then skip ahead to step 12.
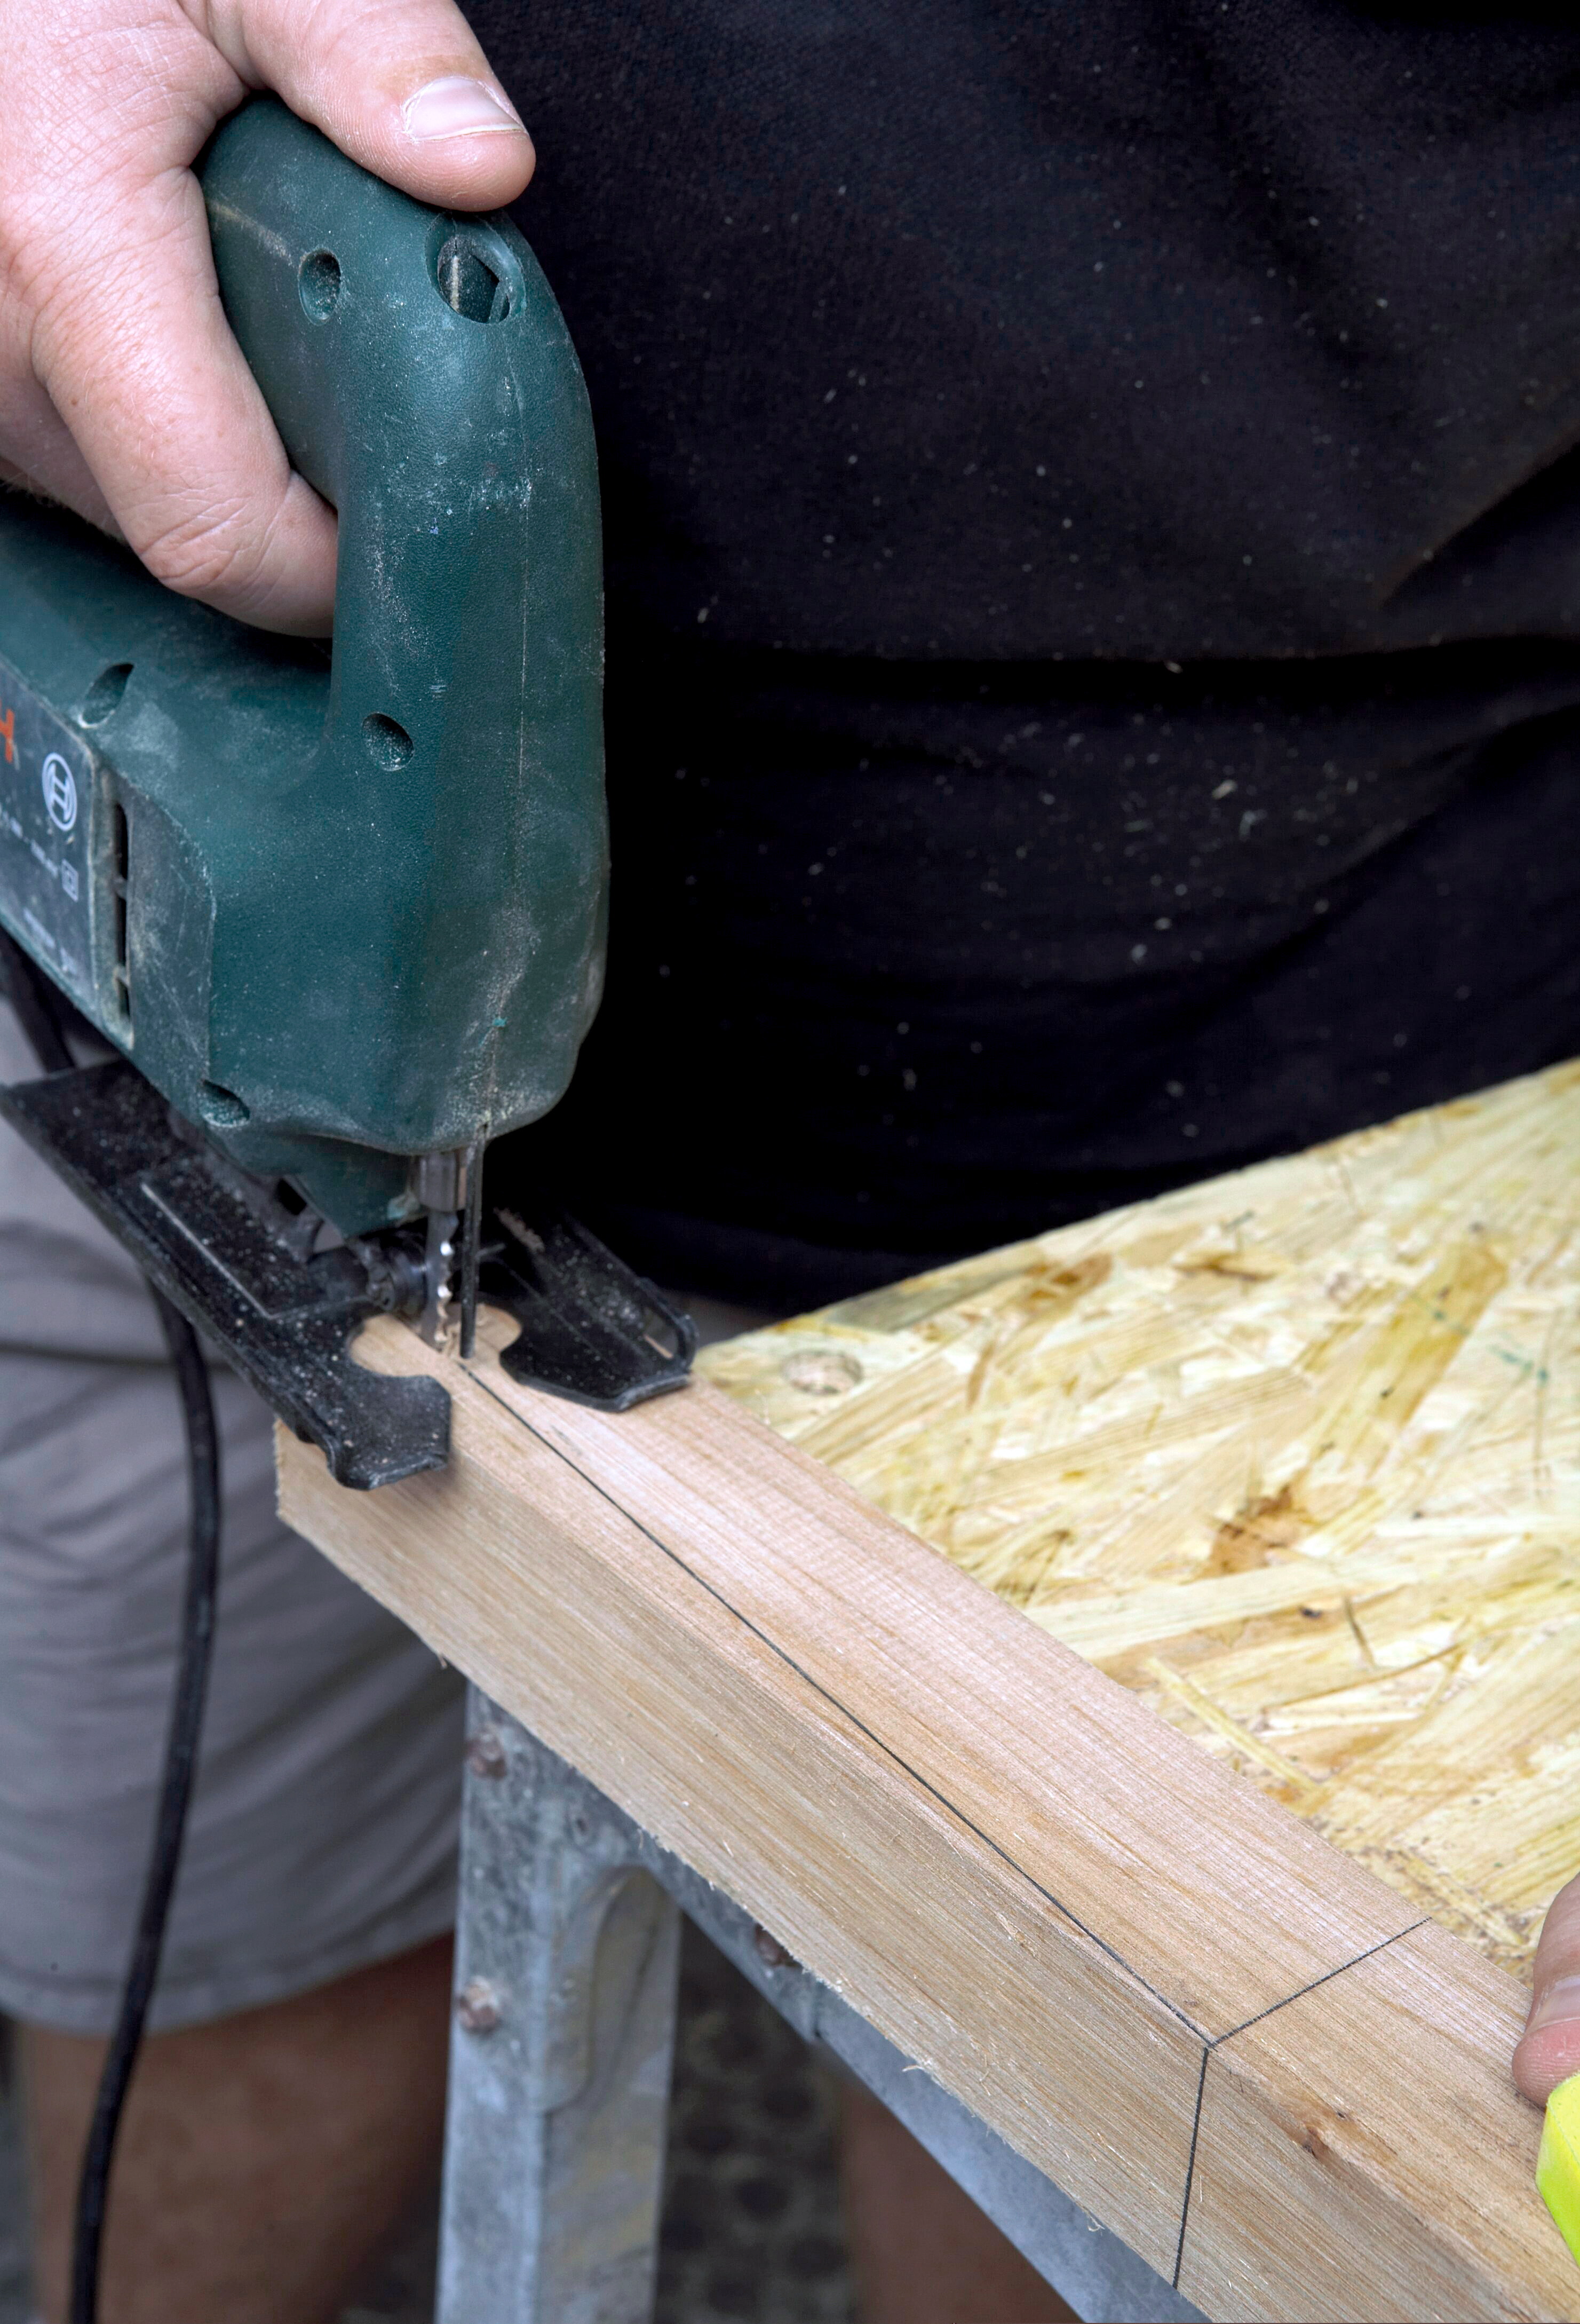
Step 6
Measure four 250mm lengths along a 44 x 44mm meranti plank (E; you can also use pine). Measure 15mm inwards along the bottom edge of the plank and mark a line from this point that tapers up to the top corner at the first 250mm mark (refer to the photograph). Cut along this line as shown, then cut along the 250mm line to form the tapered leg. Repeat until you have four tapered legs measuring 250mm.
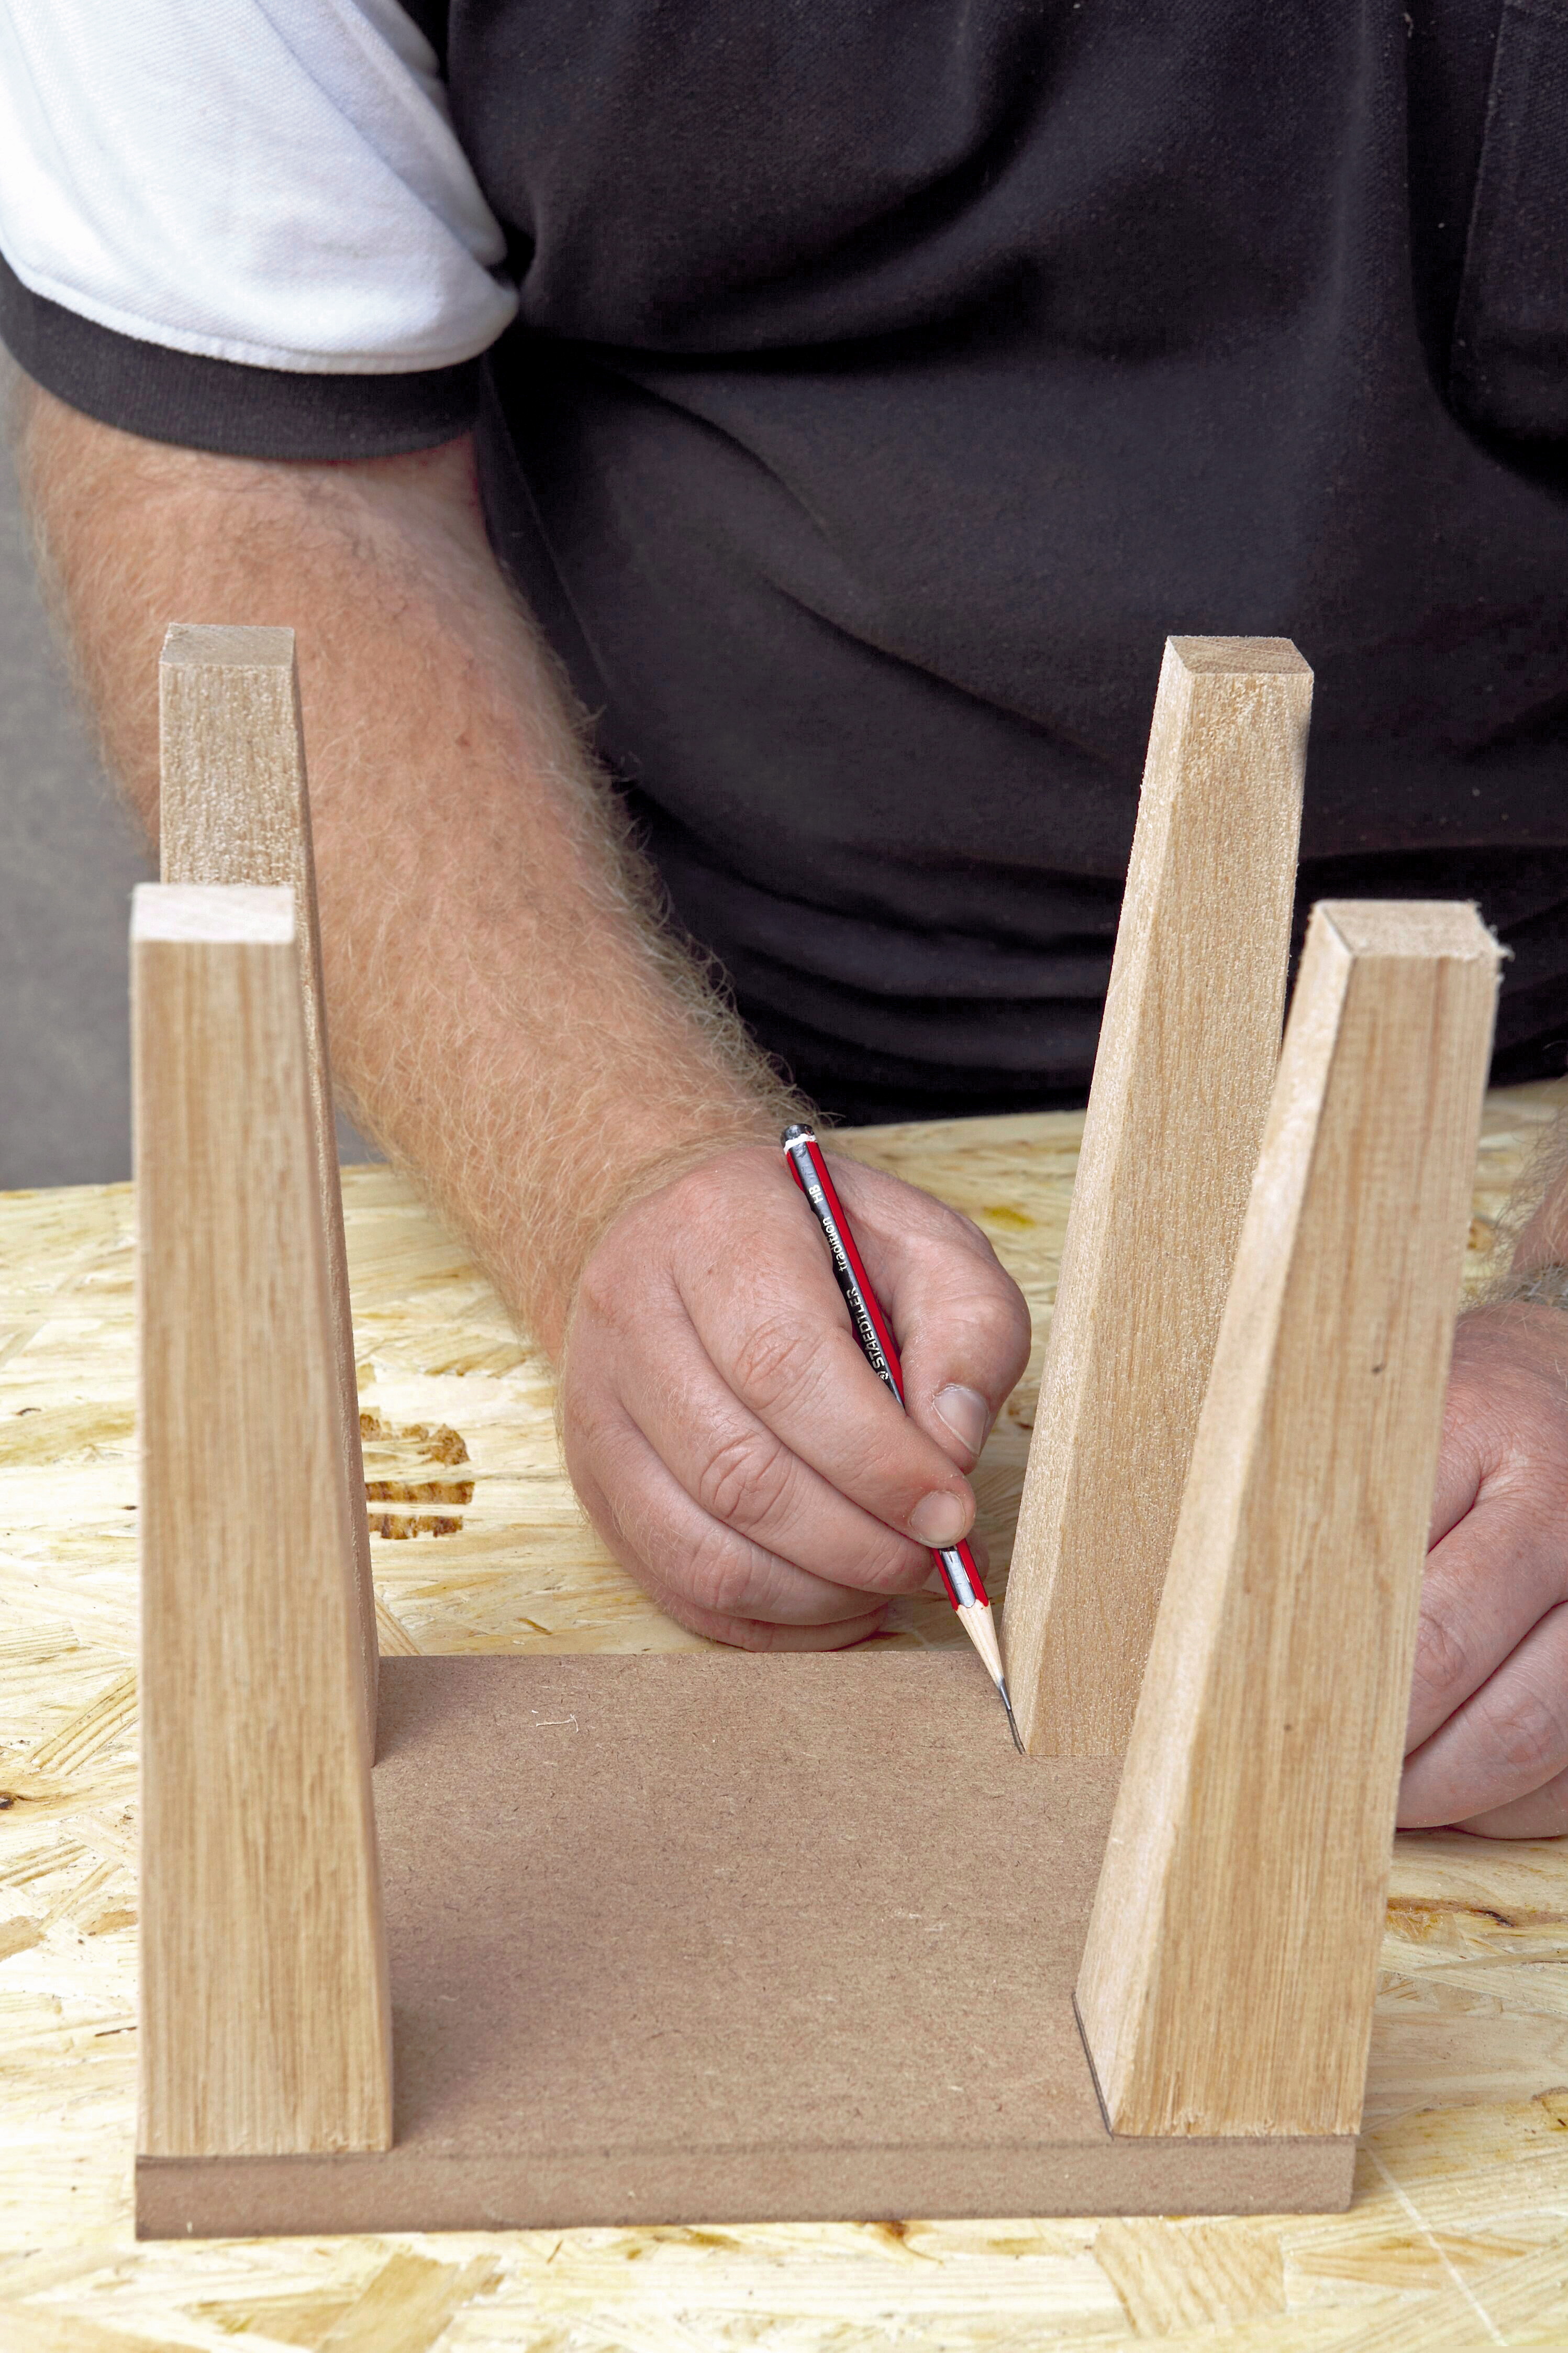
Step 7
Mark the position of the legs, as shown, onto the bottom piece (A).
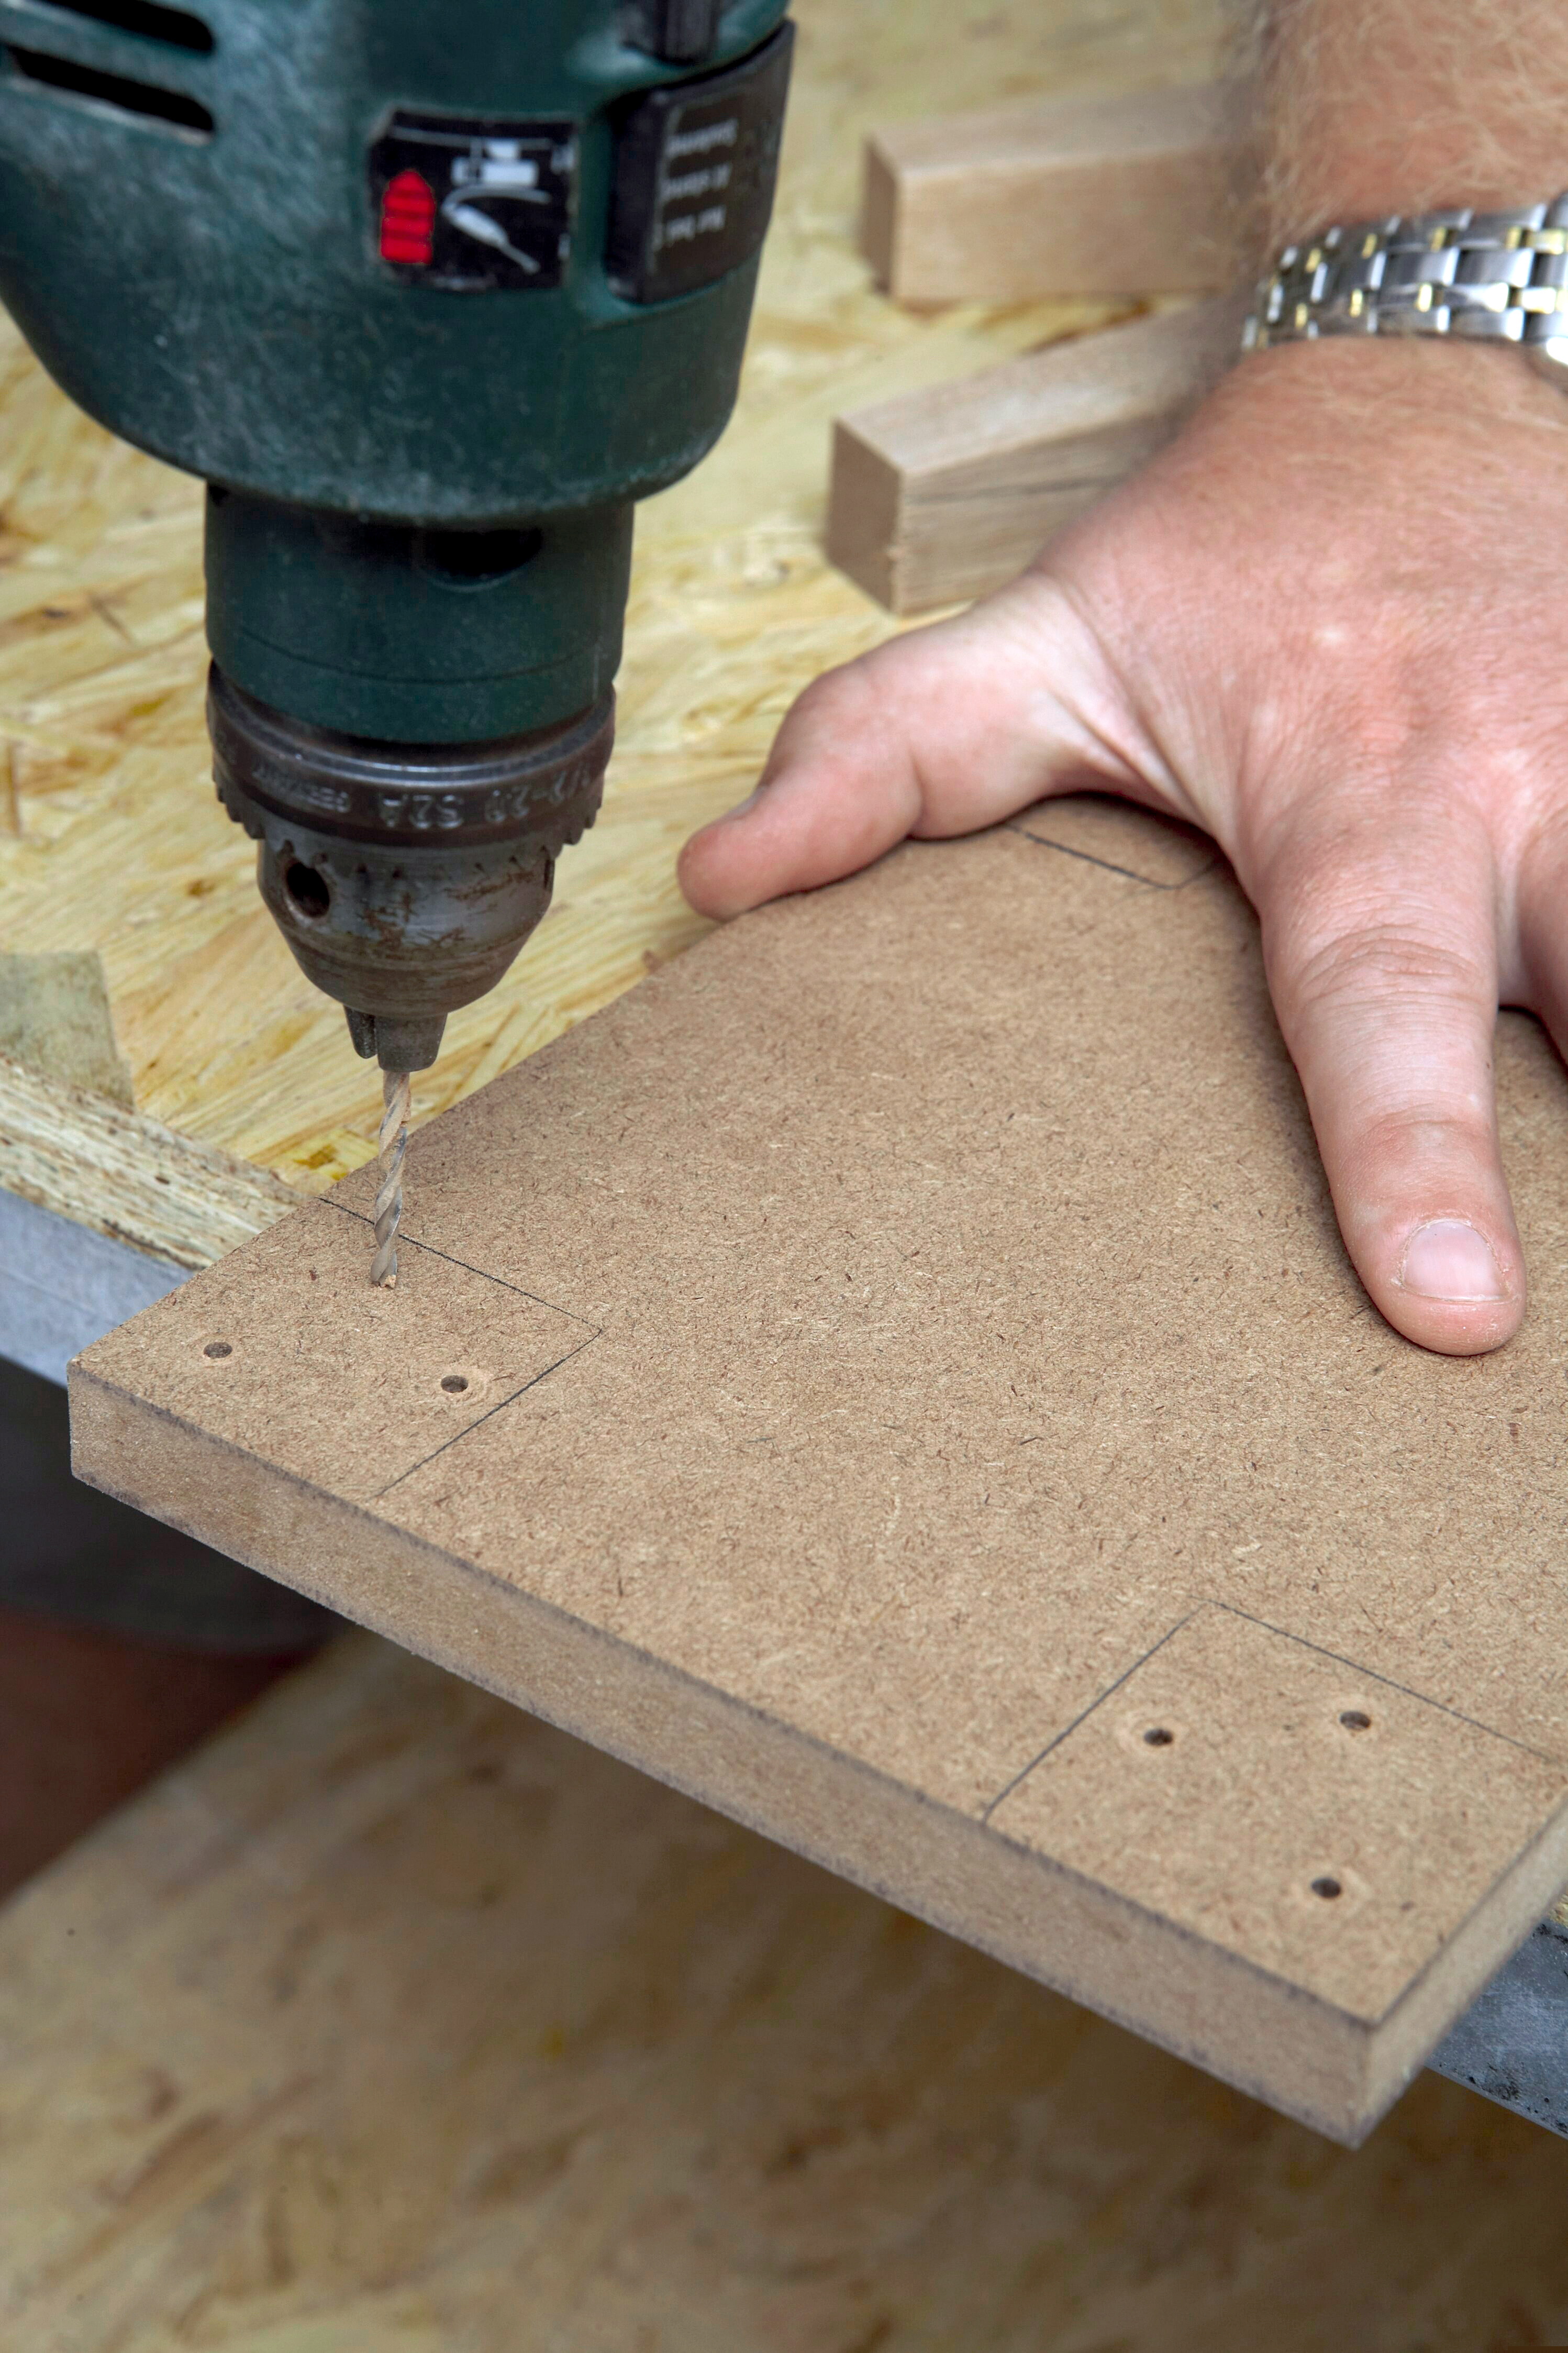
Step 8
Drill three or four 3mm pilot holes within these markings, as shown.
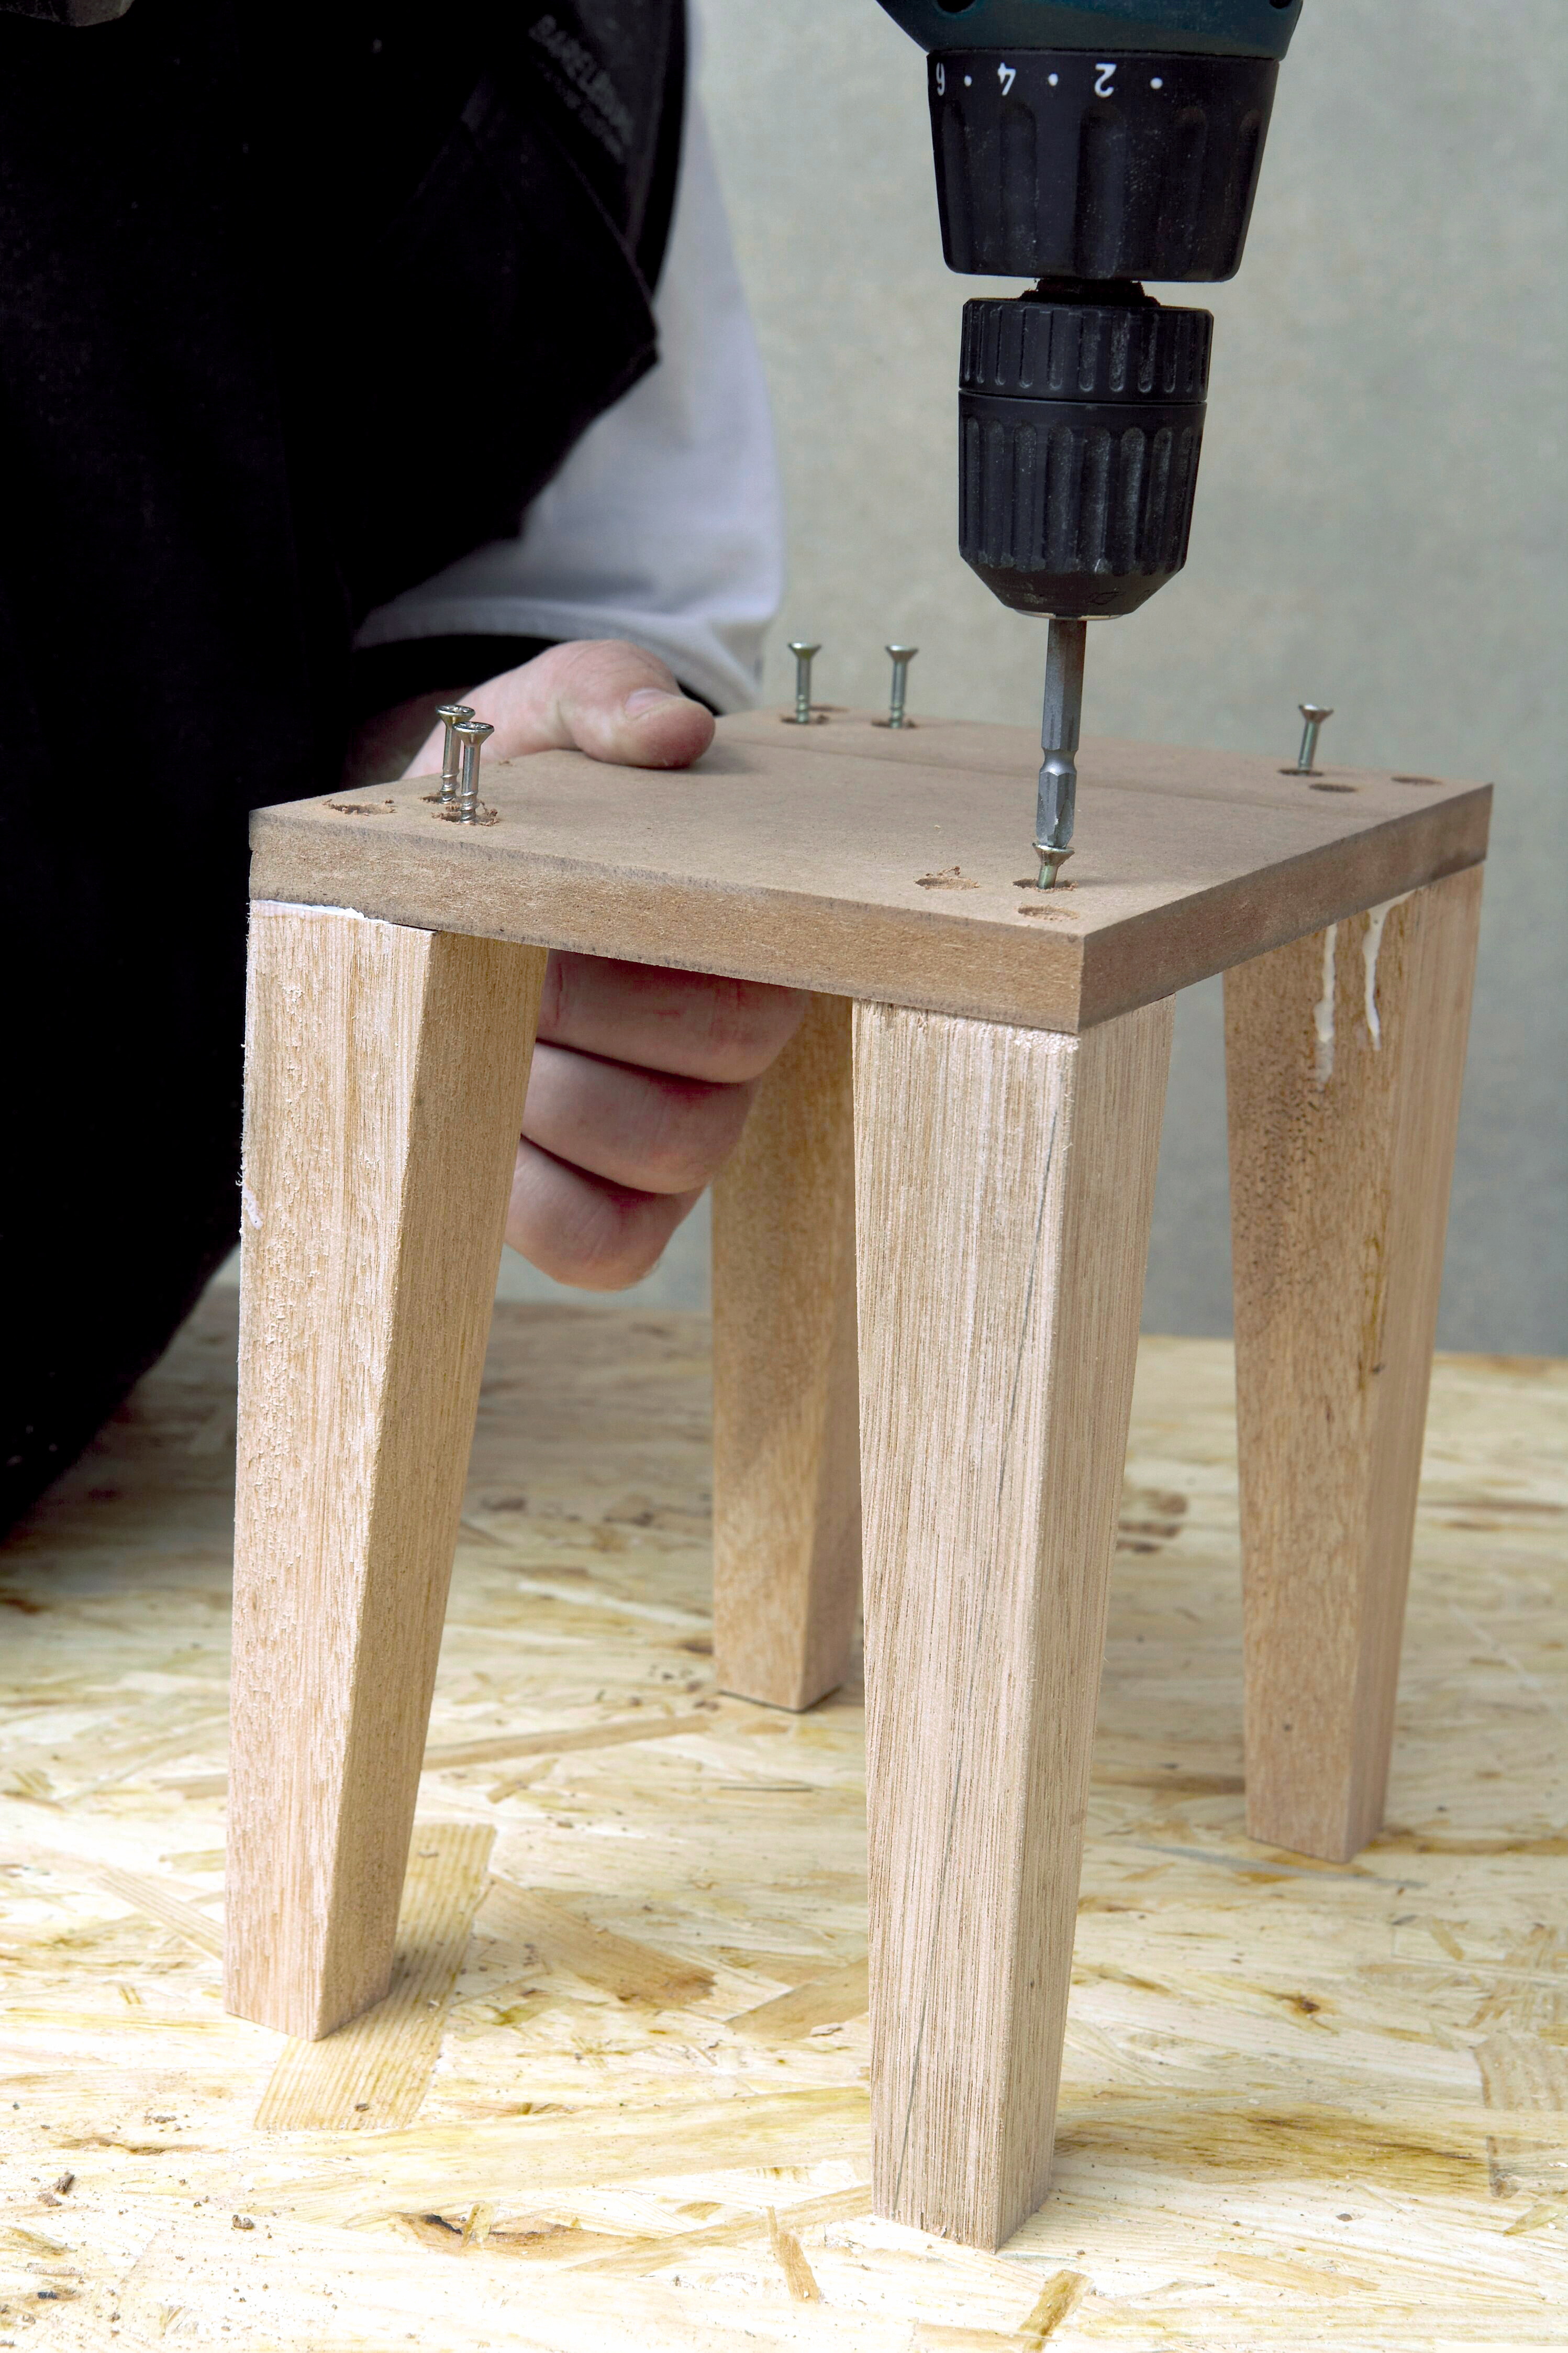
Step 9
Using wood glue and 45mm chipboard screws, fi x the legs to the bottom (A).
Step 10
Attach the base with the legs to the sides.
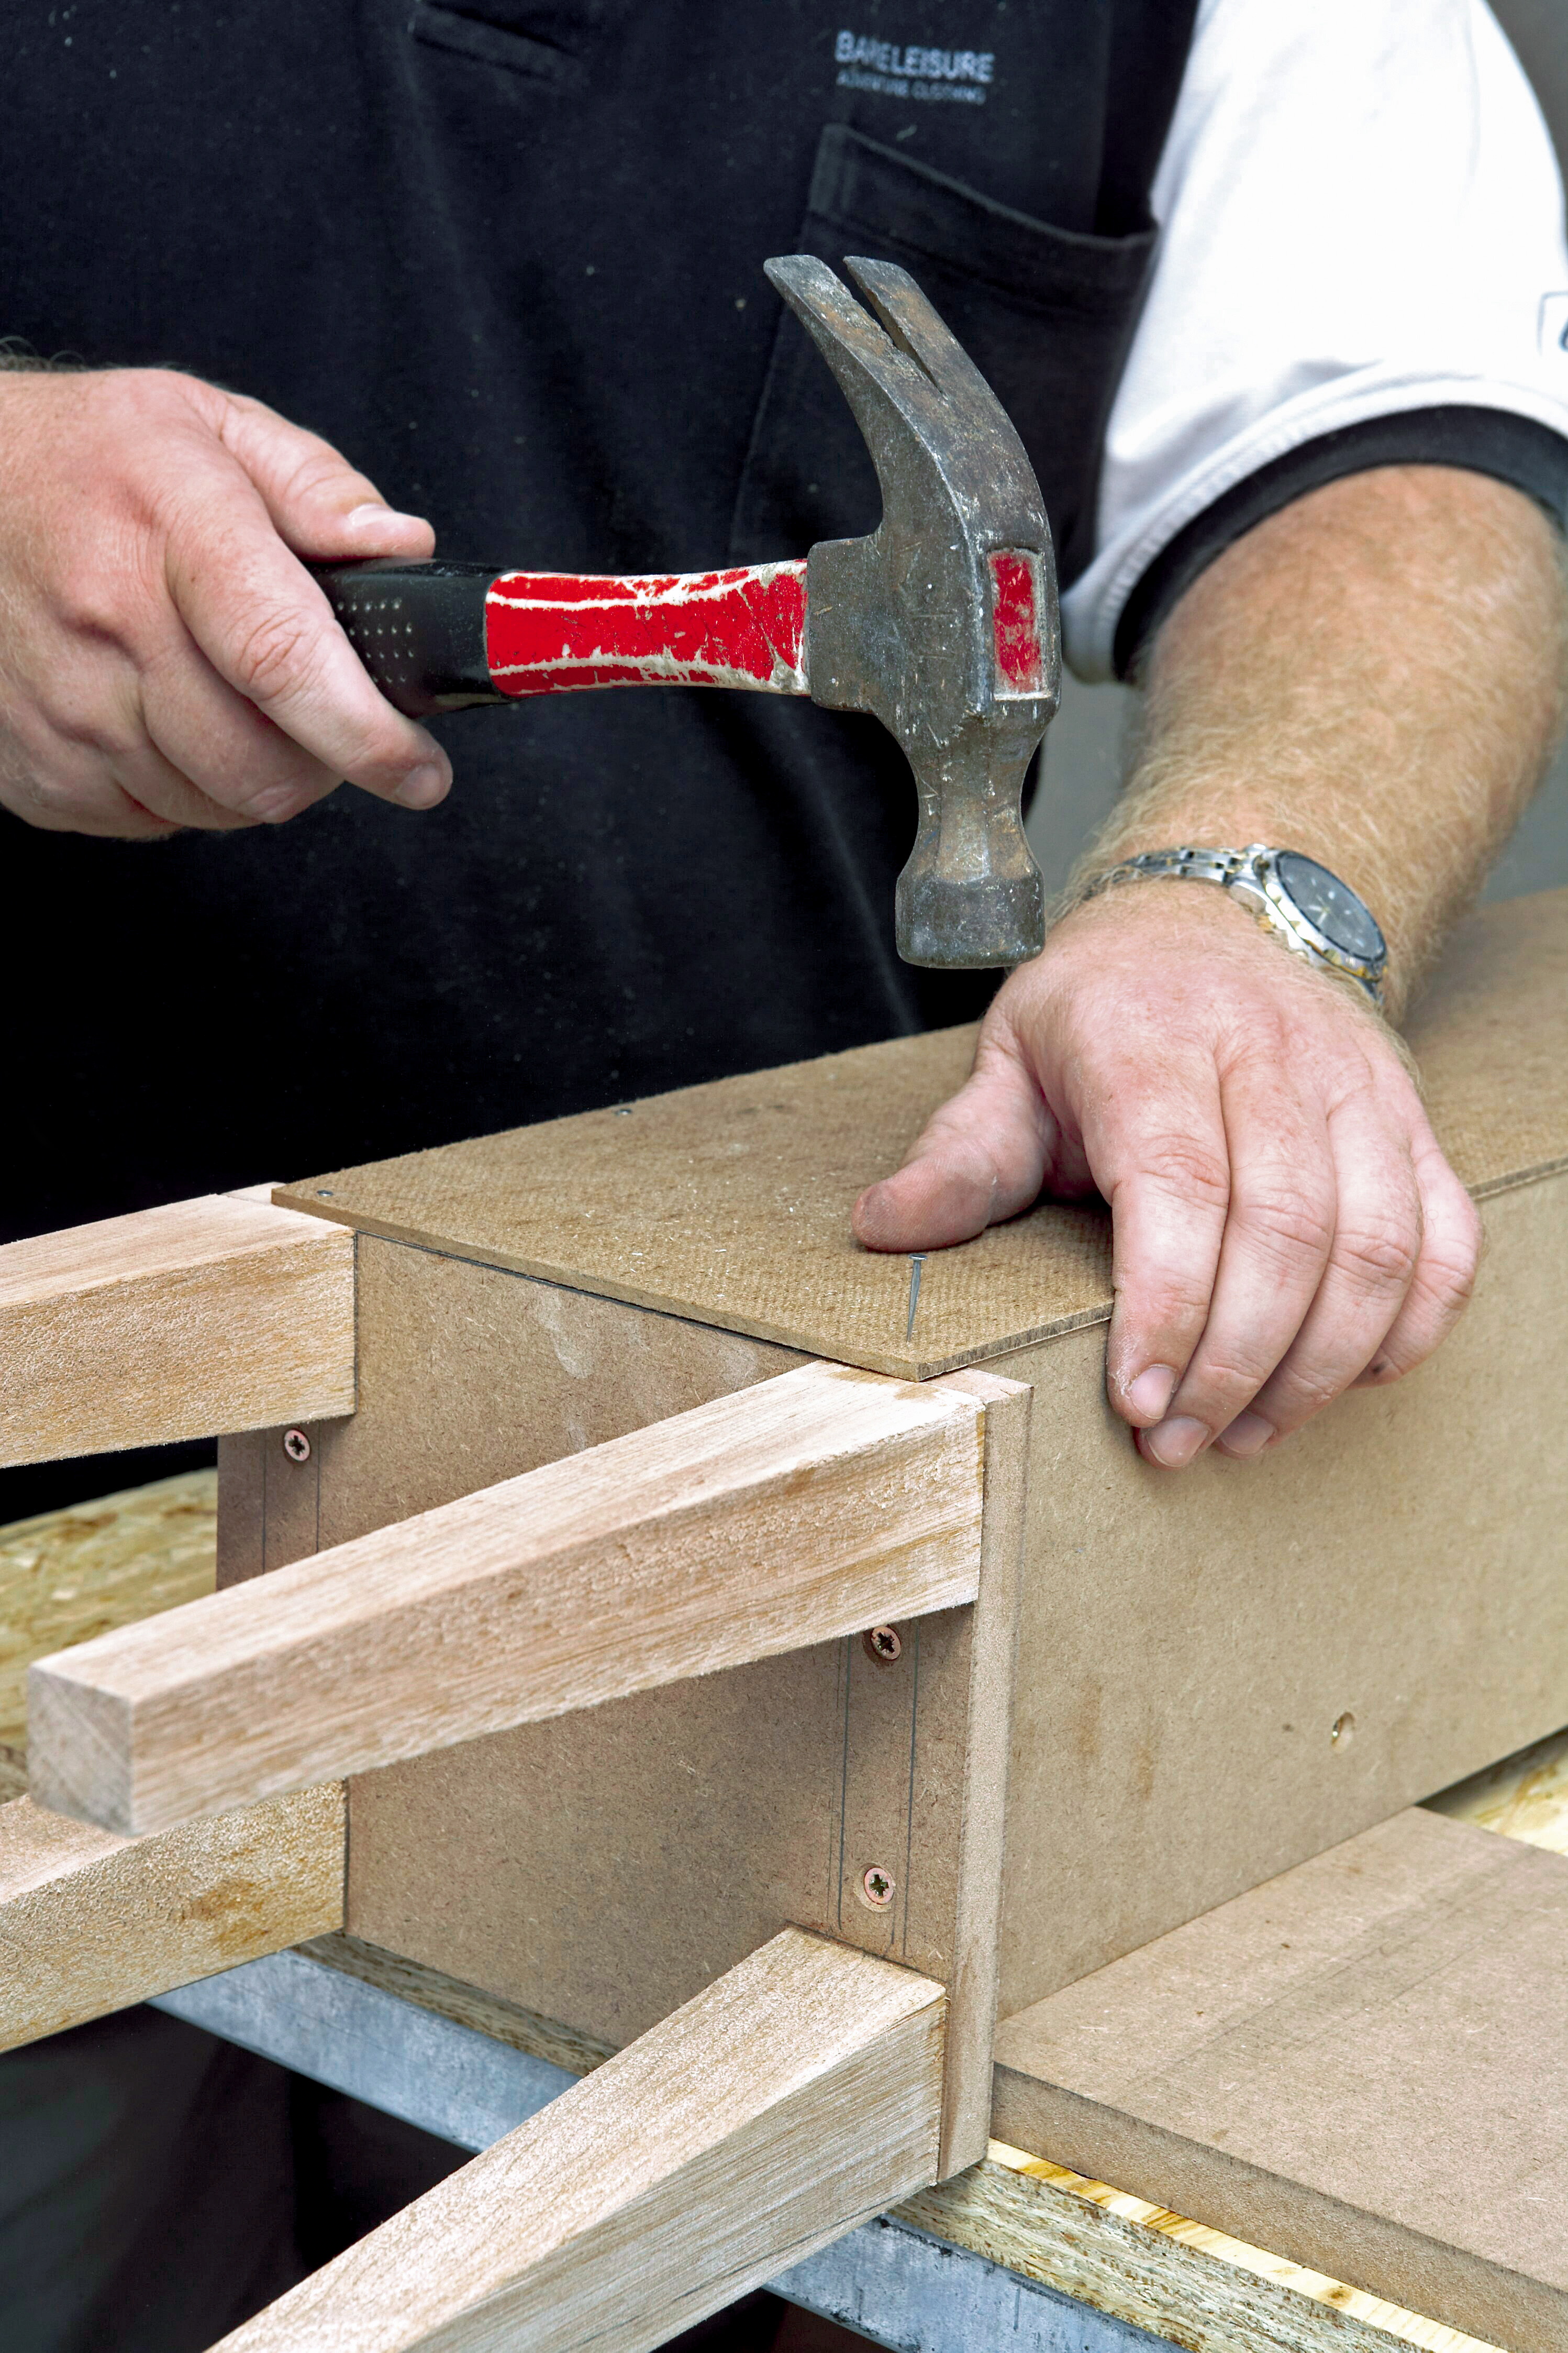
Step 11
Fix a 3mm backing board onto the back of the CD rack using panel pins and a hammer. The size of the backing board needs to be relevant to the length you have decided upon: in this case, 961 x 182mm.

Step 12
The hinges will need to be recessed slightly into the door (D) so that it will close flush with the rack. Mark the position and outline of the hinge and then use a sharp chisel to create a slight recess. Attach the hinges to the door (D) and then hang it in place by fixing the hinges to the side (B). Finish the CD rack by sanding with an orbital sander and then apply a coat of universal undercoat followed by the colour(s) of your choice.
Credits
Referenced from Gallo images / Home Magazine
Browse 1000’s of products available to you. Select your country to Shop Online.


