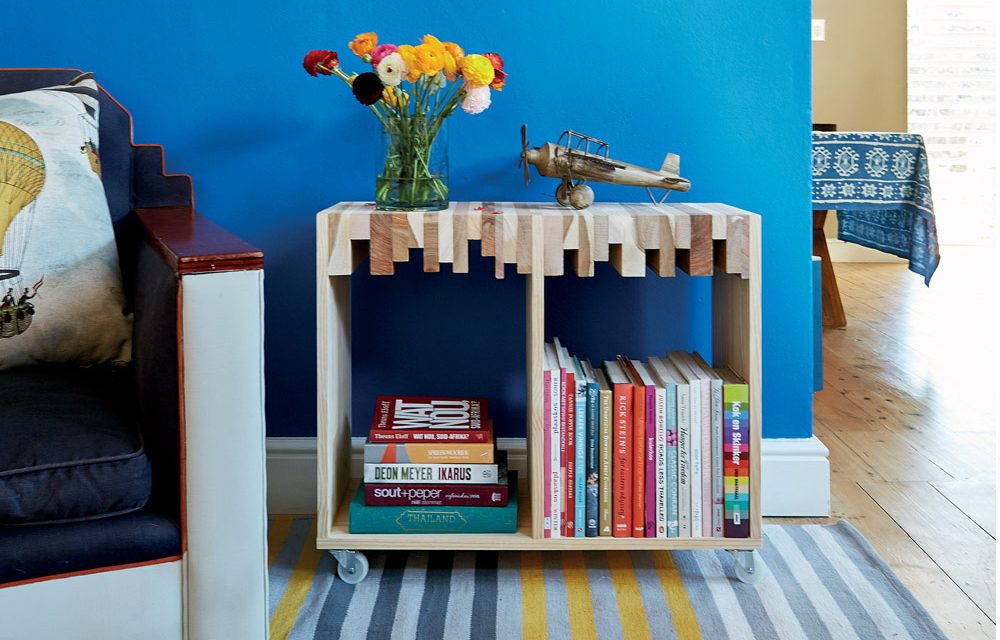
Don’t discard your timber offcuts – turn all those bits of scrap wood lying around in your garage into something useful.
- jigsaw
- Alcolin Fast Set wood glue
- panel pins or staples
- wood filler
- paint and/or sealant
- tape measure
- steel ruler
- pencil
- jigsaw
- sander
- nail gun, staple gun or hammer
- punch
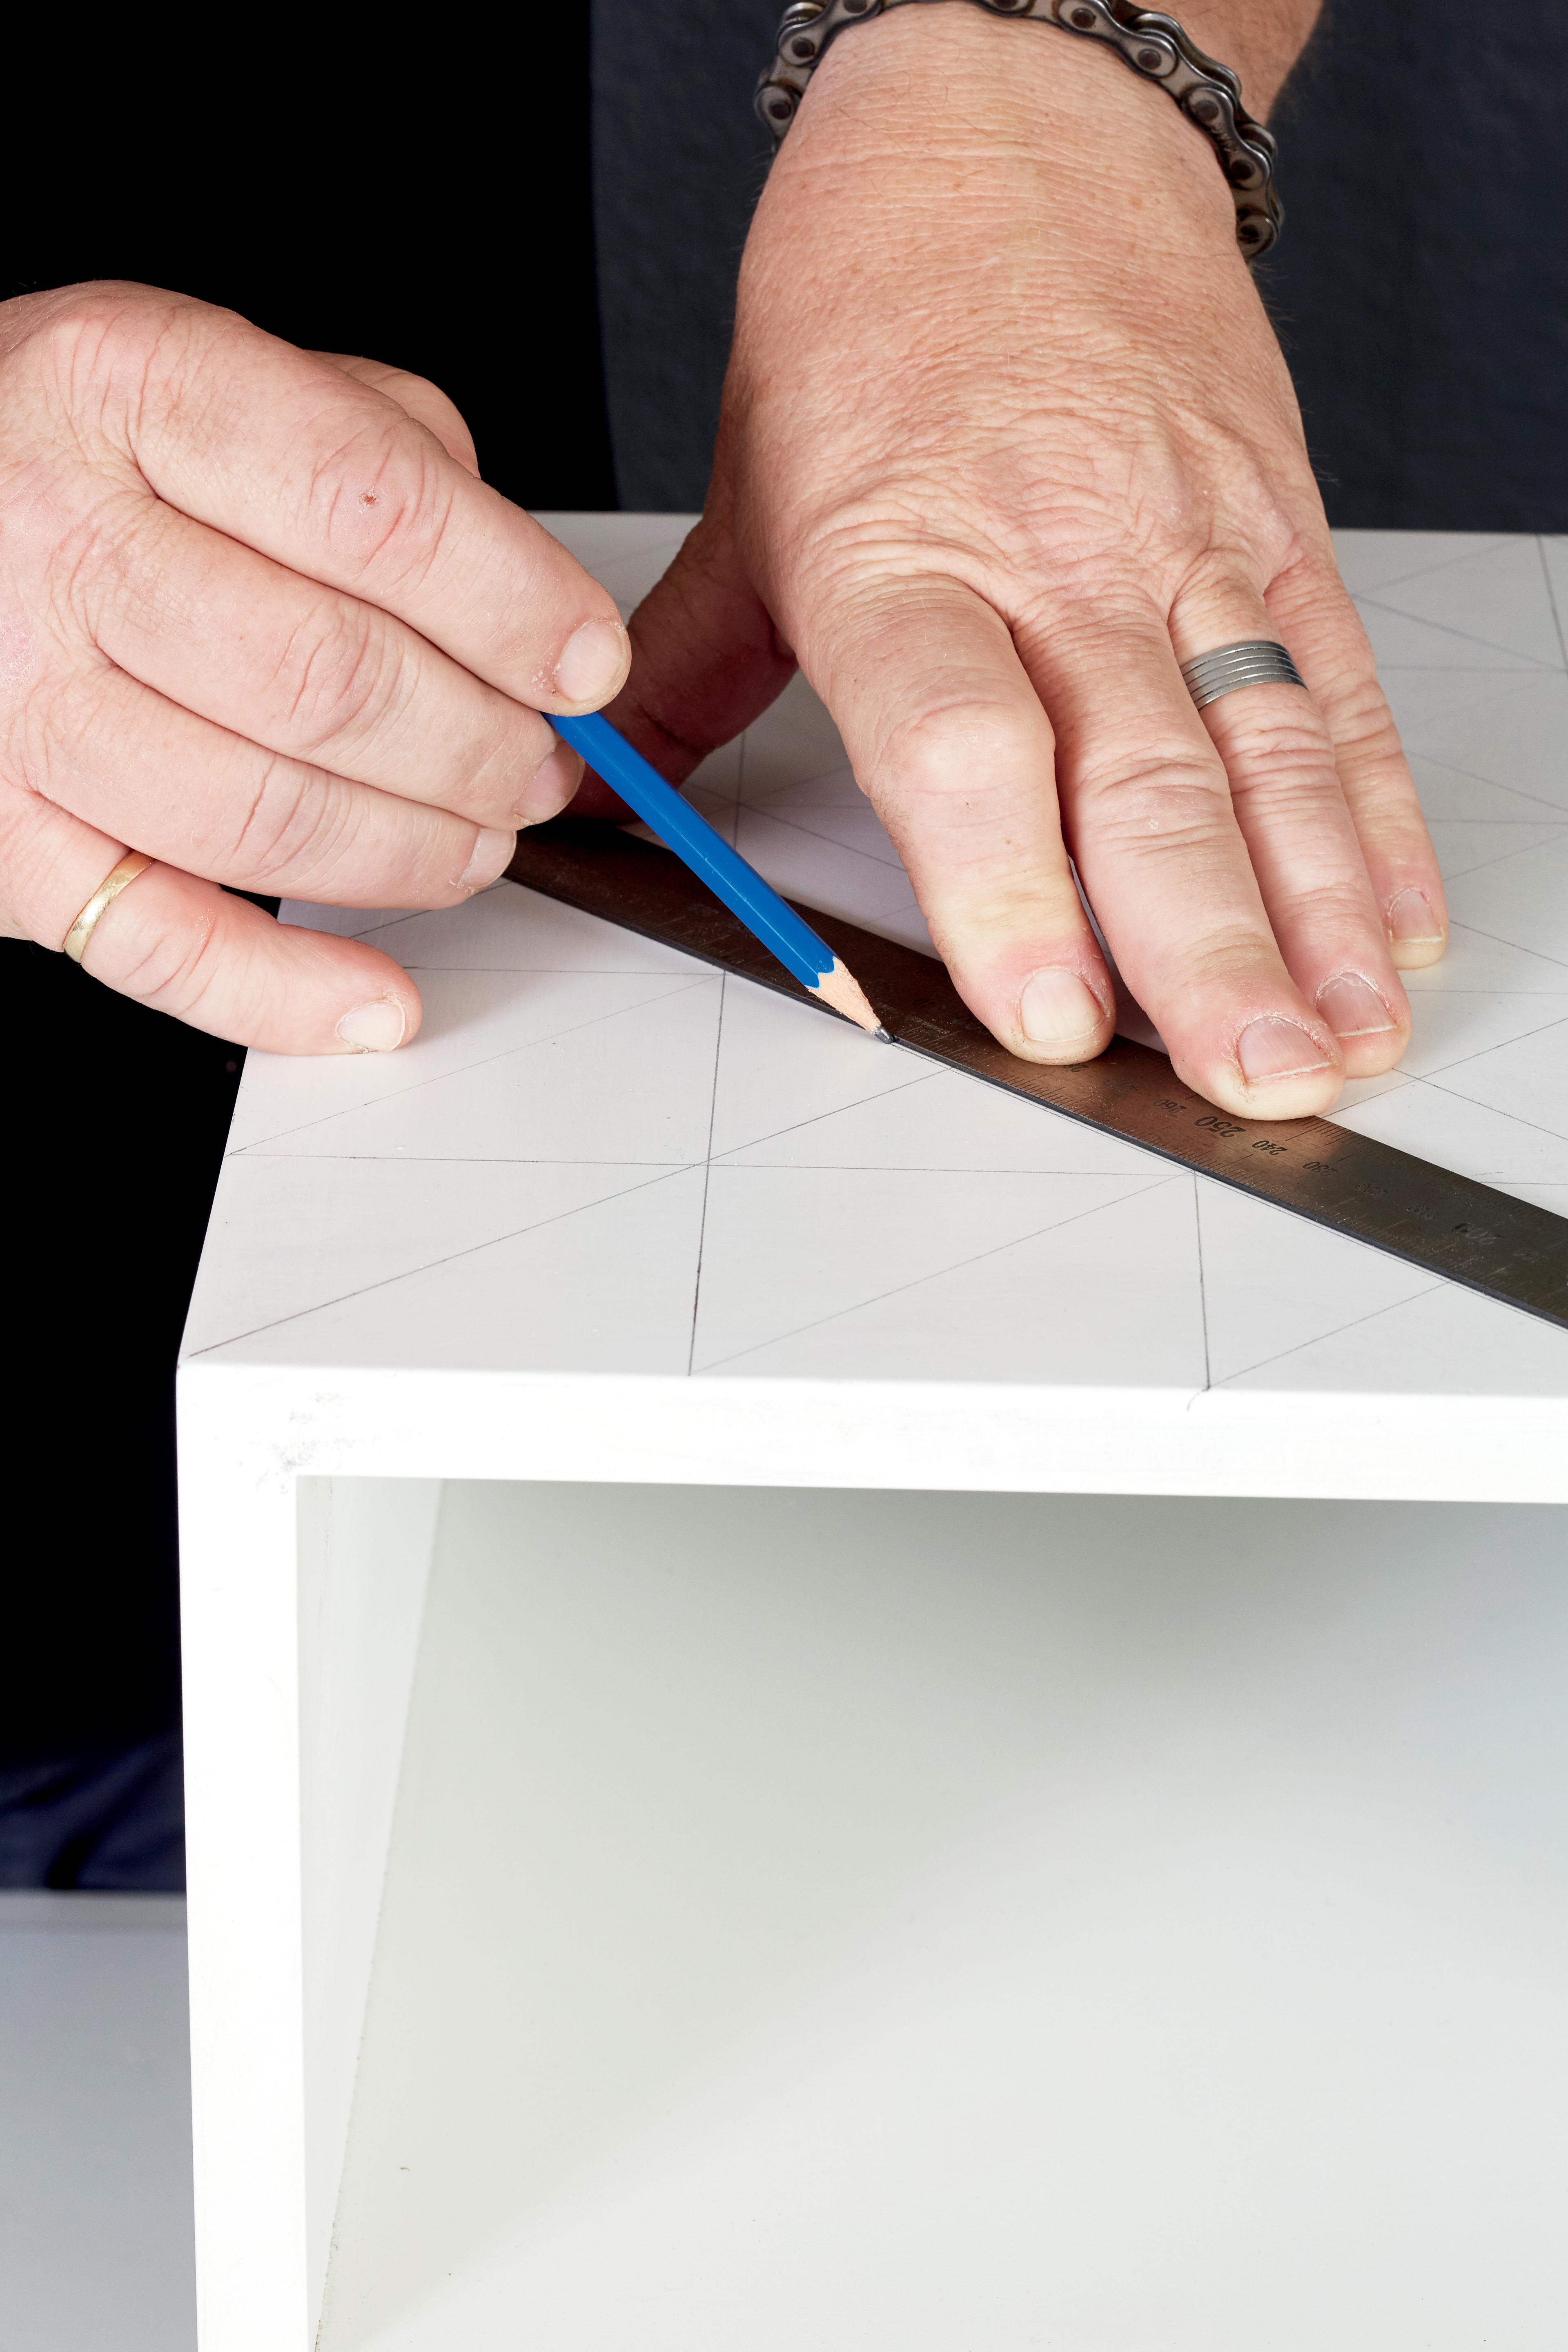
Step 1
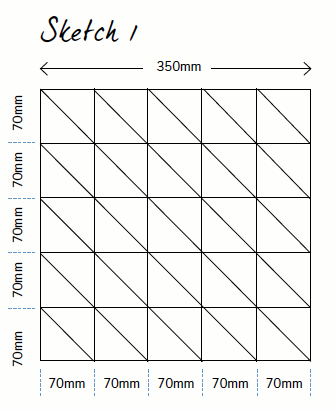
Measure the surface you want to embellish, then, using the steel ruler and pencil, mark each square and triangle. We divided our table top (350mm x 350mm) into five 70mm x 70mm squares, then each square into two triangles (see sketch 1).
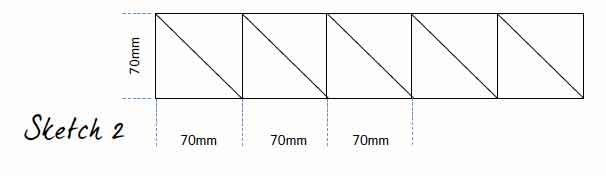
Step 2
Saw the offcut wood into 70mm-wide pieces. Mark 70mm squares across the length of each piece and join the two opposite corners of each square with a pencil line. Now saw along each line to form triangular pieces (see sketch 2).
Step 3
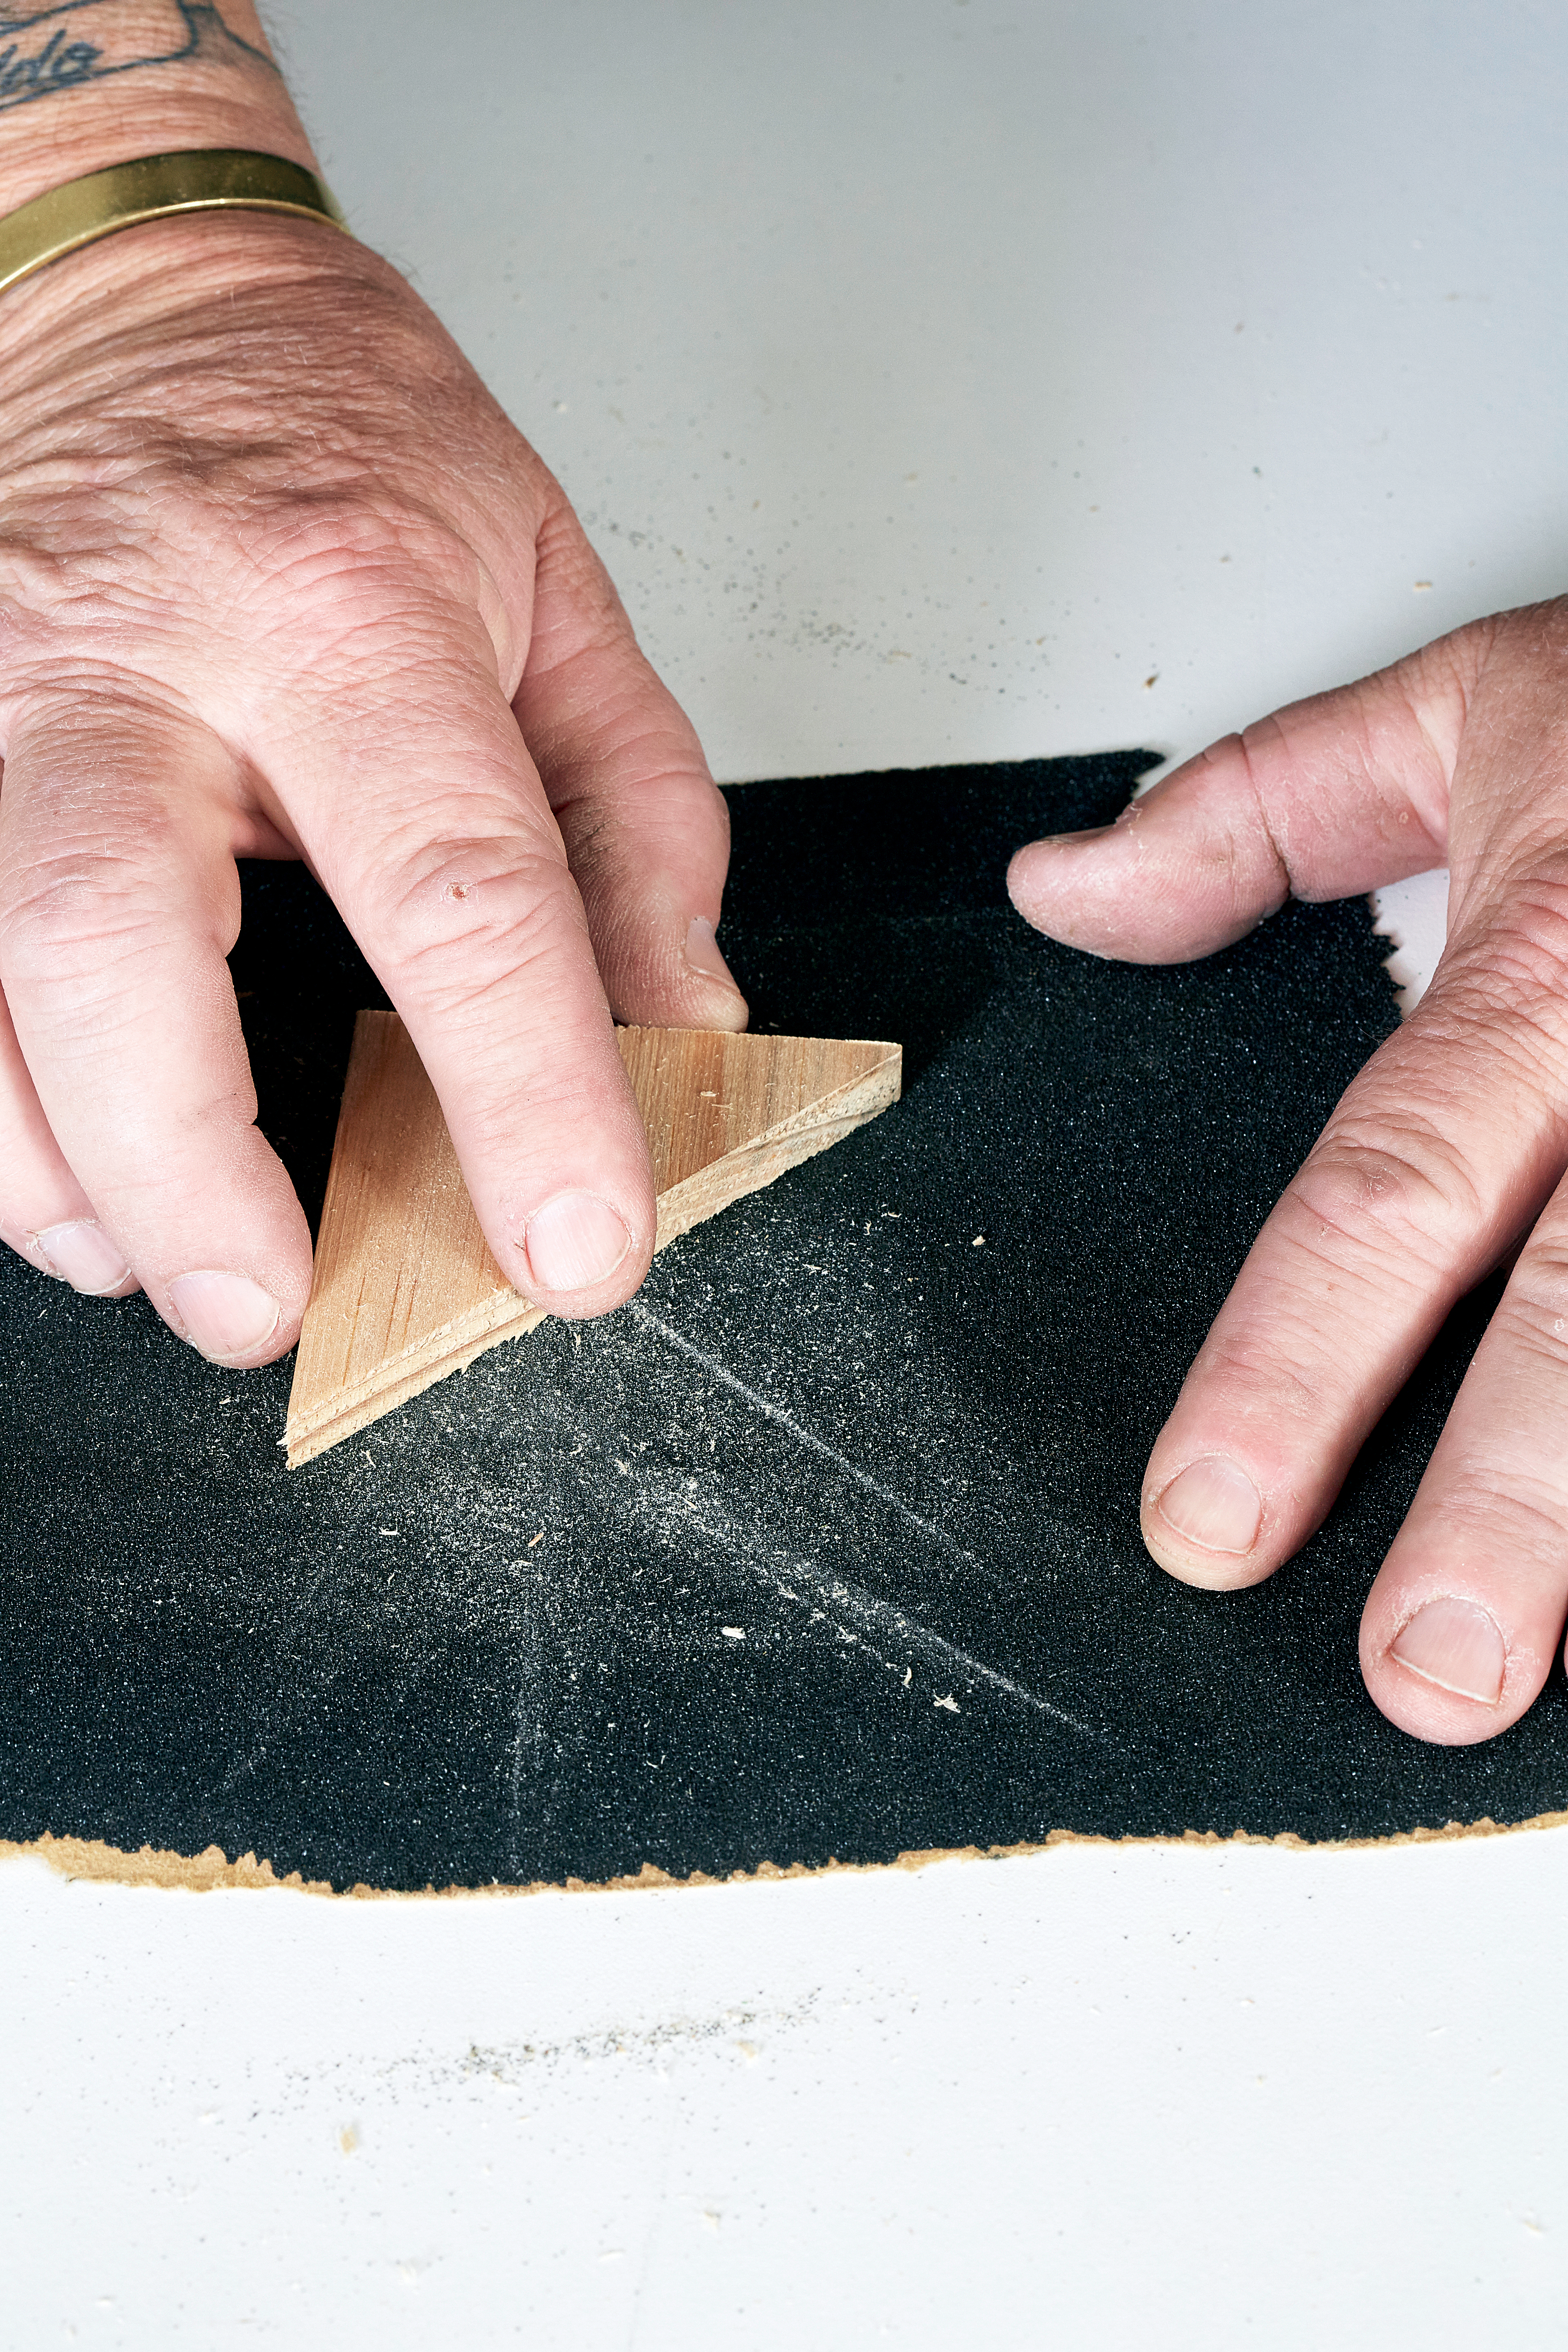
Lightly sand the edges of each piece to get rid of any splinters.
Step 4
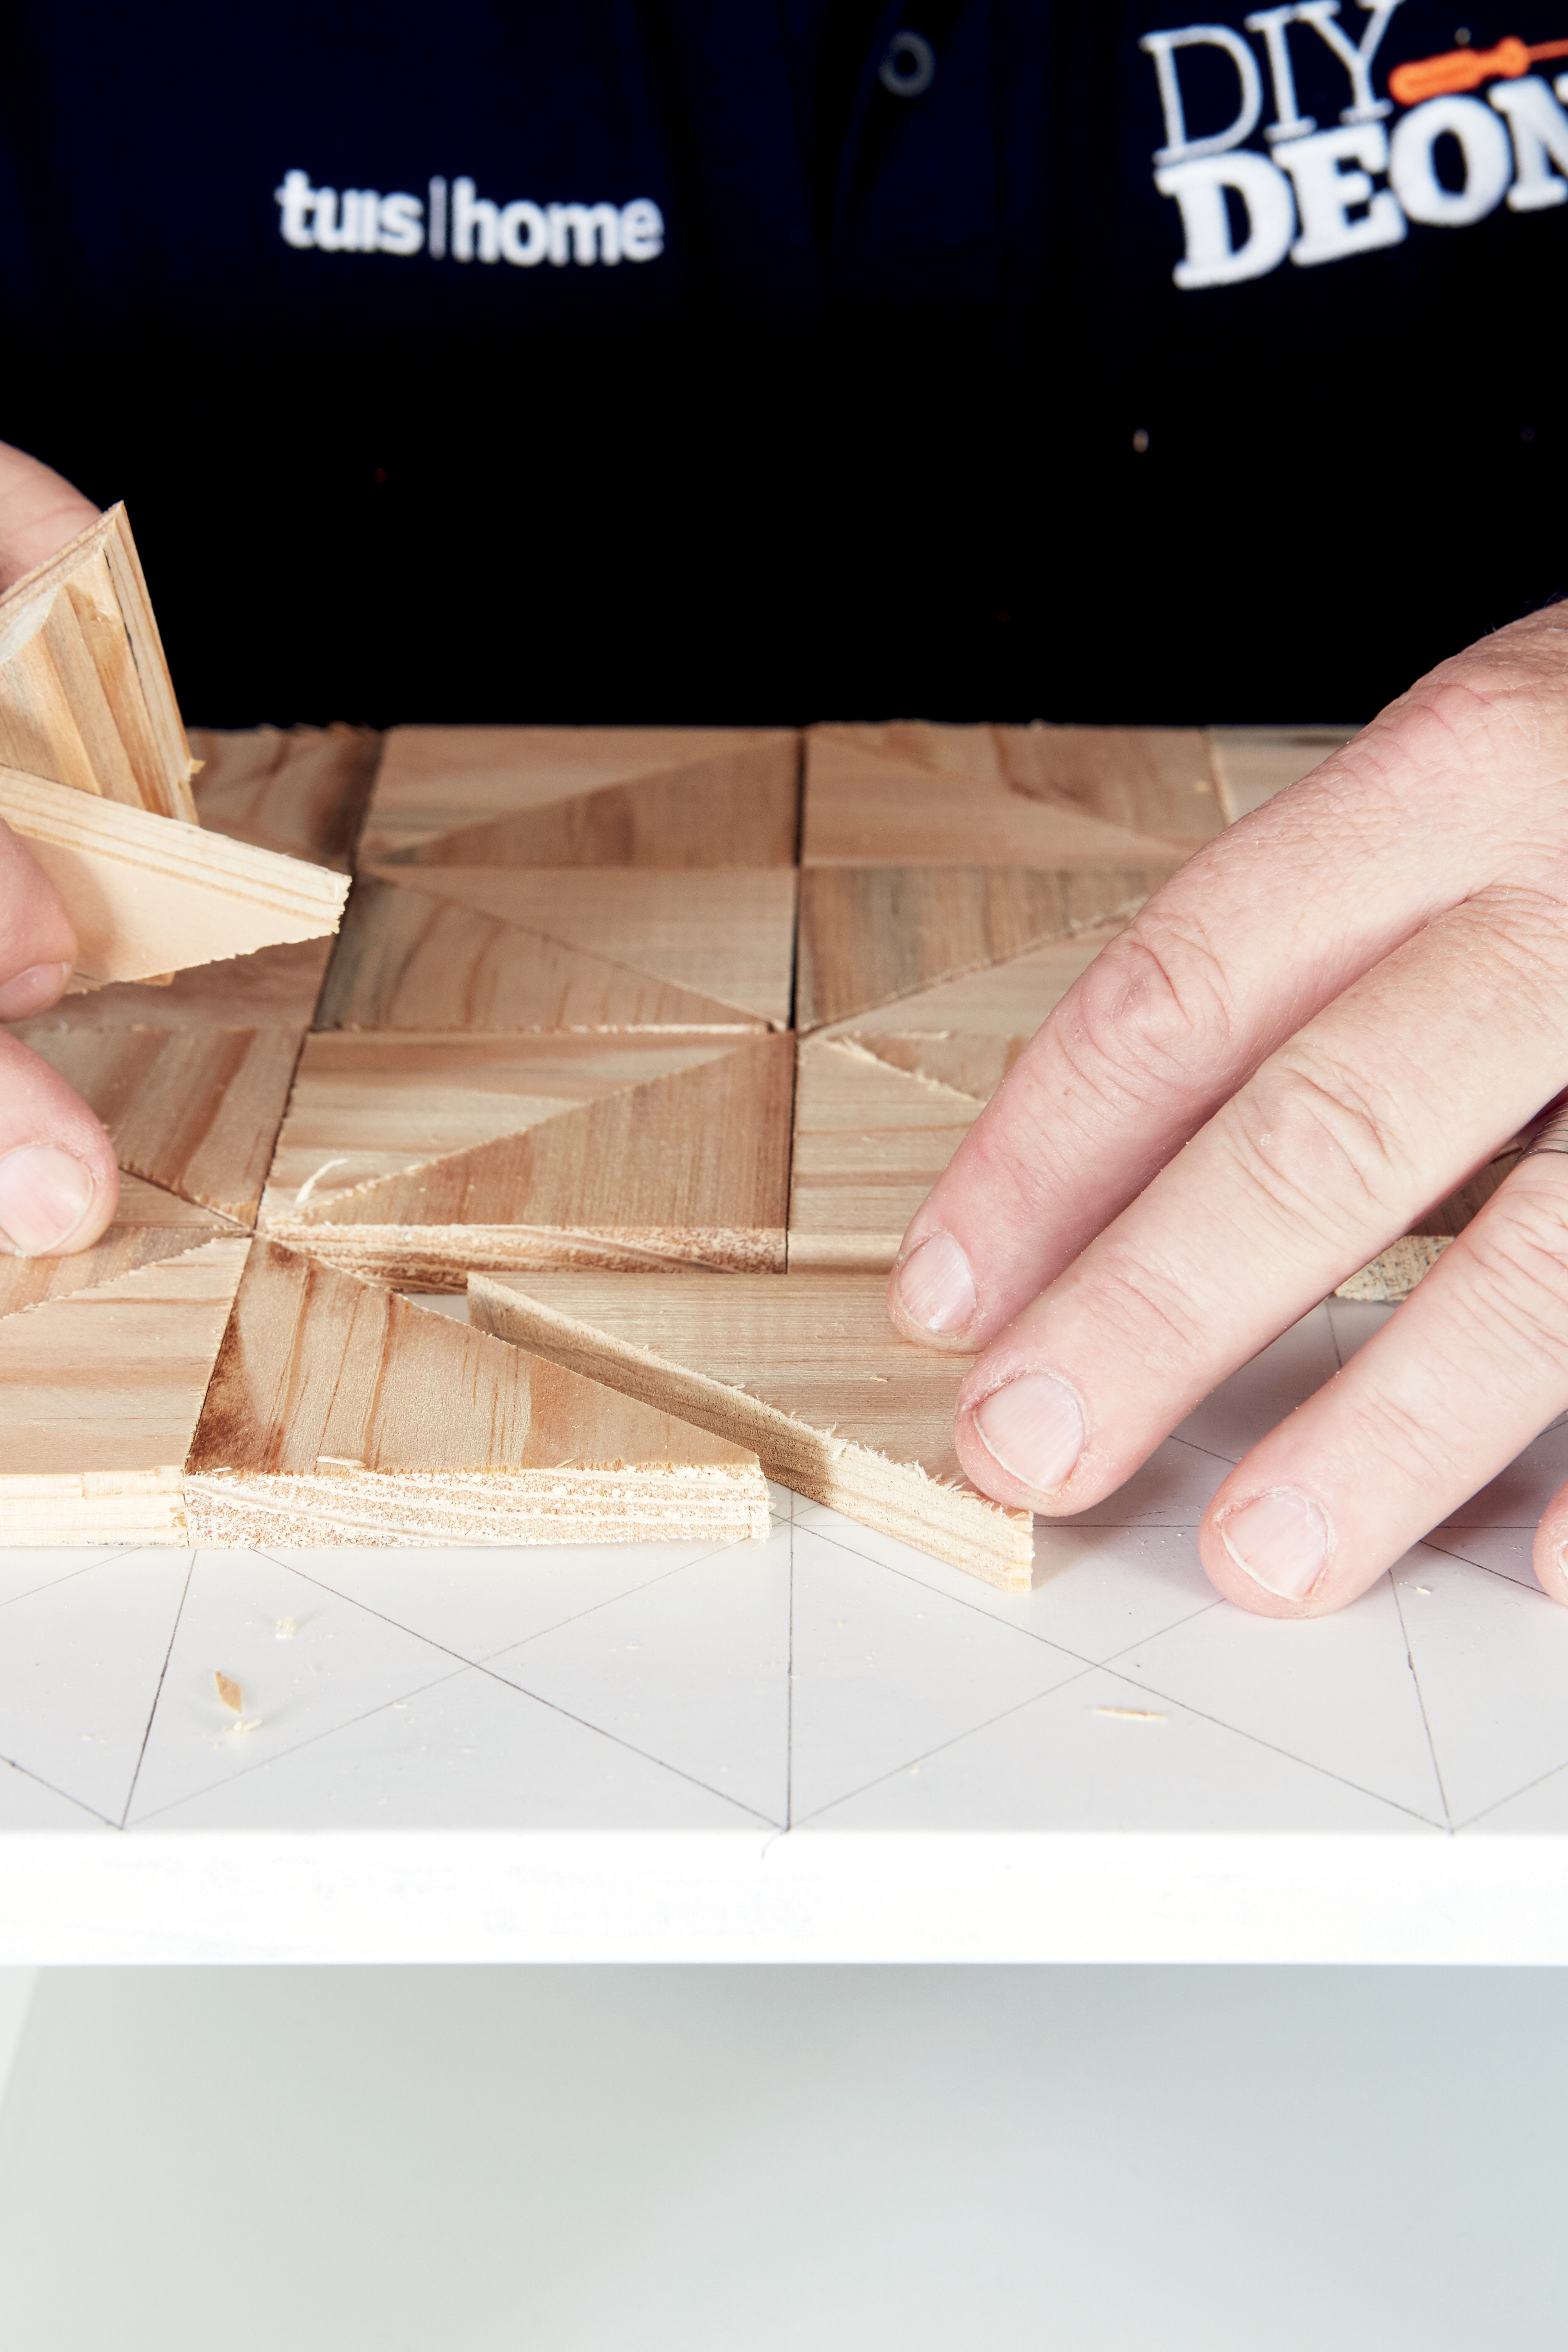
First check if you are happy with your pattern by arranging the triangular pieces on the marks you made on the table top, placing the grain of each piece of wood at right angles to each other.
Step 5
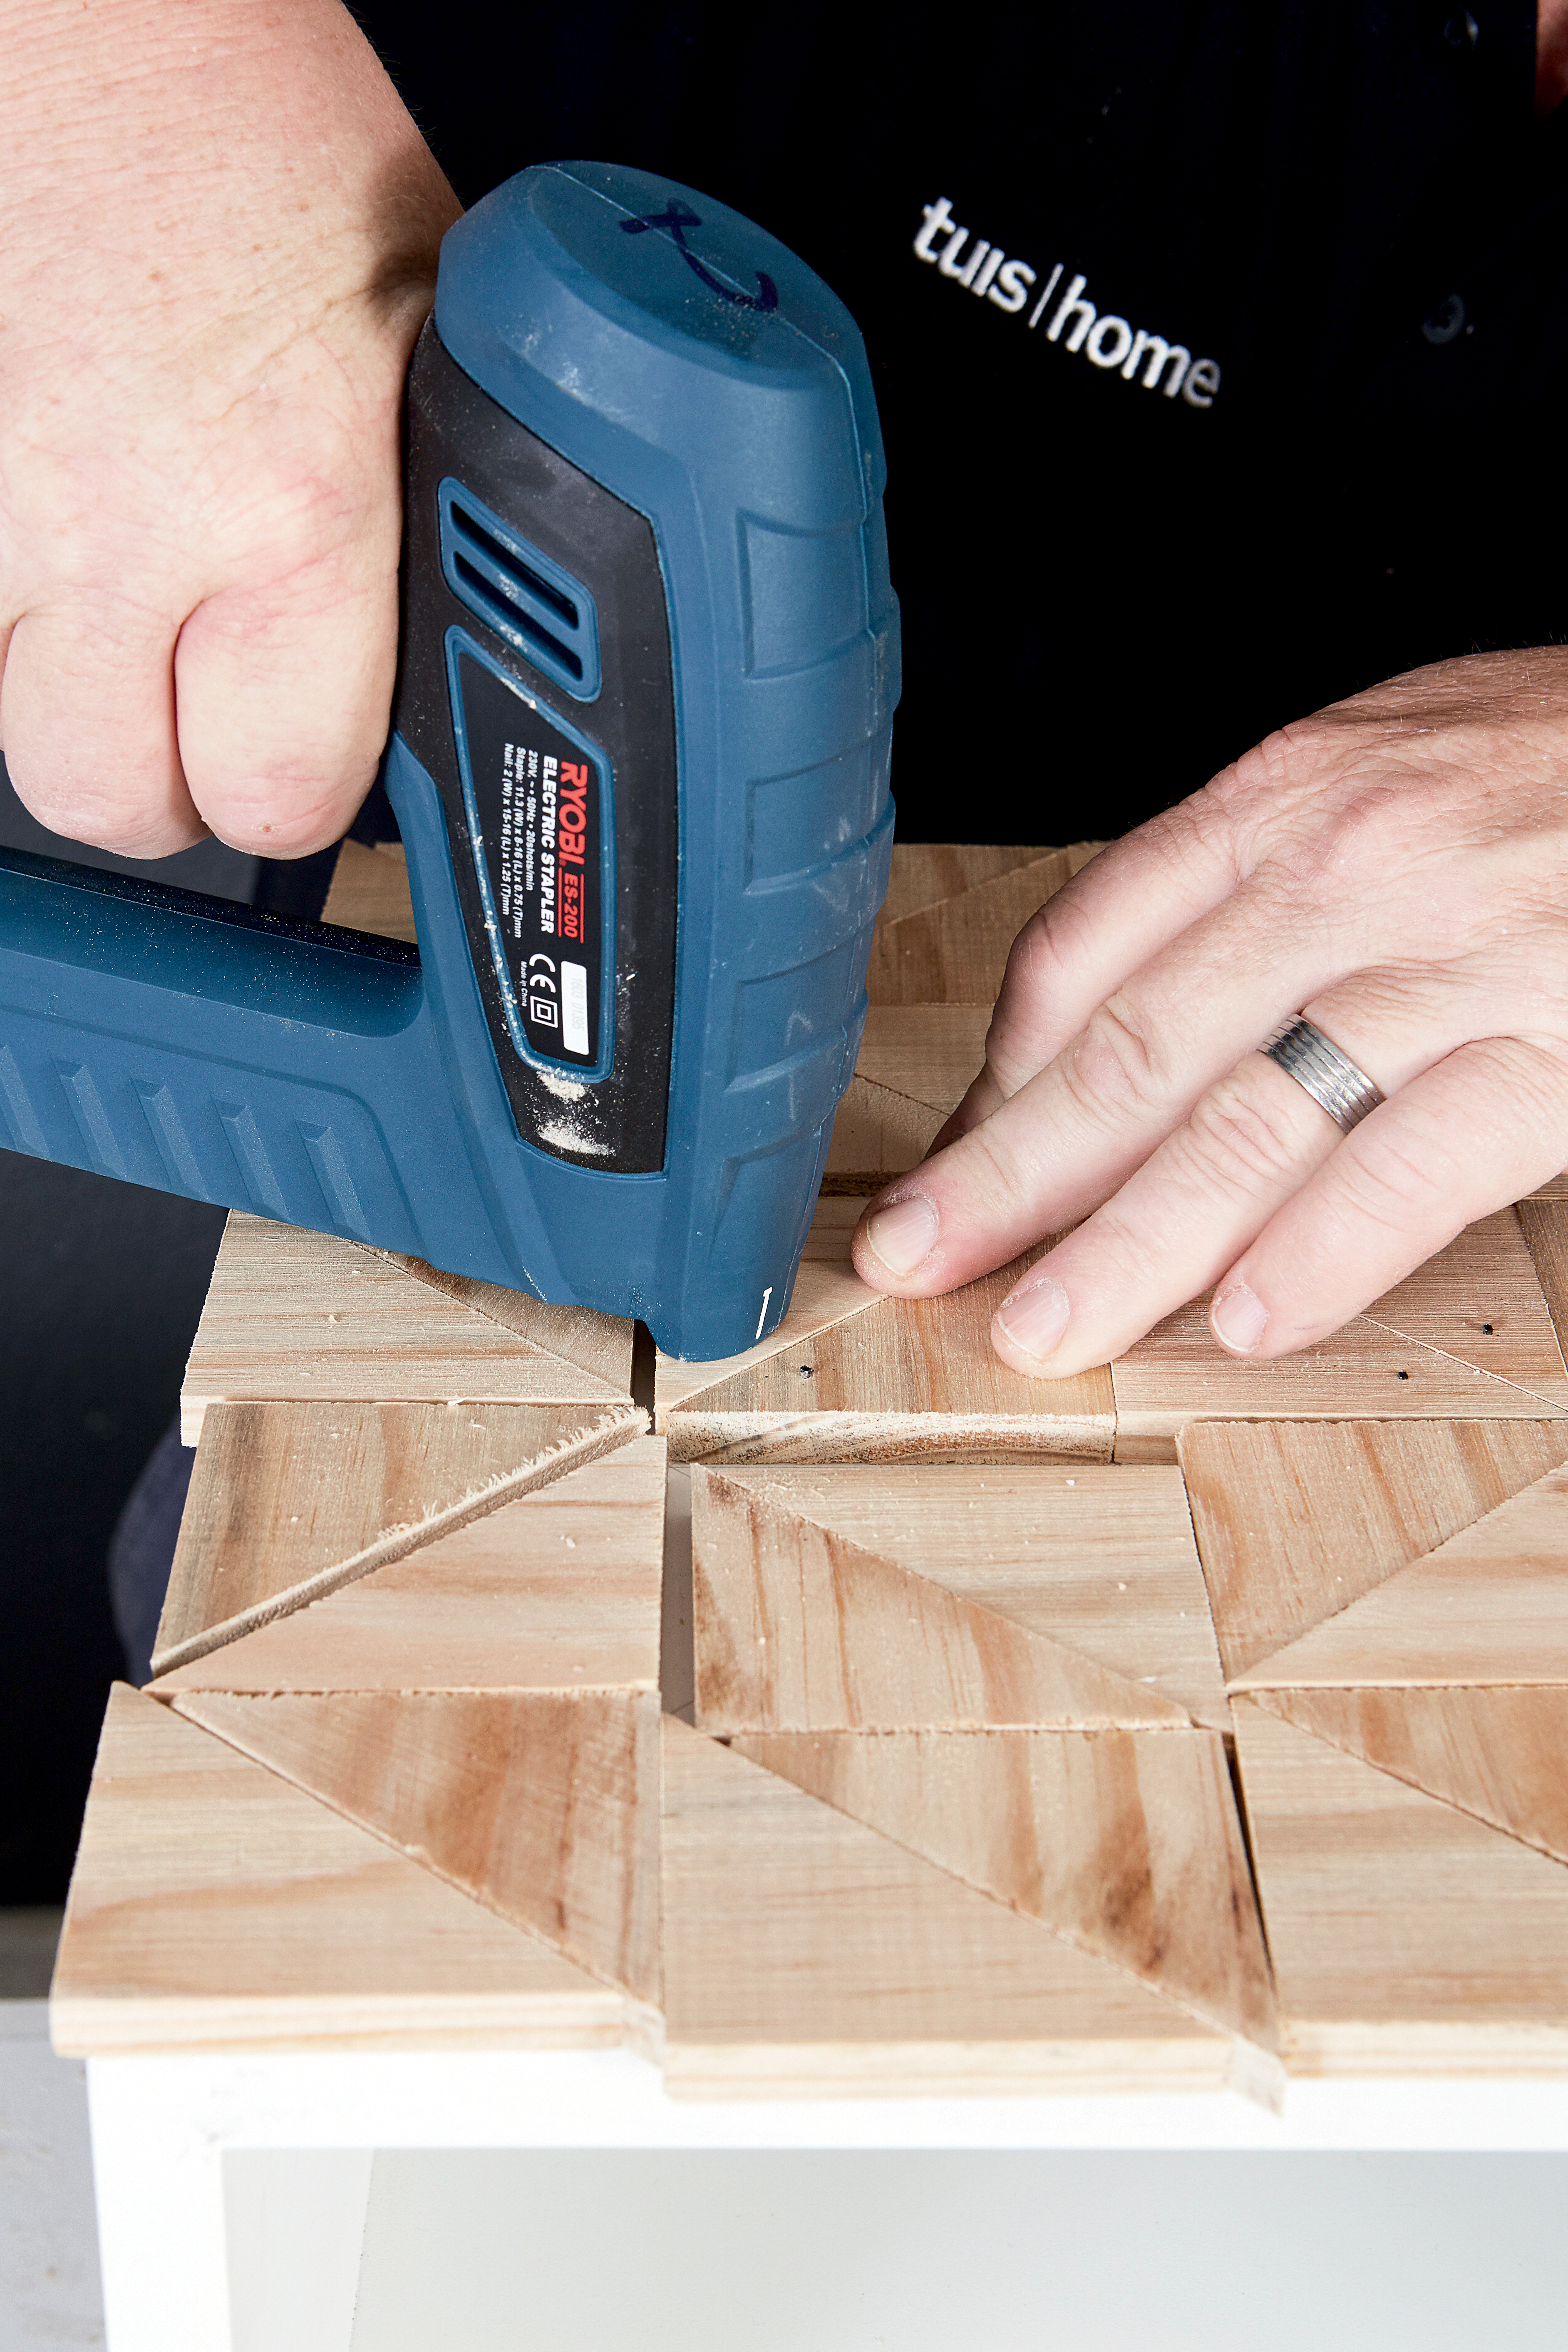
Now you’re ready to affix the triangles. Starting at the centre and working your way outwards, glue, then secure them one at a time with the panel pins or staples.
Step 6
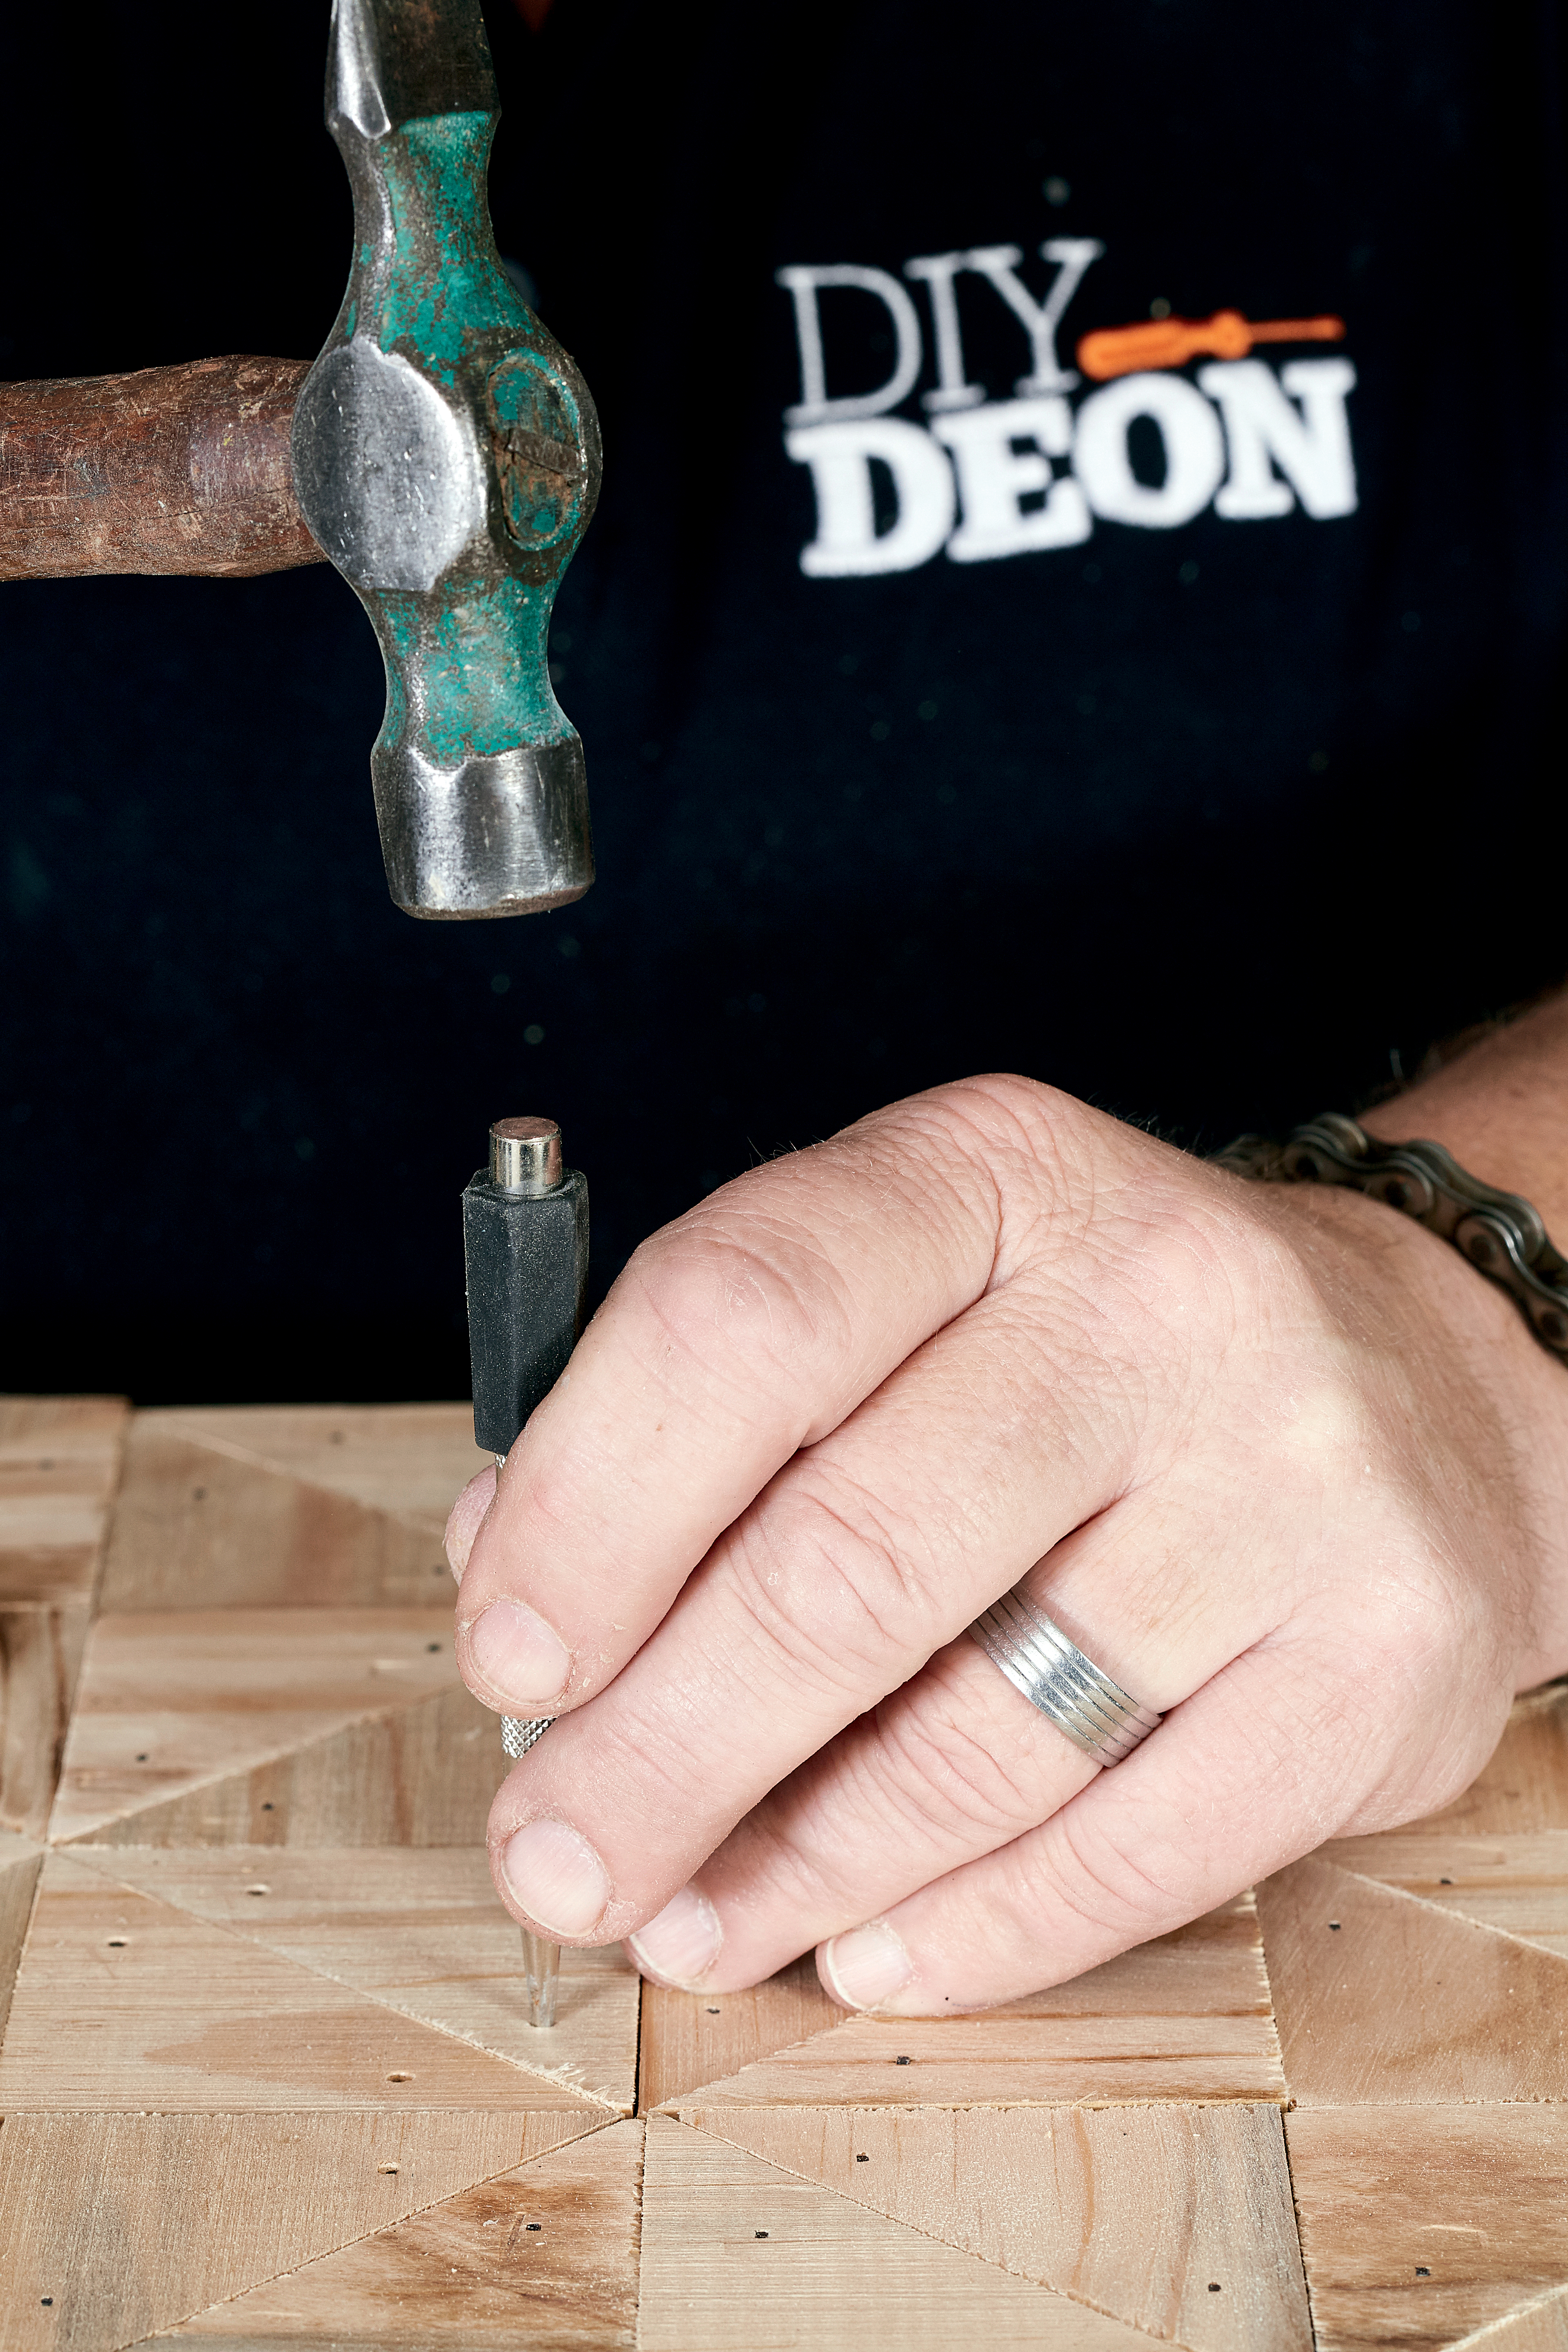
Using the punch, countersink the nails.
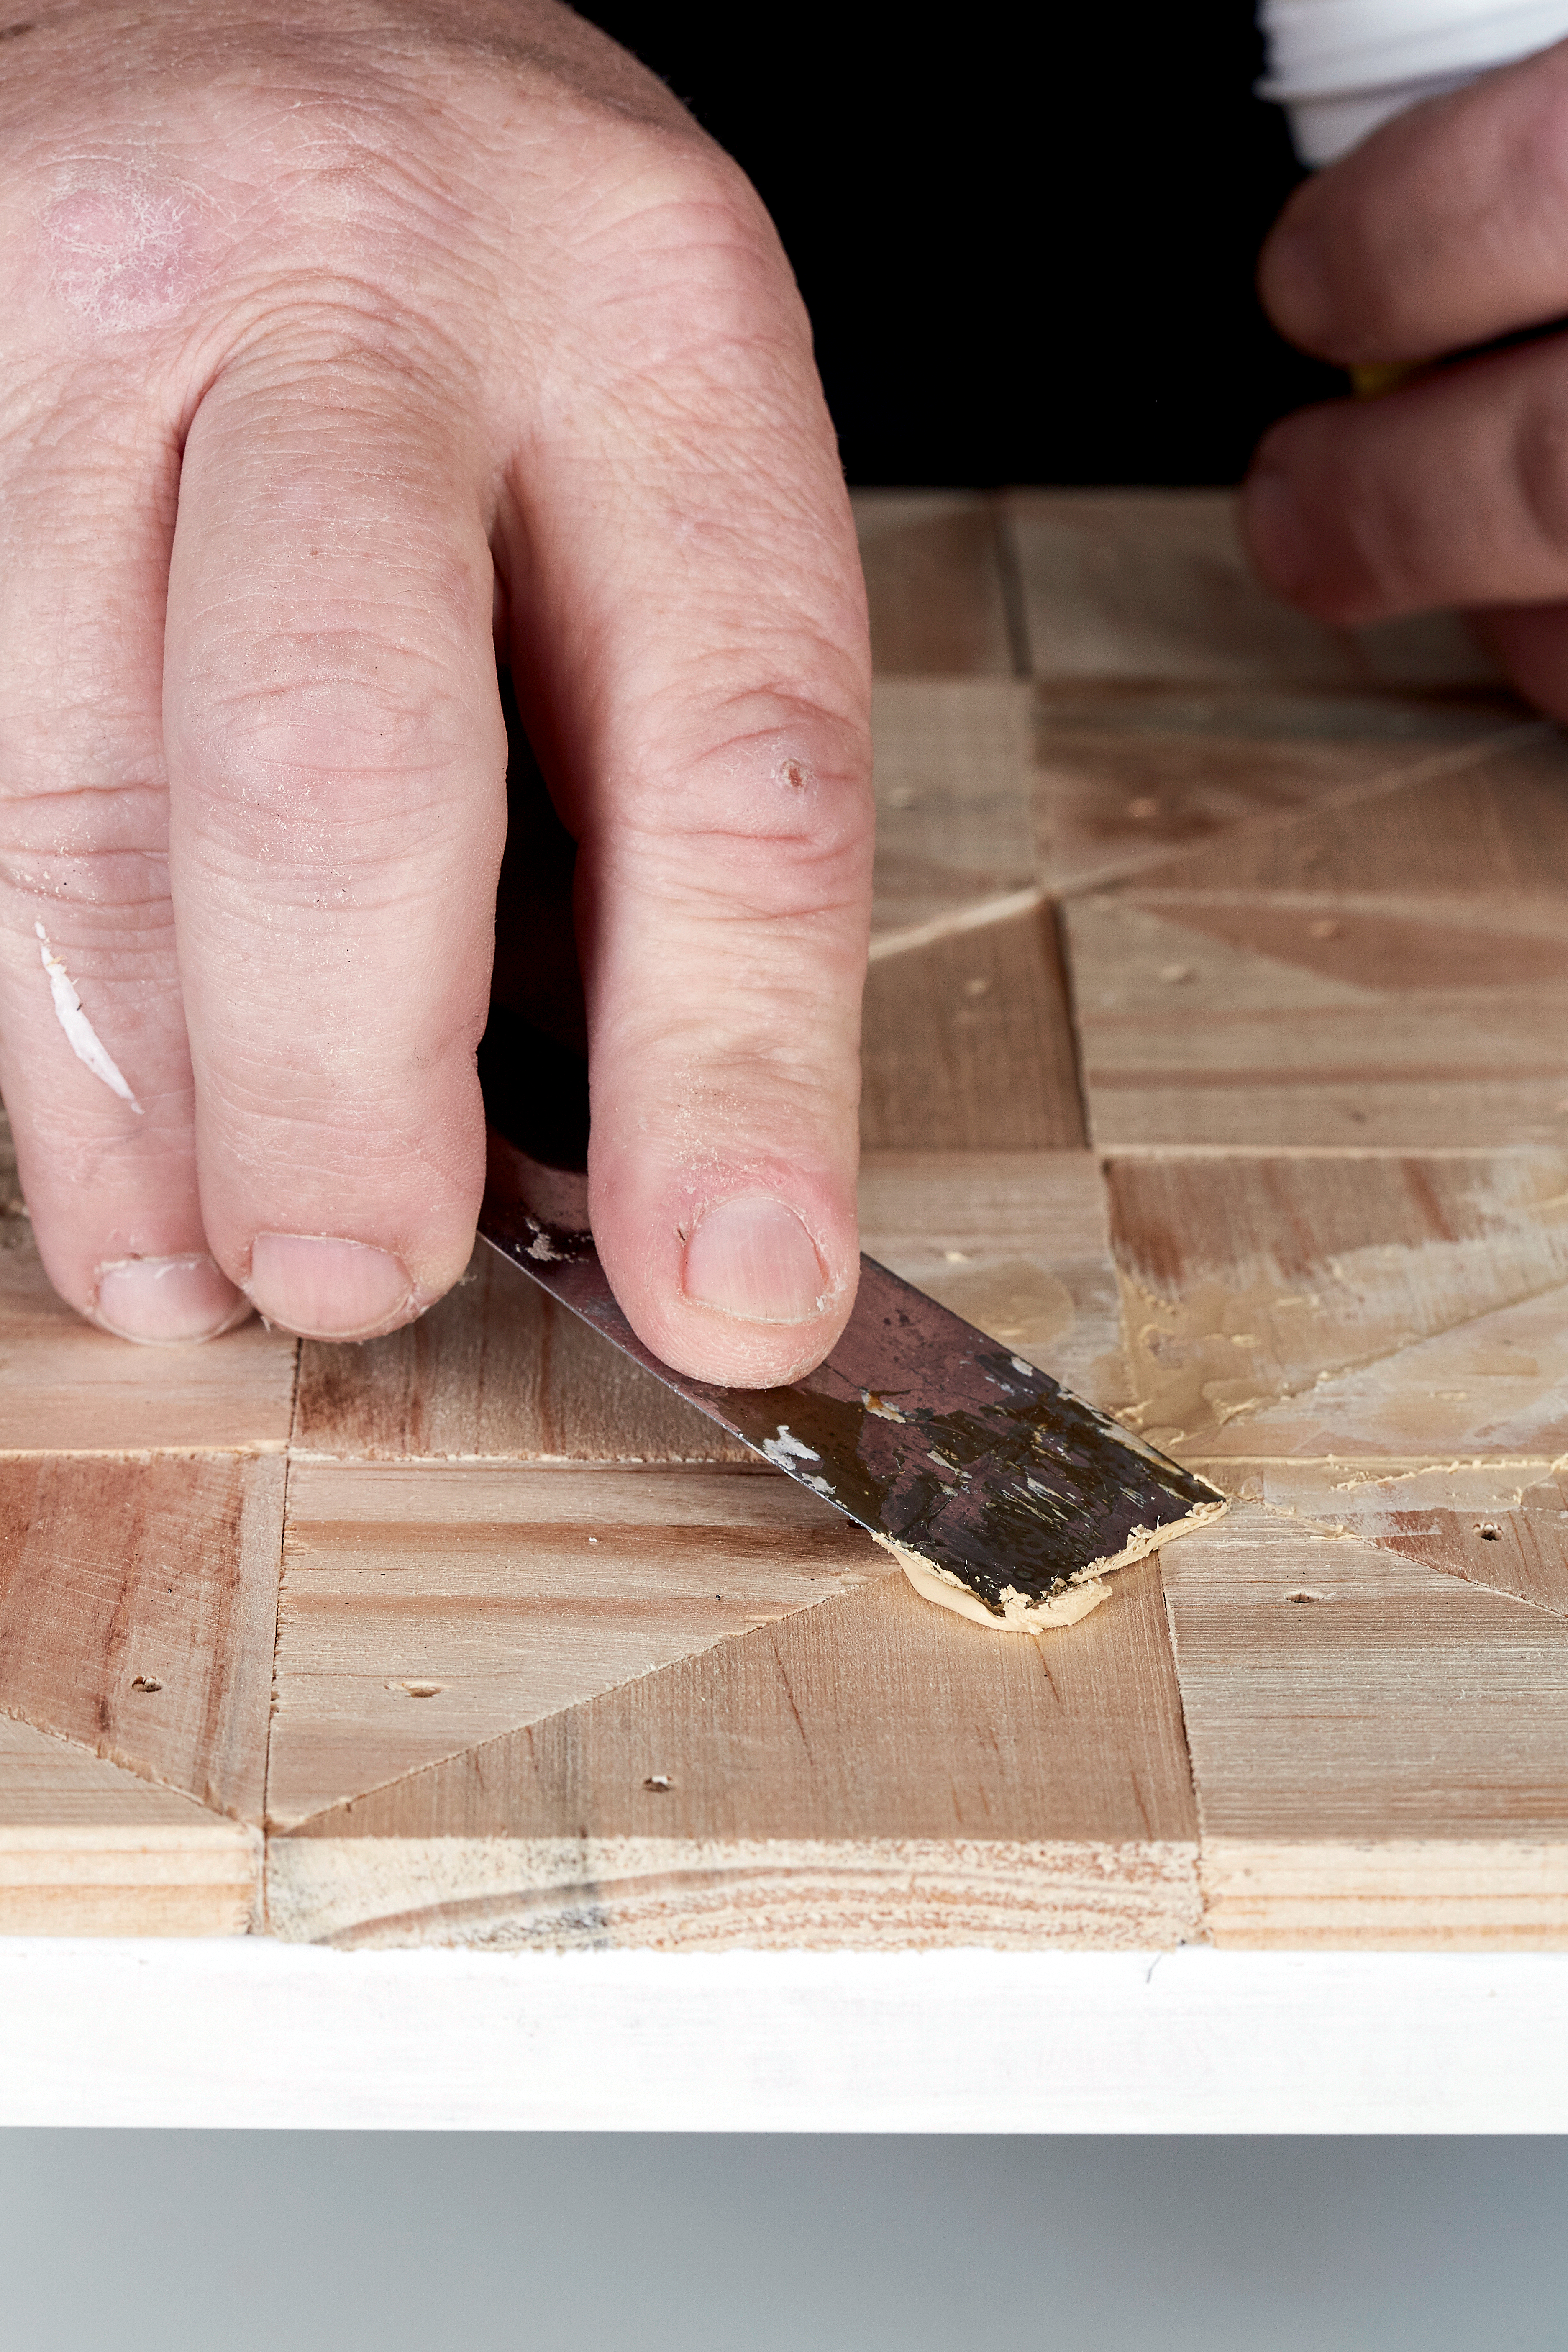
Step 7
Fill in all the holes with wood filler and allow to dry completely.
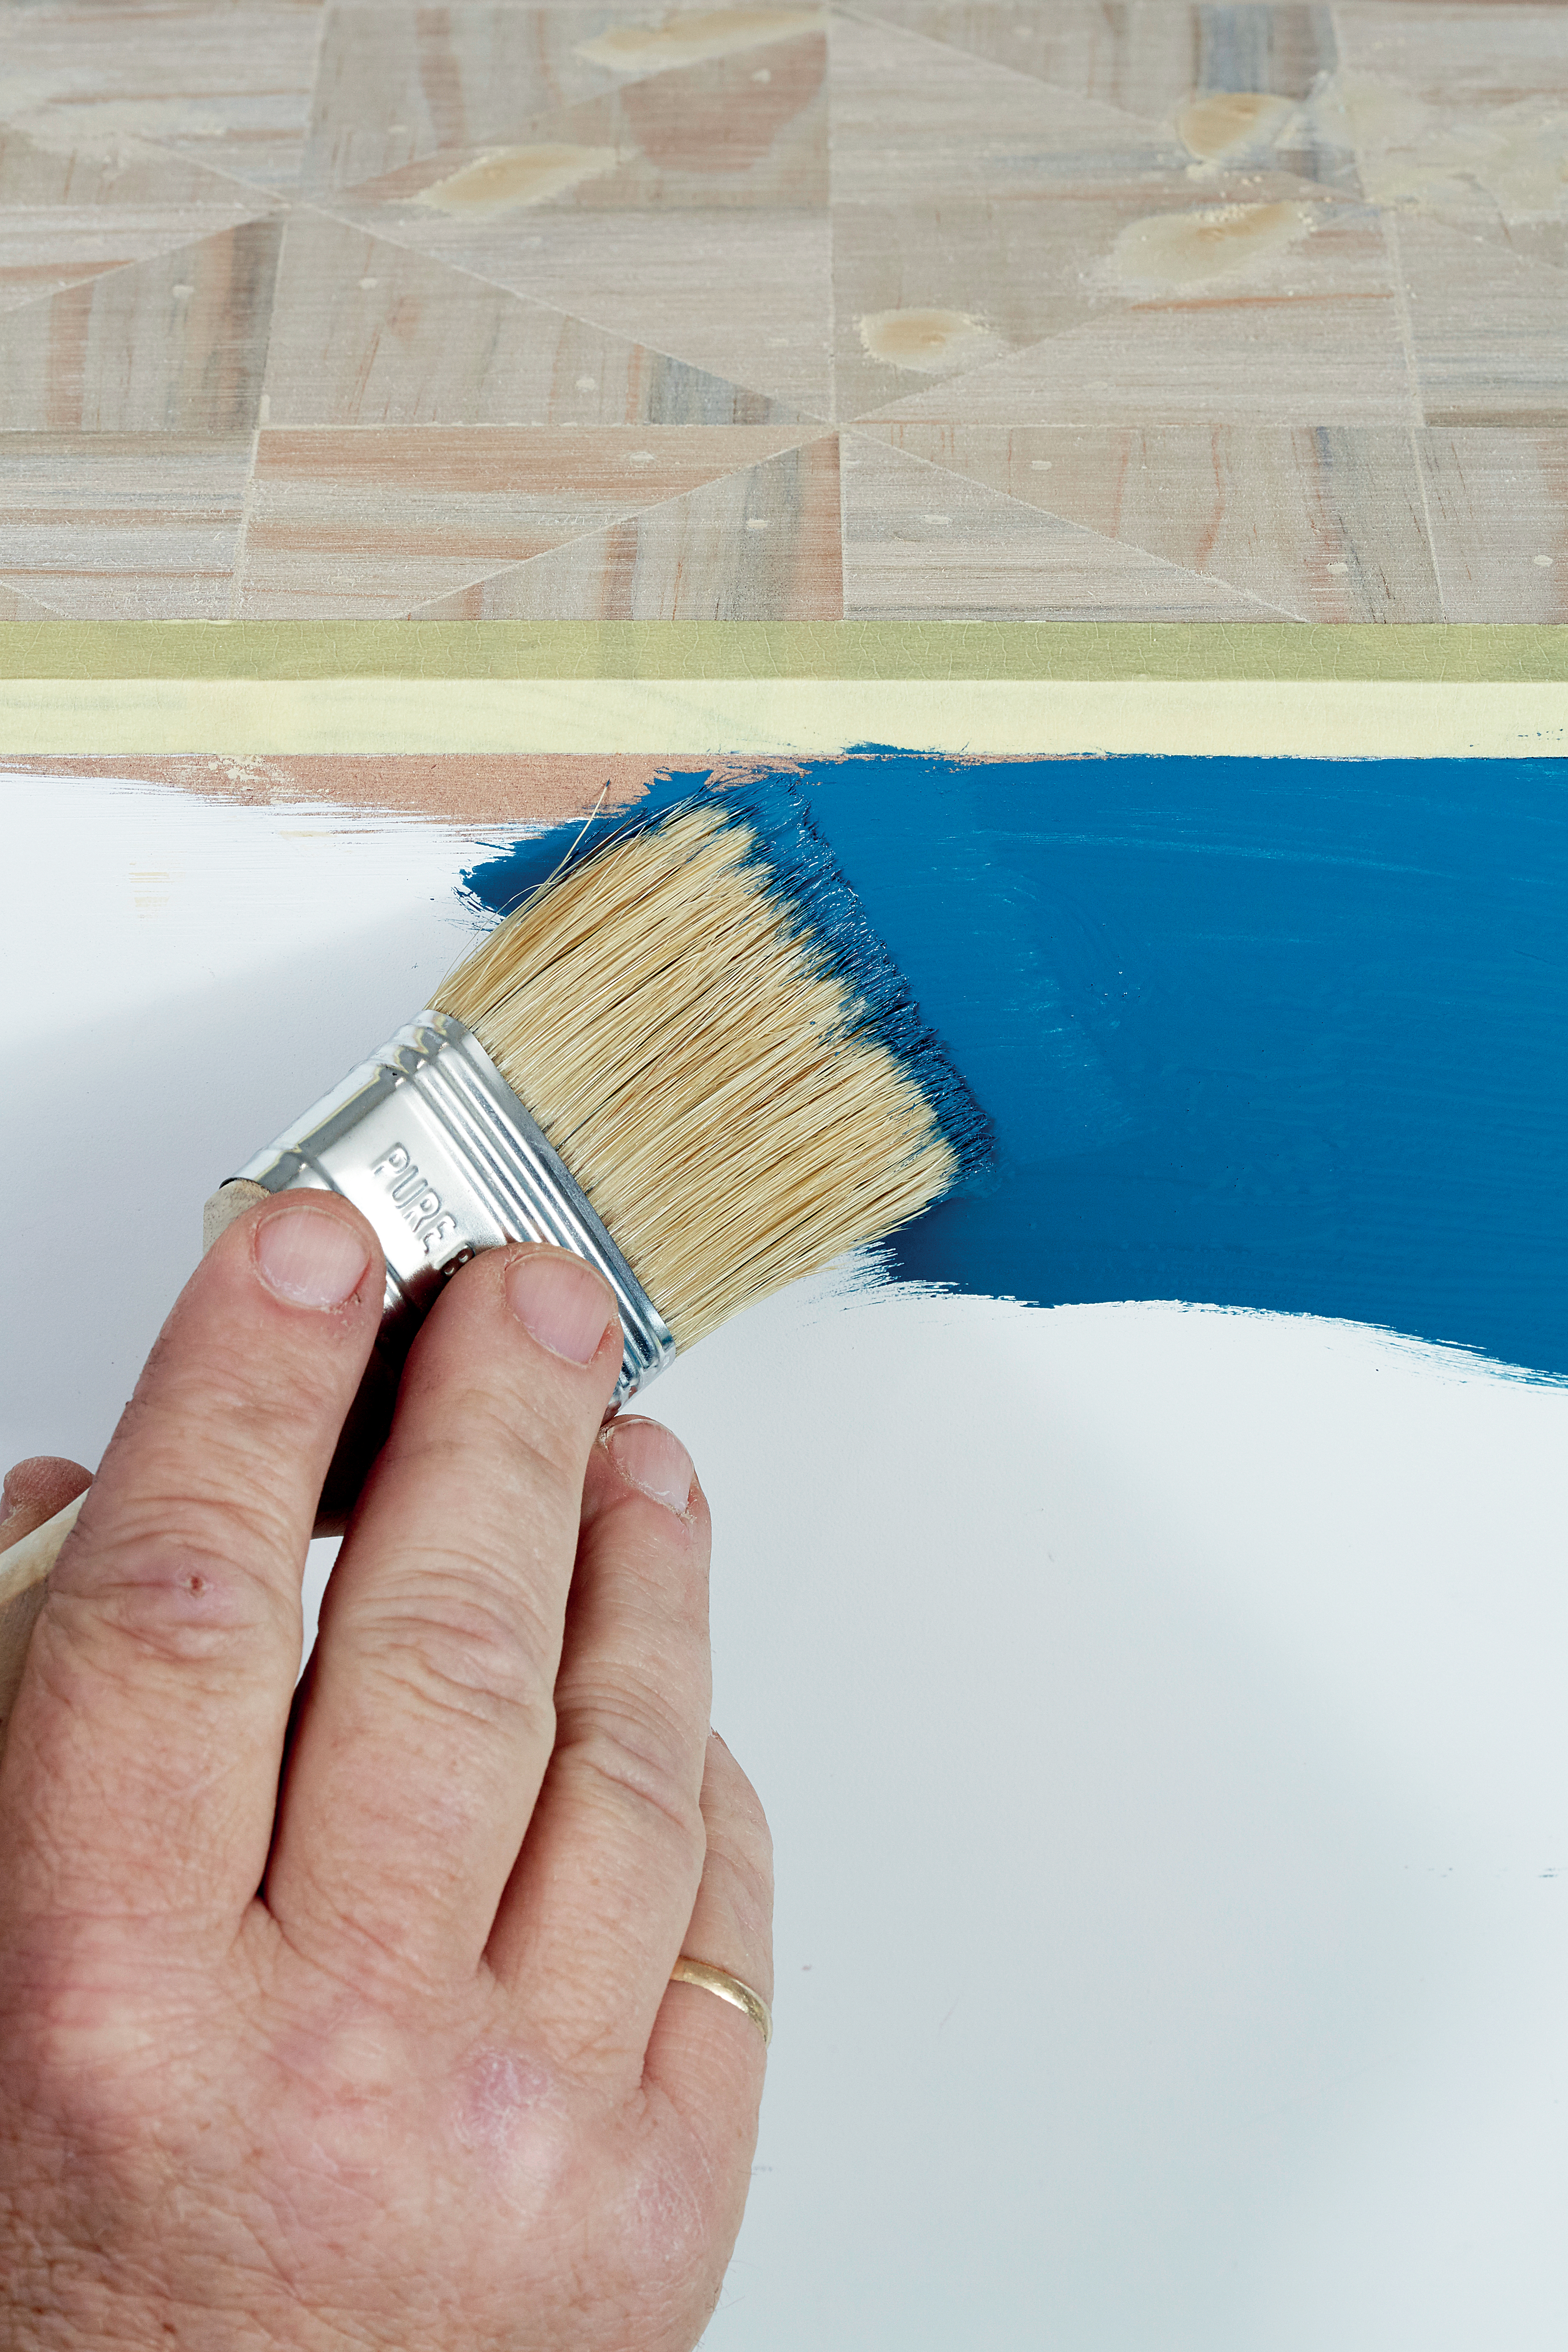
Step 8
Sand to a smooth finish and varnish or paint; we used Annie Sloan paint in Aubusson Blue for the cupboard and sealed the top with Annie Sloan Clear Wax.
Credits
Referenced from Gallo images / Home Magazine
Browse 1000’s of products available to you. Select your country to Shop Online.


