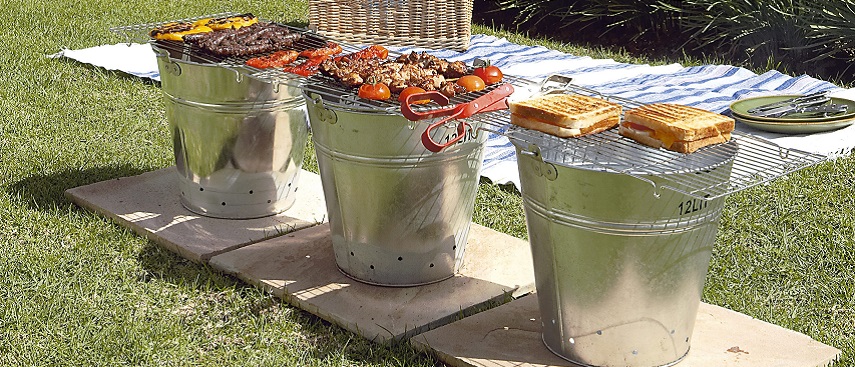
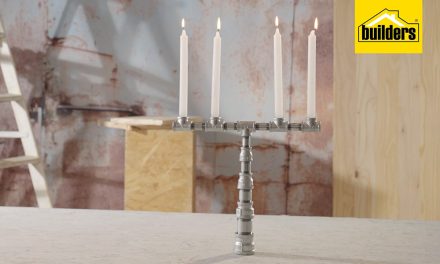
Creating more than one bucket braai allows you to separate your fish from meat and chicken.
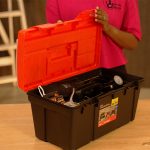
- Three galvanised buckets
- Three baking racks
- Centre punch
- 6mm drill bit
- Cordless drill
- Hammer
- Pencil
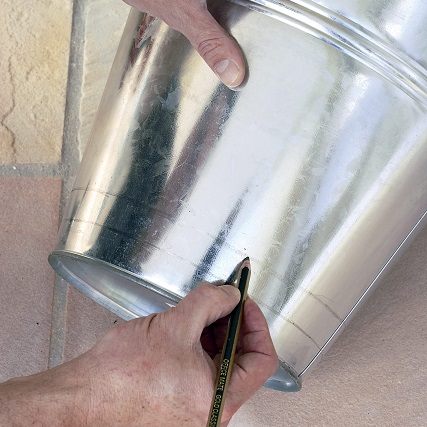
Step 1
Draw two lines around the base of the bucket. Draw the first line about 2 to 3cm up from the bottom, and the other about 5 to 6cm from the bottom, as shown.
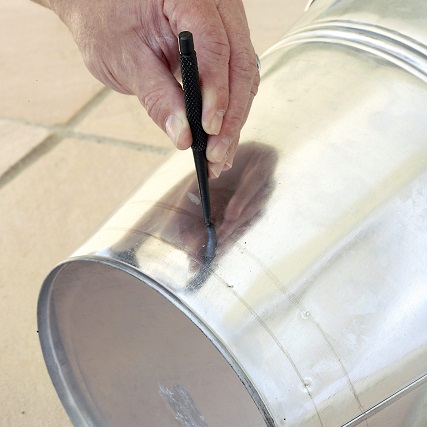
Step 2
Use the hammer and centre punch to mark points about 6 to 8cm along each line; alternate the spacing between the points so that they are staggered. Tap the punch just enough to make a small indentation – but don’t dent the bucket; this indentation will help to prevent the drill bit from ‘wandering’ when you drill the ventilation holes.
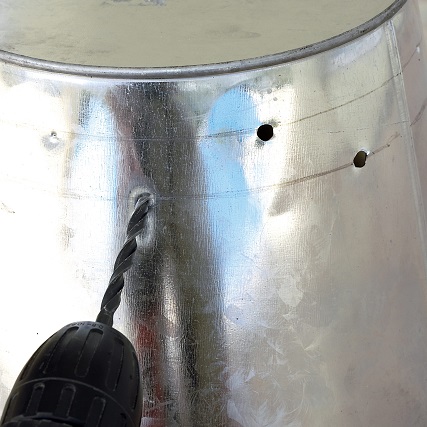
Step 3
Use the cordless drill and 6mm drill bit to drill holes at the points marked out in step three, as shown.
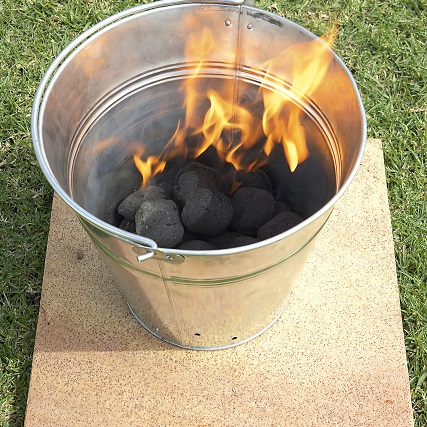
Step 4
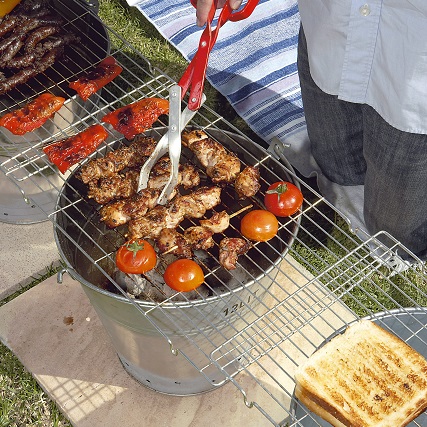
Place the bucket onto a stable, heat-resistant surface to prevent it toppling over or damaging other surfaces or vegetation. Place firelighters in the bottom of the bucket, followed by a layer of charcoal brickets. Place the baking racks on top once the coals are ready.
Credits
Referenced from Gallo images / Home Magazine
Browse 1000’s of products available to you. Select your country to Shop Online.


