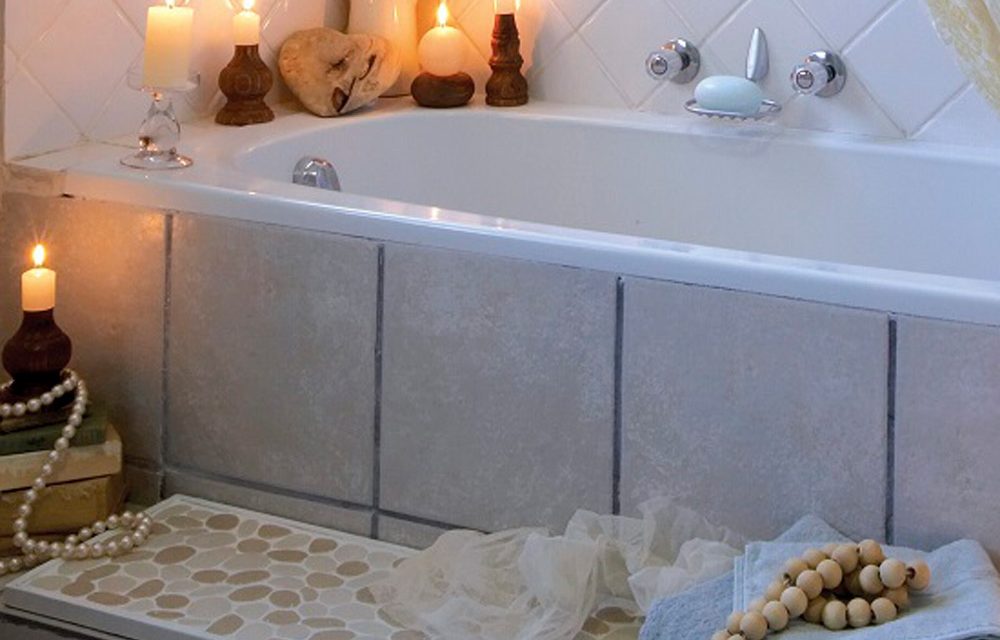
Transform your bathroom into a space where you can dream in peace. We show you how to create four things to transform your bathroom.
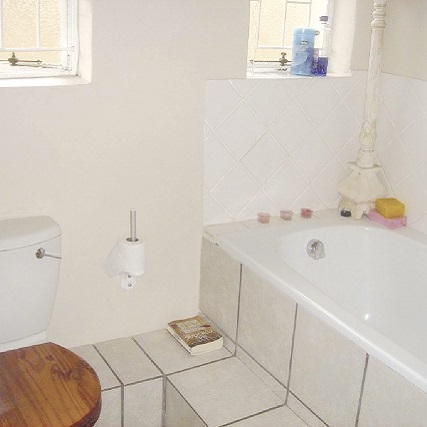
Before
Here’s a picture of the bathroom before it was spruced up.
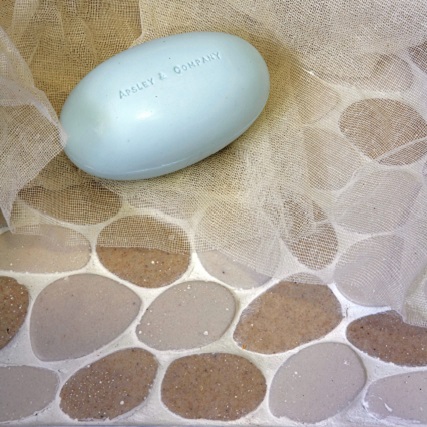
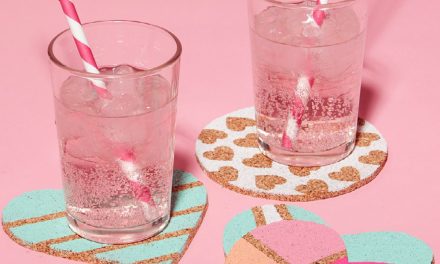
How to make a pebble mosaic bath mat
Materials you will need:
- Waterproof wood :
- one 1 236 x 236 x 12mm piece (base)
- two 236 x 20 x 12mm pieces (short sides)
- two 1 260 x 20 x 12mm pieces (long sides)
- Wood glue
- Clamps
- Small sponge roller
- White enamel paint
- Paintbrush
- Four 300 x 300mm sheets of pebble mosaic tiles
- Tile adhesive
- White grouting
- Plastic spatula
- Sponge
- Piece of slip-proof rubber
- Contact adhesive
Step 1
Place the wooden base on a flat surface and apply wood glue to the edges of the short sides. Paste the two short side pieces in place, along their 20mm side. Clamp them in place. Paste and clamp the long side pieces in the same way and leave to dry.
Step 2
Use a small sponge roller to paint the exterior of the whole structure with two to three coats of white enamel paint. Allow each coat to dry before painting the next.
Step 3
Remove the pebble mosaic tiles from their sheets and place them on the base. Once you are happy with the design, apply tile adhesive to each pebble tile and paste it in place on the base. Leave to dry.
Step 4
Make the grouting according to the directions on the packaging. Use a plastic spatula to apply it to the gaps between the tiles. Wipe off the excess grouting with a damp sponge. Wait for the grouting to get a little drier and then wipe the tiles clean. Repeat until the tiles are totally clean.
Step 6
Once the grouting is completely dry, use the contact adhesive to paste the slip-proof rubber to the bottom of the bath mat so that it won’t move around – apply the adhesive to both surfaces and wait a few seconds before pasting them together.
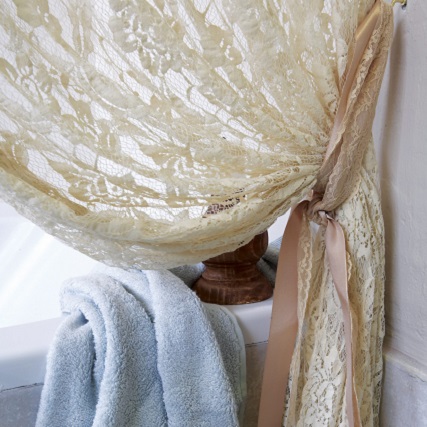
How to make the lace curtain
Materials you will need:
- Chrome pipe
- Metal saw
- No-screws wall-fitting system (for example, Simply Fit Adapter)
- Lace
- Screw-in hook with wall plug
- Drill with masonry drill bit
- Ribbon
Step 1
Measure the section in front of the bath where the curtain will hang (from wall to wall) and saw a piece of chrome piping according to this measurement. If you will be using the Simply Fit Adapter system, as we did, the pipe should be 25mm shorter than the measurement.
Step 2
Place one wall fitting on one end of the pipe and the other fitting on the other end. Press the end with the fitting that cannot be adjusted against the wall – make sure it is in the right place. Lift the other end of the pipe until it is in the right position and turn the adjustable fitting until the rail is securely in place between the two walls. The rubber parts will prevent the rail from falling down.
Step 3
Measure the length that your curtain should be. Allow extra length for a hem at the bottom and a flap at the top where the rail will run through. Sew the curtain.
Step 4
Twist the adjustable fitting loose, thread the rail through the curtain flap and secure the railing in place.
Step 5
Make a mark where you would like the hook to be placed where the ribbon (or extra lace) will be used to tie the curtain. Drill a hole for the wall plug and screw in the hook. Tie the ribbon around the curtain.
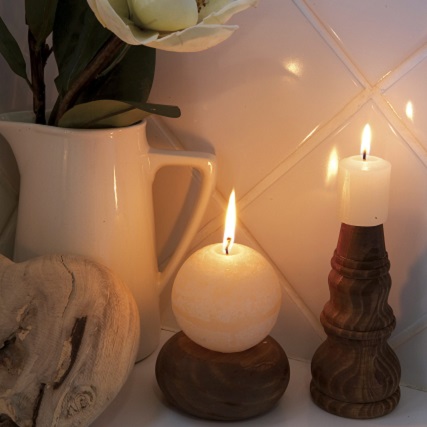
How to make wooden candle holders
Materials you will need:
- Pine furniture feet
- Wood filler in a pine colour
- Sandpaper
- Paintbrush
- Wood stain in a mahogany colour
- Long panel nails
- Hammer
- Wire cutter
Step 1
Fill the holes in the feet with wood filler. Leave them to dry and then sand until smooth (sand off marks or scrapes too). Use a dry paintbrush to brush off any sawdust and then paint the feet with mahogany wood stain.
Step 2
Knock a long panel nail into the top or bottom of every foot so that you can press the candles on top. Make sure the nails are embedded deep enough to be stable, but that enough of the nail sticks out to support the candle. Cut off the head of the nail with a wire cutter.
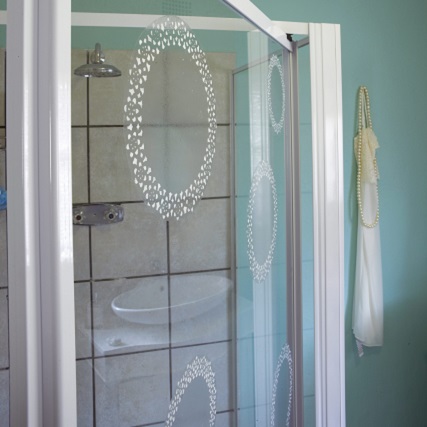
How to make shower stickers
Materials you will need:
- Self-adhesive plastic sheets
- Paper doilies in various sizes
- Spray glue
- Sponge
- White enamel paint
- Scissors
Step 1
Roll the self-adhesive plastic out onto a flat surface with the plastic side on top. Spray glue on the back of a doily and paste on top of the plastic.
Step 2
Dip the tip of the sponge in the white enamel paint and sponge over the open parts of the doily. Work carefully, so that you don’t go over the edges, but stay inside the pattern. Carefully peel the doily off while the paint is still wet. Repeat with more doilies until you have enough patterns for the section that you want to decorate.
Step 3
Once the paint has dried, cut out the patterns around the edges. Stick the stickers on the shower door, using the following method: Gently peel the wax layer off the sticker, then start sticking down the one side. Flatten the sticker as you work to prevent air bubbles from getting trapped under the plastic.
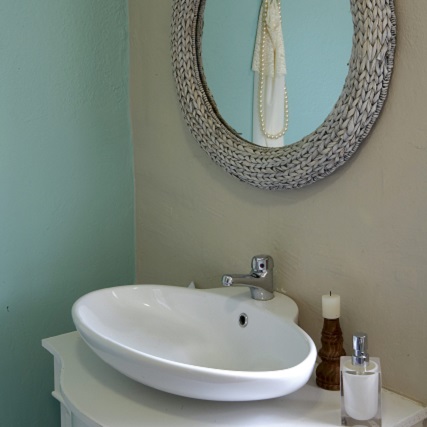
A focal wall
- A focal wall, painted in a bright sea green colour (Plascon Blue Retreat), livens up the bathroom and gives it a more modern feel, which creates a sense of balance with the rest of the room.
- Bath products and towels in a light shade of the same sea green colour ensure uniformity.
- A dark wicker mirror frame above the wash basin has also been lightly whitewashed so that it fits in better with the rest of the room.
Credits
Referenced from Gallo Images / IDEAS Magazine
Browse 1000’s of products available to you. Select your country to Shop Online.


